29Section 7 — Service
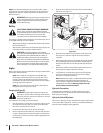
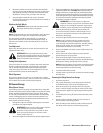
3. Carefully remove the belt from around the idler pulleys and
the spindle pulleys.
WARNING! Avoid pinching injuries. Never place
your fingers on the idler spring or between the belt
and a pulley while removing the belt.
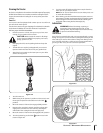
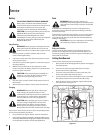
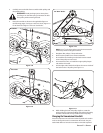
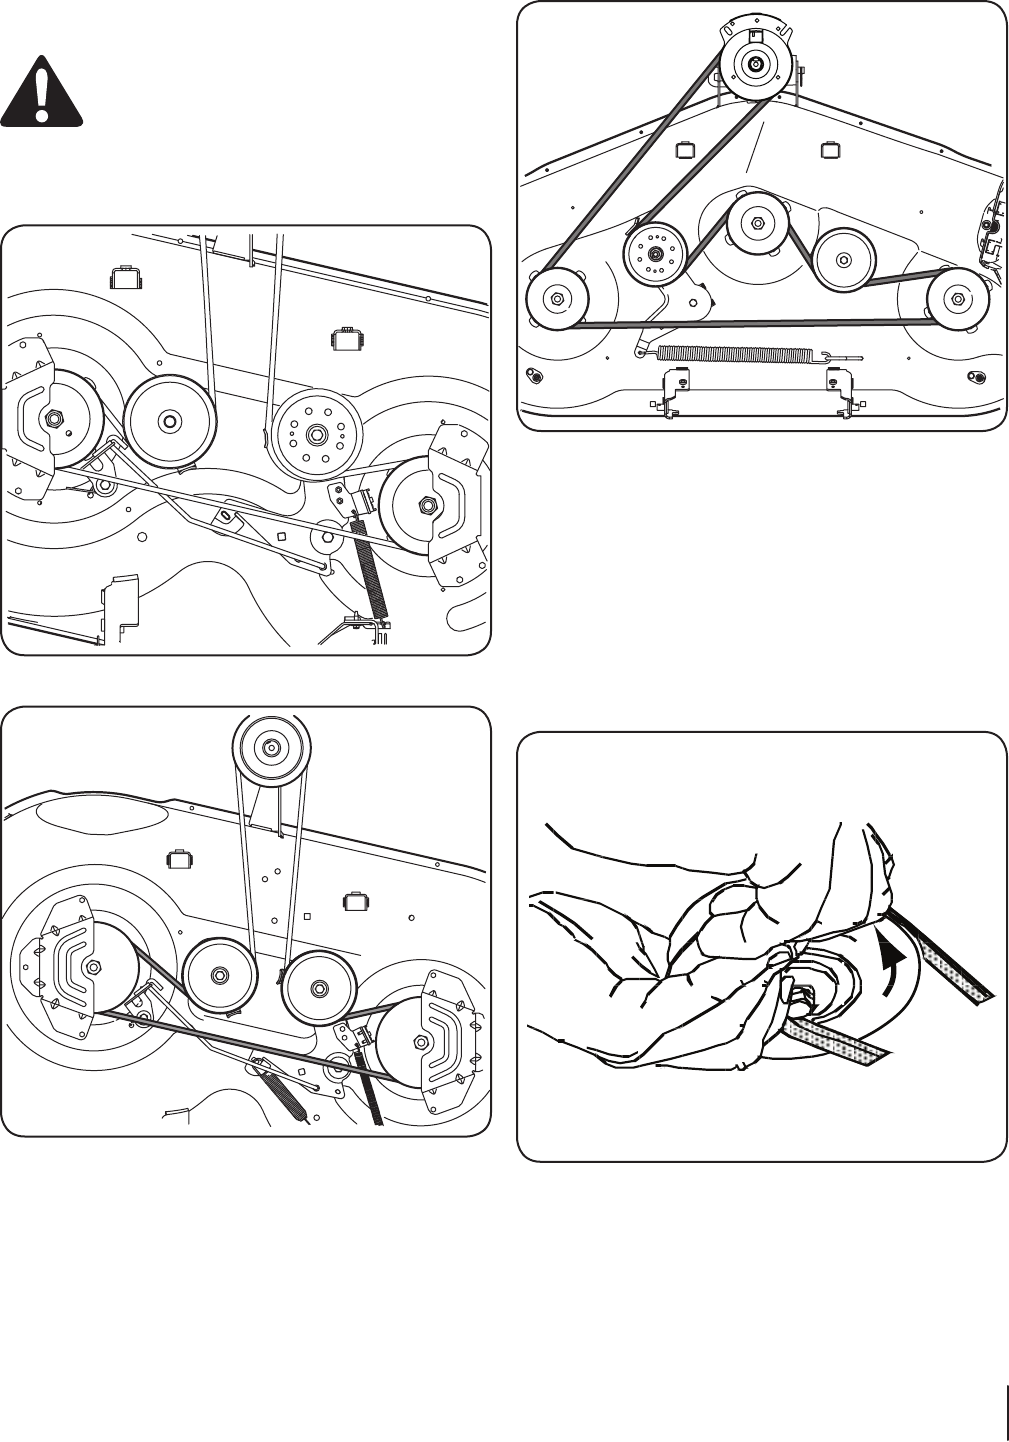
4. Route the new belt as shown in the applicable figure on
the following pages. See Figure 7-8 for 42” decks, Figure 7-9
for 46” decks and Figure 7-10 for 50” & 54” decks.
42” Decks
Figure 7-8
46” Decks
Figure 7-9
50” & 54” Decks
Figure 7-10
NOTE: Use a ¹/-inch drive ratchet wrench as instructed in
earlier steps when routing the new belt.
5. Retighten idler pulleys, if loosened earlier.
6. Remount the spindle covers if removed earlier.
7. Re-install the deck making sure the belt remains routed
around the pulleys as instructed.
8. On manual PTO units, re-install the engine pulley keeper
rod and the PTO cable.
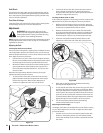
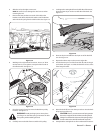
9. Pull the right side of the belt and place the narrow V side of
the belt into the PTO pulley. See Figure 7-11.
Figure 7-11
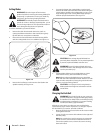
10. While holding the belt and pulley together, rotate the
pulley to the left. Continue holding and rotating the pulley
and belt until the belt is fully rolled into the PTO pulley.
Changing the Transmission Drive Belt
Several components must be removed and special tools used in
order to change the tractor’s transmission drive belt. See your
authorized dealer to have the transmission drive belt replaced.


