18
• Replace the wire or repair with electrician’s tape if
the wire strands have not been damaged. Also look
for a wire pinched between body panels, burned by
the exhaust pipe or muffler, or rubbed against a
moving part.
• Stop the rider mower and engage the parking
brake. Remove ignition key.
• Pivot the hood assembly up. Disconnect the spark
plug wire and ground it.
• Pull the fuse out of the lead wire.
• Replace with new automotive fuse.
• Make sure to reconnect the spark plug wire before
pivoting the hood assembly back.
SECTION 8: MAINTAINING YOUR RIDER MOWER
General Recommendations
• Always observe safety rules when performing any
maintenance.
• The warranty on this rider mower does not cover
items that have been subjected to operator abuse
or negligence. To receive full value from the
warranty, operator must maintain the rider mower
as instructed in this manual.
• We do not recommend the use of pressure washers
or garden hose to clean your unit. These may
cause damage to electrical components, spindles,
pulleys, bearings or the engine. The use of water
may shorten life of your rider mower and reduce its
serviceability.
WARNING: Always stop engine and
disconnect spark plug wire before any
maintenance or adjustments.
Cutting Blade
Removal
WARNING: Protect your hands by wearing
heavy gloves or using a rag to grasp the
cutting blade.
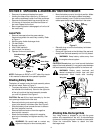
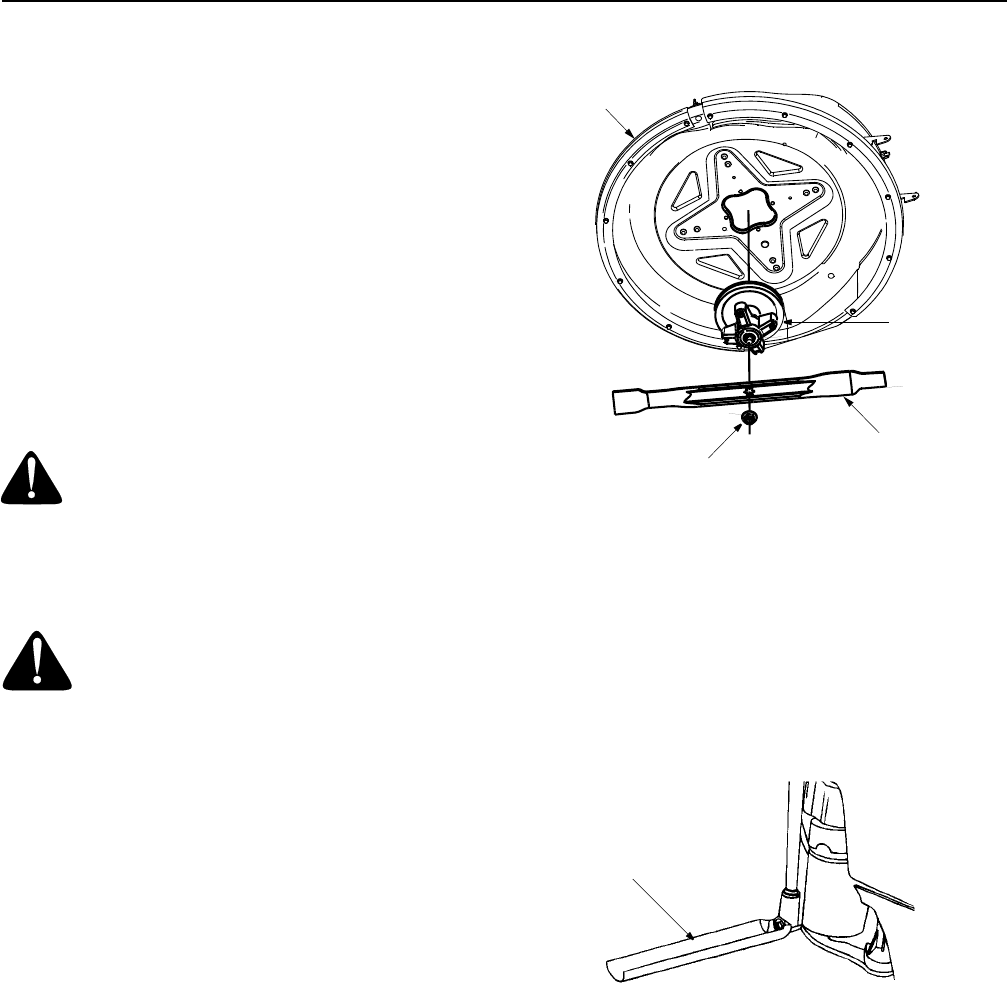
• Remove the 5/8’’ hex flange nut which holds the
blade to the blade spindle.
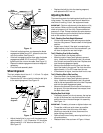
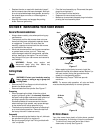
• Remove blade from the spindle. See Figure 17.
Sharpening
• When sharpening the blade, follow the original
angle of grind as a guide. It is extremely important
that each cutting edge receives an equal amount of
grinding to prevent an unbalanced blade. An
unbalanced blade will cause excessive vibration
when rotating at high speeds, may cause damage
to the mower and/or cause personal injury.
• The blade can be tested for balance by balancing it
on a round shaft screwdriver. Remove metal from
the heavy side until it balances evenly.
Reassembly
• Before reassembling the blade to the unit, lubricate
the spindle with light oil (or engine oil).
• Be sure to properly align “star” fitting on blade with
“star” on spindle.
Figure 17
• When replacing the blade, be sure to install the
blade with the side of the blade marked “Bottom” (or
with part number) facing the ground when the
mower is in the operating position.
• Blade Mounting Torque: 70/90 foot-pounds
maximum.
NOTE: To ensure safe operation, all nuts and bolts
must be checked periodically for correct tightness.
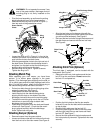
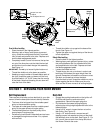
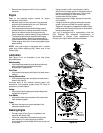
Figure 18
Oil Drain Sleeve
Your rider mower has a plastic oil drain sleeve, packed
with the loose parts, for draining oil from the crankcase.
• To drain the oil, snap small end of the oil drain
sleeve onto oil sump. See Figure 18.
Spindle
Blade
Flange Nut
Deck
Oil Drain
Sleeve


