


ASSEMBLY CHECKLIST
Crate Inspection
❏ Inspect crate for evidence of
product damage. If any suspect
damage exists, contact the carrier
(trucking company) immediately.
Tools
❏ Crowbar (for unpacking).
❏ Tire pressure gauge.
Unpacking
❏ Using crowbar, remove crating
from around unit. Remove ties
securing wheels to crate. Remove
material securing front wheel
spindles to crate.
❏ With a 9/16" wrench, remove
hardware securing back of unit to
crate.
❏ Unpack complete unit. Inspect all
parts. Inspect contents of hardware
pack against following list.
Product Content
❏ Tractor.
❏ Hardware bag (includes):
All Units:
...........Hitch pins (for attachments)...2
...........Oil drain hose .........................1
...........Ignition key (spare) ................1
ALL MODELS:
❏ Grease wheel bearings with multi-
purpose grease at grease fittings.
Tire Pressure
❏ Use air pressure gauge to check
tire pressure. Adjust as necessary.
FRONT TIRES: 12-14 PSI (82-96
kPa)
REAR TIRES: 8-10 PSI (55-69
kPa)
Note: Operators with trouser inseam
lengths shorter than 38" should use
front hole in seat bracket; operators
with inseam lengths 38" and over
should use rear hole in seat bracket.
❏ Plug seat interlock lead (Fig. 6) into
interlock switch on bottom of seat.
Roll Unit Off Crate
❏ Check crate for, and remove, any
nails/sharp objects which could
puncture tires.
❏ Engage parking brake.
❏ Place transmission into neutral as
follows:
MODEL 130F063:
This unit can be pushed by hand any
time the engine is not running and the
parking brake is not set.
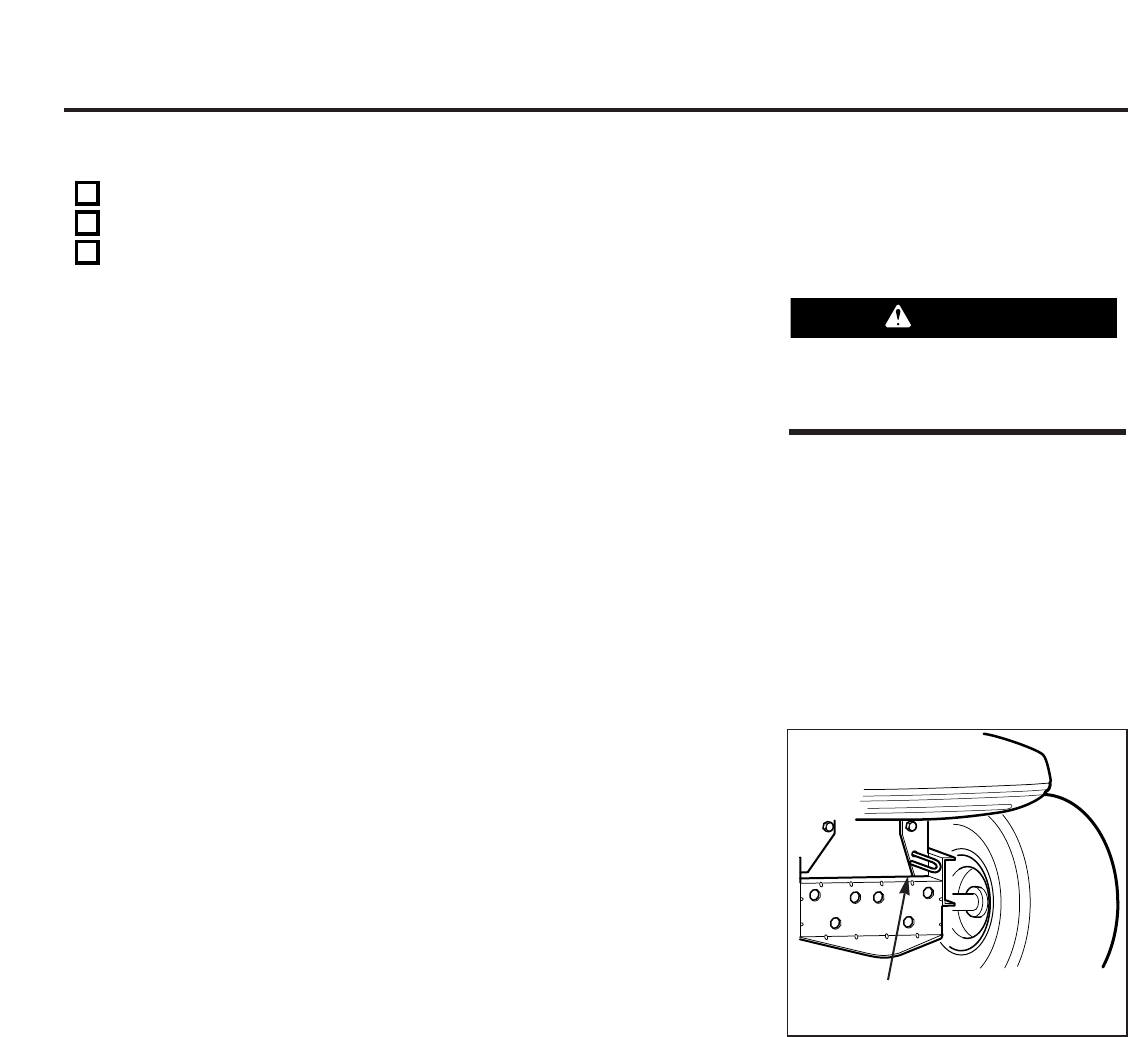
MODEL 145F063:
Pull hydrostatic freewheeling actuator
(Z, Fig. 5) out and rotate to place in
the locked position.
Note: After pushing unit, return the
freewheeling actuator back to the
normal position. Transmission will not
drive unit when freewheeling actuator
is engaged.
❏ Roll unit off crate.
Engine
Note: Refer to the engine manual
provided with your unit for more
specific engine oil information.
DO NOT OVERFILL ENGINE WITH OIL.
ENGINE IS SHIPPED FROM THE FACTORY
WITH OIL.
❏ Check the engine for proper oil
level.
If necessary, top-off engine oil level
with the proper type and quantity of
engine oil (determine type and
quantity of oil by following recom-
mendations indicated in the engine
manual).
CAUTION
✓
2
Assembly
Fig. 5
Z
Model 145F063 only