3
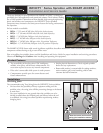
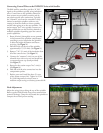
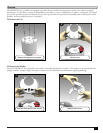
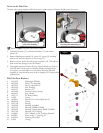
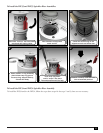
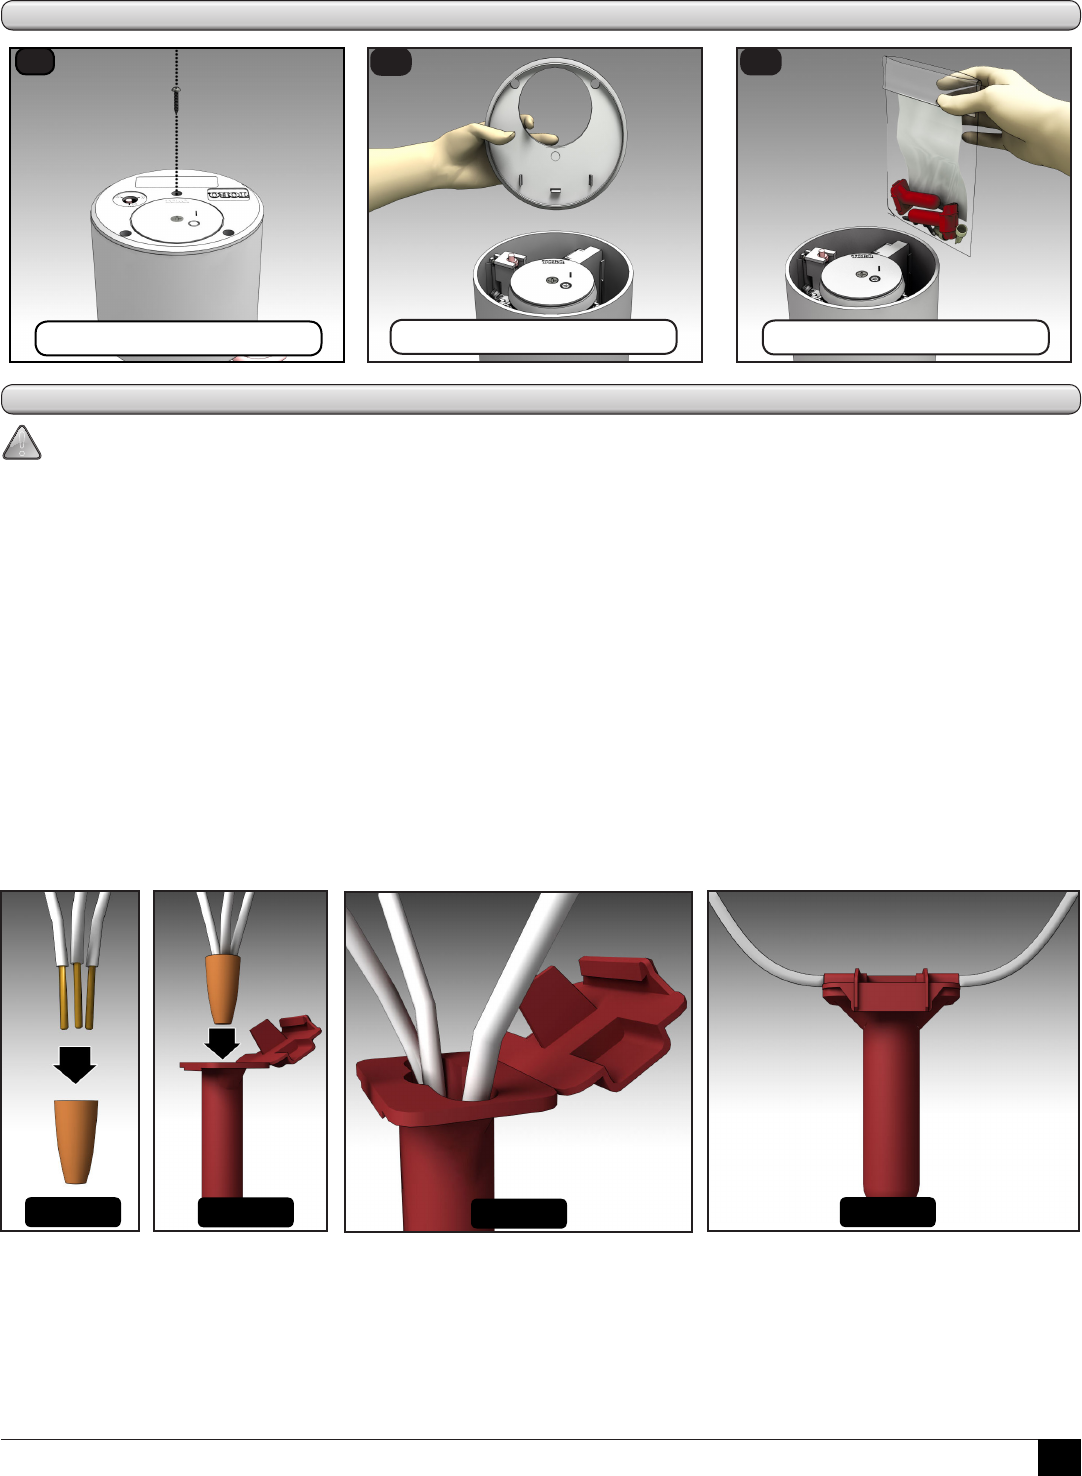
Unpacking the Sprinkler
1
Remove the retaining screw.
2
Lift the cover.
3
Remove accessory kit.
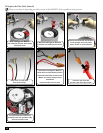
Waterproof Wire Splices
!
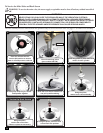
CAUTION: All wire splices and eld connections must be waterproofed to prevent short circuit to ground and
subsequent controller damage.
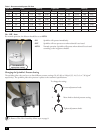
is type of waterproofed wire splice is for use with solid and/or stranded wire connections.
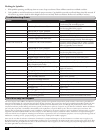
1 - 3 #12
2 - 5 #18
2 #12 w/ 1 or 2 #18
1 - 4 #14
1 #10 w/ 1-4 #18
1 #14 w/ 1-4 #18
2 - 5 #16
1 #12 w/ 1-4 #18
3 #14 w/ 1 or 2 #18
Steps
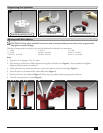
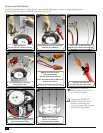
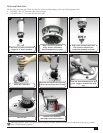
1. Strip wires (12-16 gauge) 7/16” (11 mm)
2. Pre-twisting is unneccessary. Hold stripped wires together with ends even (Figure 1). Lead stranded wires slightly.
Align any frayed strands or conductors.
3. Firmly push wire into connector and screw connector clockwise onto wire until tight (Figure 1).
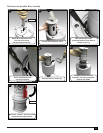
4. Insert the splice to the bottom of the sealant lled tube (Figure 2).
5. Position wires into wire channels (Figure 3). Wipe away any sealant around opening and conductors.
6. Close lid ensuring latch is secured (Figure 4).
Figure 1
Figure 2
Figure 3
Figure 4


