ÃÃ CHECK ENGINE AND EQUIPMENT OFTEN FOR LOOSE
NUTS, BOLTS AND ATTACHMENTS AND KEEP THESE
ITEMS TIGHTENED.
MAINTENANCE
WARNING - TEMPERATURE OF MUFFLER AND NEARBY
AREAS MAY EXCEED 150
0
F (65
0
C). AVOID THESE AREAS.
ÀÀ ENGINE OIL LEVEL:
Check oil level every five (5) operating hours or each time
engine is used. See “TO FILL OIL SUMP OR CHECK OIL
LEVEL” on Page 2.
ÁÁ CHANGE OIL:
Change oil after first two (2) operating hours and every 25
operating hours thereafter, more often if operated in extremely
dusty or dirty conditions.
Change oil while engine is still warm from recent running.
A. Clean area around oil drain plug.
B. Position equipment so engine oil drain plug is lowest point
on engine (see Figure 1).
C. Remove oil drain plug and oil fill plug to drain oil.
D. Replace oil drain plug and tighten securely.
E. Fill oil sump with recommended oil. See “OIL & FUEL
RECOMMENDATIONS’’ and “TO FILL OIL SUMP OR
CHECK OIL LEVEL” on Page 2.
F. Replace oil fill plug and tighten securely.
G. Wipe up any spilled oil.
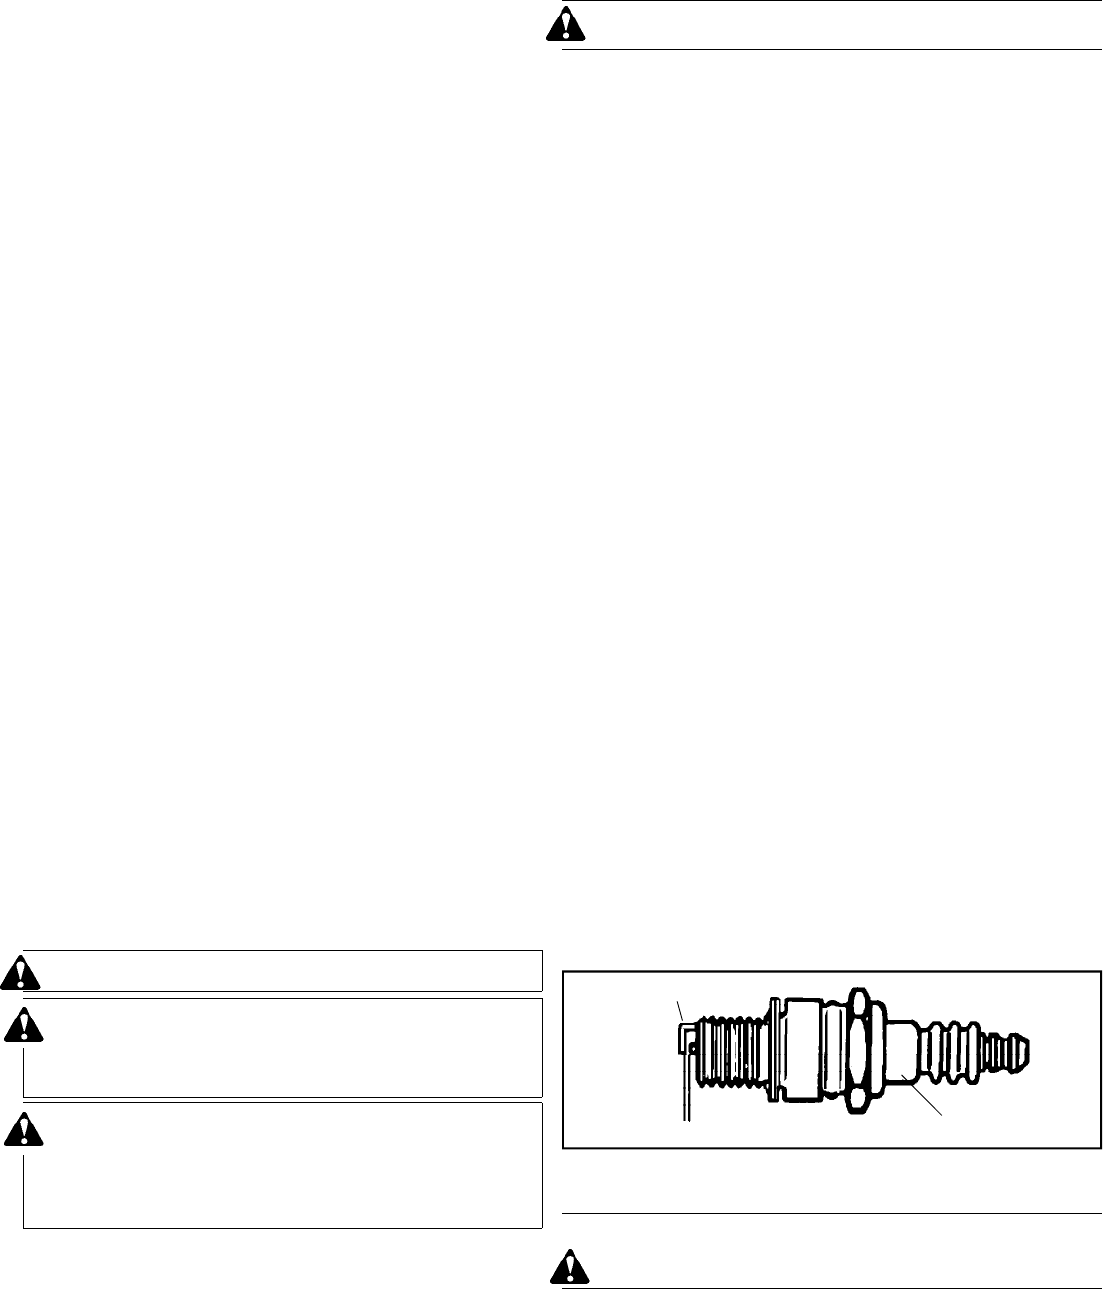
ÂÂ SPARK PLUG (see Figure 6):
This spark ignition system meets all requirements of the
Canadian Interference-Causing Equipment Regulations. This
engine complies with all current Australian and New Zealand
limitation regarding electromagnetic interference.
Check spark plug yearly or every 100 operating hours.
A. Clean area around spark plug base.
B. Remove and inspect spark plug.
C. Replace spark plug if electrodes are pitted, burned or
porcelain is cracked. For replacement use Champion
RJ-19LM or equivalent.
NOTE: A resistor spark plug must be used for replace-
ment.
D. Check electrode gap with wire feeler gauge and set gap at
.030 if necessary.
E. Install spark plug in engine and tighten securely.
Page 4
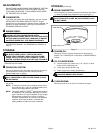
ELECTRODES
PORCELAIN
.030 GAP
Figure 6
181-637-14
STOPPING
ÀÀ BEFORE STOPPING (see Figure 1):
A. Run engine for a few minutes to help dry off any moisture
on engine.
B. To help avoid possible freeze-up of starter, proceed as
follows:
RECOIL STARTER:
With engine running, pull starter rope with a rapid continu-
ous full arm stroke three or four times.
NOTE: The unusual sound made by pulling starter rope
will not harm engine or starter.
ELECTRIC STARTER:
1. Connect power cord to switchbox, then to wall outlet.
2. With engine running, push starter button and spin starter
for several seconds.
NOTE: The unusual sound made by spinning starter
will not harm engine or starter.
3. Disconnect power cord from receptacle first, and then
from switchbox.
ÁÁ STOP ENGINE (see Figure 1):
A. Move equipment control (see equipment manufacturer’s
instructions), engine control lever or ignition switch (if so
equipped) to “STOP” or “OFF”.
B. Remove ignition key (if so equipped see Figure 2) from
carburetor cover.
DO NOT TURN IGNITION KEY.
ÂÂ AFTER ENGINE IS STOPPED (see Figure 1):
A. To help avoid possible freeze-up of engine controls,
proceed as follows:
1. Wipe all snow and moisture from engine in vicinity of
control lever and choke.
2. Move equipment control (see equipment manufactur-
er’s instructions) or engine control lever back and
forth several times and leave in the “STOP” or “OFF”
position.
3. Move engine choke back and forth several times and
leave in the “FULL” position.
B. Close fuel valve (see Figure 3).
C. DISCONNECT SPARK PLUG WIRE FROM SPARK
PLUG AND KEEP IT AWAY FROM SPARK PLUG.
D. TURN IGNITION SWITCH KEY (IF SO EQUIPPED) TO
“OFF” POSITION AND REMOVE KEY FROM SWITCH.
THIS WILL REDUCE THE POSSIBILITY OF UNAUTHO-
RIZED STARTING OF ENGINE WHILE EQUIPMENT IS
NOT IN USE.
NEVER STORE ENGINE WITH FUEL IN TANK IN-
DOORS OR IN ENCLOSED, POORLY VENTILATED
AREAS, WHERE FUEL FUMES MAY REACH AN OPEN
FLAME, SPARK OR PILOT LIGHT AS ON A FURNACE,
WATER HEATER, CLOTHES DRYER OR OTHER GAS
APPLIANCE.


