5
OPERATING YOUR TRAILCUTTER
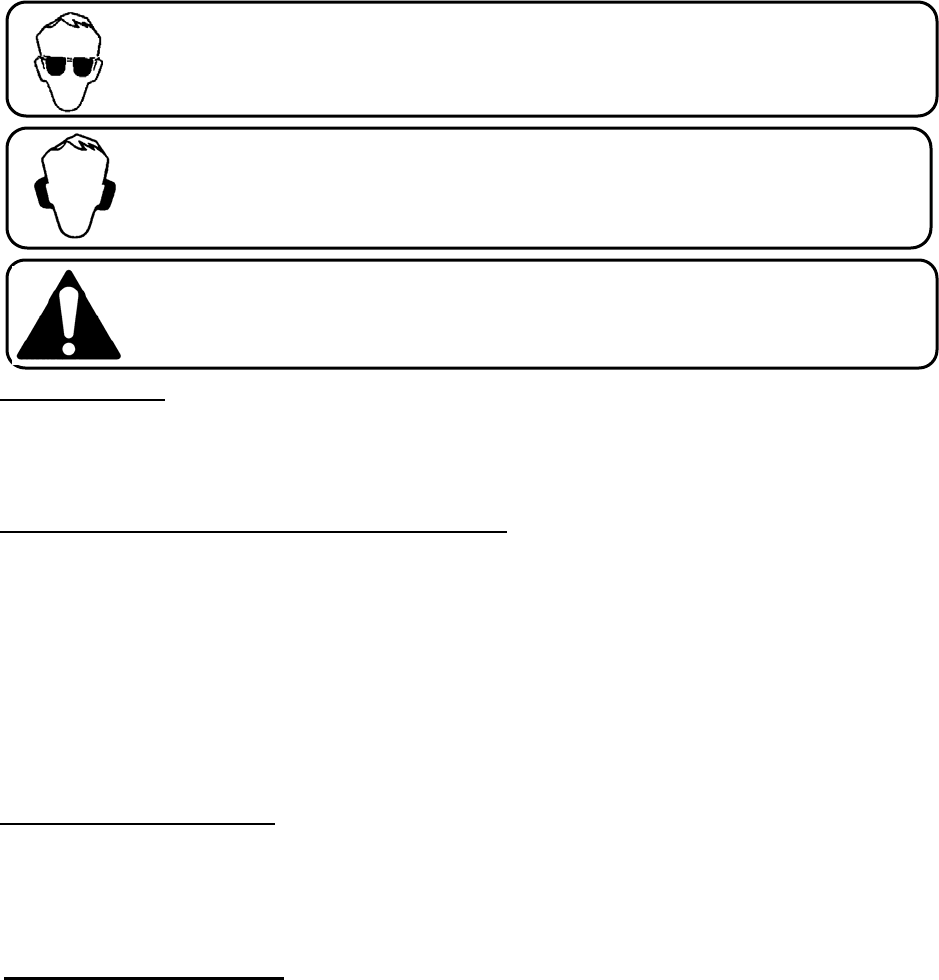
The operation of any mower can produce foreign objects to be thrown into the eyes, resulting in severe eye
damage. Always wear certified safety glasses or wide-vision safety goggles over spectacles before staring any
cutting machine and while operating such a machine.
The operation of any cutter produces sound waves that are damaging to the human ear. Ear protection is
recommended.
CAUTION! Tragic accidents can occur if the operator is not alert to the presence of children.
Children are often attracted to the machine and the mowing activity. Never assume that children will
remain where you last saw them.
INTENDED USE
The 44” Rugged Cut Trailcutter is designed to clear dense areas of grass and cut saplings up to 1-
1/2 inch thick on meadows and small estates. It is not intended to create a finish cut on
lawns.Your Trailcutter should be towed behind an ATV, golf cart, lawn tractor or other approved
vehicle. It is not recommended for speeds exceeding 5 MPH.
ATTACHING TRAILCUTTER TO TOW VEHICLE
• Back vehicle up to desired towing position.
• Offset the Trail Cutter to the side opposite the tow vehicle discharge (if any).
This prevents the tow vehicle from throwing grass into Trailcutter engine.
• Bolt swivel hitch (H10) to tow vehicle receiver. If tow vehicle has a ball
hitch, the ball must be removed before swivel hitch can be fastened.
• Attach tow hitch and the “L” hitch (10388TK & H1) to the swivel hitch.
The hitch pin (H11) should go completely through both the swivel and “L”
hitches and clipped to prevent accidental separation. Check that all hardware
is secure at both the tow vehicle and the Trailcutter.
TRANSPORTING CUTTER
• Stop Trailcutter.
• Place Trailcutter deck in its highest position.
• When transporting unattached from tow vehicle, remove spark plug wire and
place it where it cannot contact the spark plug.
STOPPING THE ENGINE
•Make sure the tow vehicle parking brake is set
•Disengage cutting Blades
•Reduce engine to idle speed and allow engine to run momentarily for cooling
•Turn the key to the off position


