19
Electrical Tasks After Spa Delivery
+ Important safety information for all spa models
Proper grounding is extremely important. This spa is equipped with a Current Collector
system. A pressure securing wire connector is provided on the outside of the load box to
permit connection of a bonding wire between the spa and any metal within 5 ft. (1.5m) of
the spa. Bonding wire must be at least #8 AWG (8.4 mm²) solid copper wire.
Task Action
1 To gain access to the spa’s power terminal strip, remove the
spa cabinet panel on the side of the spa under the control
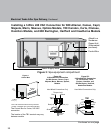
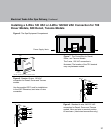
panel (see Figure 3 on the next page).
After removing the spa cabinet panel, remove the four metal
control box cover screws and metal control box cover.
2 Locate the power supply inlet (front of the spa near the base).
Select the inlet you want to use, then feed the power cable
through to the control box.
3 Insert the power cable through the large opening provided on
the left-side of the metal control box.
4 Connect the wires, color to color, on the terminal strips and
tighten securely.
5 To complete the electrical installation, secure the metal
control box door by replacing its 4 screws, then re-install the
spa cabinet panel under the control panel.
After the spa is placed in the specified location, the electrician must perform the tasks listed
below to complete the electrical installation. Give this information to the electrician when he
begins to install your spa.
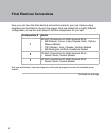
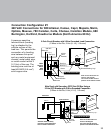
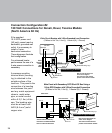
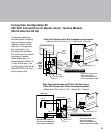
For specific electrical information about the spa model being installed, look through
Figures 3 through 9 in this section.
Continued on next page


