19
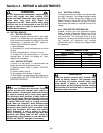
Section 4 - REPAIR & ADJUSTMENTS
WARNING
DO NOT attempt any maintenance, adjustments or
service with engine and blade running. STOP
engine and blade. Disconnect spark plug wire and
secure away from spark plug. Engine and
components are HOT. Avoid serious burns, allow
sufficient time for all components to cool. DO NOT
attempt to service or charge the battery while it is
installed on the machine.
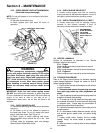
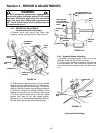
4.5. BATTERY SERVICE
4.5.1. BATTERY SERVICE
The battery supplied with the electric start model
mowers is a sealed lead acid type battery. After
initial activation the battery is sealed. No fluid level
maintenance is required. DO NOT attempt to
check or adjust fluid level in battery.
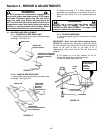
1. Remove battery.
2. Place battery in a well ventilated area on a level
surface.
3. Slow charge battery at 1 amp for 10 hours.
4. If battery will not accept charge or is partially
charged after 10 hours of charging at 1 amp,
replace with new battery.
4.5.2. BATTERY STORAGE
If mower is to be stored, it is recommended the
battery be removed, charged and stored.
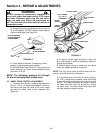
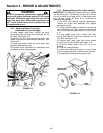
1. Remove battery. Refer to Section “BATTERY
REMOVAL”.
2. Perform battery service.
3. Bring battery to full charge, if required.
4. Store battery in an area away from the machine on
a wood surface. DO NOT STORE BATTERY ON A
CONCRETE SURFACE.
WARNING
DO NOT over fill battery with electrolyte. Shield the
positive terminal with terminal cover located on
battery harness. This prevents metal from touching
the positive terminal which could cause sparks.
The electrolyte (acid) produces a highly explosive
gas. Keep all sparks, flame and fire away from area
when charging battery or when handling electrolyte
or battery. Electrolyte (acid) is a highly corrosive
liquid. Wear eye protection. Wash affected areas
immediately after having eye or skin contact with
electrolyte (acid). Battery acid is corrosive. Rinse
empty acid containers with water and mutilate
before discarding. If acid is spilled on battery,
bench, or clothing, etc., Flush with clear water and
neutralize with baking soda. DO NOT attempt to
charge battery while installed on the walk behind.
DO NOT use “BOOST” chargers on the battery.
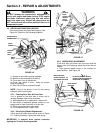
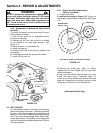
4.4.5. BATTERY TESTING
The charge condition of a battery can be estimated
by using a voltmeter. The voltage readings indicate
the state of charge. Record the voltage at the
battery terminals. Use the “BATTERY CONDITION
CHART” below to determine the state of charge.
Slow charge the battery as required to bring to full
charge.
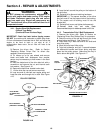
4.4.6. NEW BATTERY PREPARATION
Snapper, through your local authorized Snapper
dealer, provides replacement battery kits. The kit
includes a battery, hardware, harness, electrolyte
and instructions. The electrolyte (acid) is a very
dangerous, corrosive and poisonous liquid. Follow
very carefully all instructions and warnings
provided with the kit. Contact your Snapper dealer
for assistance.
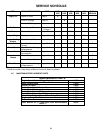
Battery Condition Chart
State of Charge Digital Voltmeter
100% Charged 12.80v
100% Charged 12.60v
75% Charged 12.40v
50% Charged 12.10v
25% Charged 11.90v
0% Charged Less than 11.80v
WARNING
Shield the positive terminal with terminal cover
located on battery harness. This prevents metal
from touching the positive terminal which could
cause sparks. If battery is removed, DO NOT
operate engine without insulating Positive + battery
cable terminal with electrical tape, or sparking from
the battery cables can result.


