14
Operating the Tractor
Stopping The Tractor & Engine
1. Return the ground speed control(s) to neutral.
2. Disengage the PTO and wait for all moving parts to
stop.
3. Briggs & Stratton Models: Move the throttle control to
SLOW position and turn the ignition key to OFF.
Remove the key.
Kohler Models: Move the throttle control to FAST
position and turn the ignition key to OFF. Remove the
key.
Driving The Tractor
1. Sit in the seat and adjust the seat so that you can
comfortably reach all the controls and see the
dashboard display.
2. Engage the parking brake.
3. Make sure the PTO switch is disengaged.
4. Start the engine (see STARTING THE ENGINE).
5. Disengage the parking brake and release the brake
pedal.
6. Depress the forward ground speed control pedal to
travel forward. Release the pedal to stop. Note that the
further down the pedal is depressed the faster the
tractor will travel.
7. Stop the tractor by releasing the ground speed control
pedals, setting the parking brake, and stopping the
engine (see STOPPING THE TRACTOR AND
ENGINE).
Mowing
1. Set the mower cutting height to the desired level and set
the gauge wheels to the appropriate position (if
equipped).
2. Engage the parking brake. Make sure the PTO switch
is disengaged.
3. Start the engine (see STARTING THE ENGINE).
4. Fully lower the mower using the attachment lift lever and
set cutting height.
5. Set the throttle to FULL.
6. Engage the PTO (Mower Deck).
7. Begin mowing. See Section LC for tips on mowing
patterns, lawn care, and troubleshooting information.
8. When finished, shut off the PTO and raise the mower
using the attachment lift control lever.
9. Stop the engine (see STOPPING THE TRACTOR AND
ENGINE).
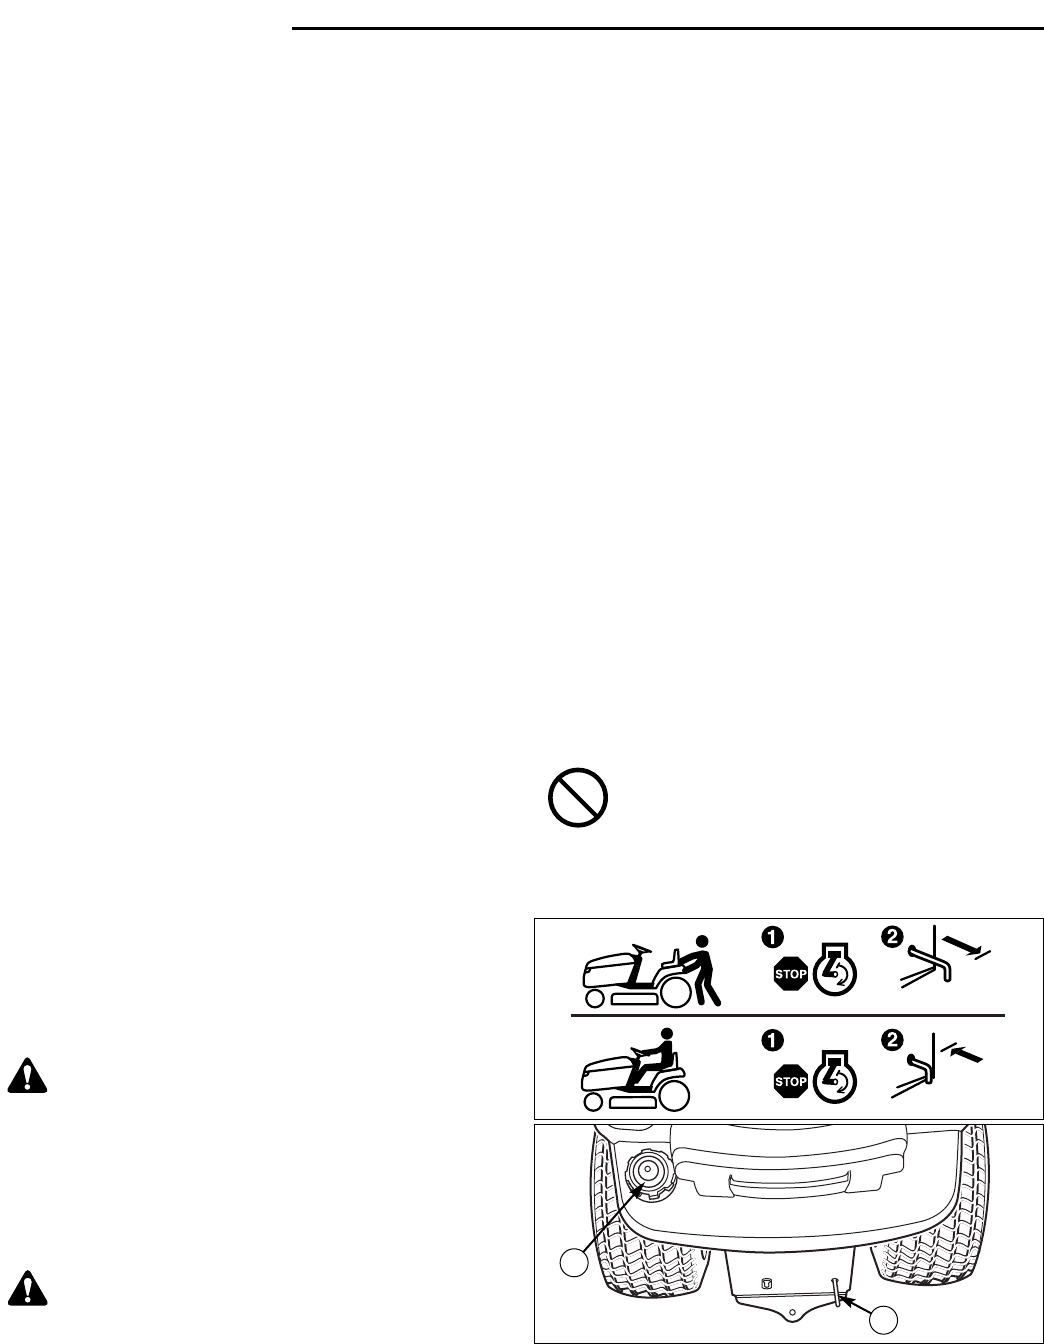
DO NOT TOW TRACTOR
Towing the unit will cause transmission
damage. • Do not use another vehicle to
push or pull this unit. • Do not actuate the
transmission release valve lever while the
engine is running.
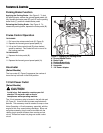
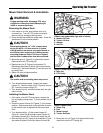
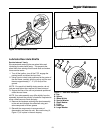
Figure 3. Transmission Release Lever & Fuel Tank
A. Fuel Tank Cap.
B. Transmission Release Lever
B
A
Mowing in Reverse
If an operator chooses to mow in reverse, the RMO
system can be used. To use the Reverse Mowing
Option (RMO) turn the RMO key after the PTO is
engaged. The L.E.D. light will illuminate, and the
operator can then mow in reverse. Each time the PTO is
engaged the RMO needs to be reactivated if desired.
The key should be removed to restrict access to the
RMO feature.
Attachment Operation in Reverse
If an operator chooses to operate a PTO driven
attachment in reverse, the RMO system can be used.
To use the Reverse Mowing Option (RMO) turn the RMO
key after the PTO is engaged. The L.E.D. light will
illuminate, and the operator can then operate the
attachment in reverse. Each time the PTO is
disengaged the RMO needs to be reactivated if desired.
The key should be removed to restrict access to the
RMO feature.
Pushing the Tractor by Hand
1. Disengage the PTO and turn the engine off.
2. Pull the transmission release (B, Figure 3) back
approximately 2-3/8” (6 cm) to lock into released
position.
3. The tractor can now be pushed by hand.
WARNING
Mowing in reverse can be hazardous to
bystanders. Tragic accidents can occur if the
operator is not alert to the presence of children.
Never activate RMO if children are present.
Children are often attracted to the unit and the
mowing activity.
WARNING
The engine will shut off if the reverse ground
speed pedal is depressed while the PTO is on and
the RMO has not been activated. The operator
should always turn the PTO off prior to driving
across on roads, paths or any area that maybe
used by other vehicles. Sudden loss of drive
could create a hazard.


