19
Storage
LUBRICATION CHECK / LUBRICATE
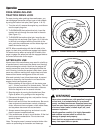
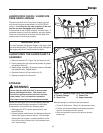
FREE-HAND LINKAGE
Check the function of the Free-Hand controls: the con-
trols should function as described in the CONTROLS
section. It is critical for the safe operation of the unit
that the controls disengage when released.
If the controls do not function properly, lubricate them. If
lubrication does not rectify the problem, see your dealer.
Under no circumstances should the unit be used if the
controls are not functioning properly.
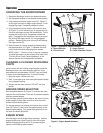
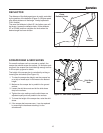
Figure 17. Lubricate Free Hand Control
STORAGE
Before you store your unit for the off-season, read the
Maintenance and Storage instructions in the Safety
Rules section, then perform the following steps:
• Disengage the PTO, set the parking brake, and
remove the key.
• Perform engine maintenance and storage measures
listed in the engine owner’s manual. This includes
draining the fuel system, or adding stabilizer to the
fuel (do not store a fueled unit in an enclosed struc-
ture - see warning).
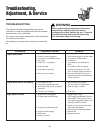
WARNING
Never store the unit (with fuel) in an enclosed,
poorly ventilated structure. Fuel vapors can
travel to an ignition source (such as a furnace,
water heater, etc.) and cause an explosion.
Fuel vapor is also toxic to humans and animals.
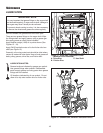
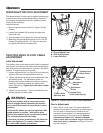
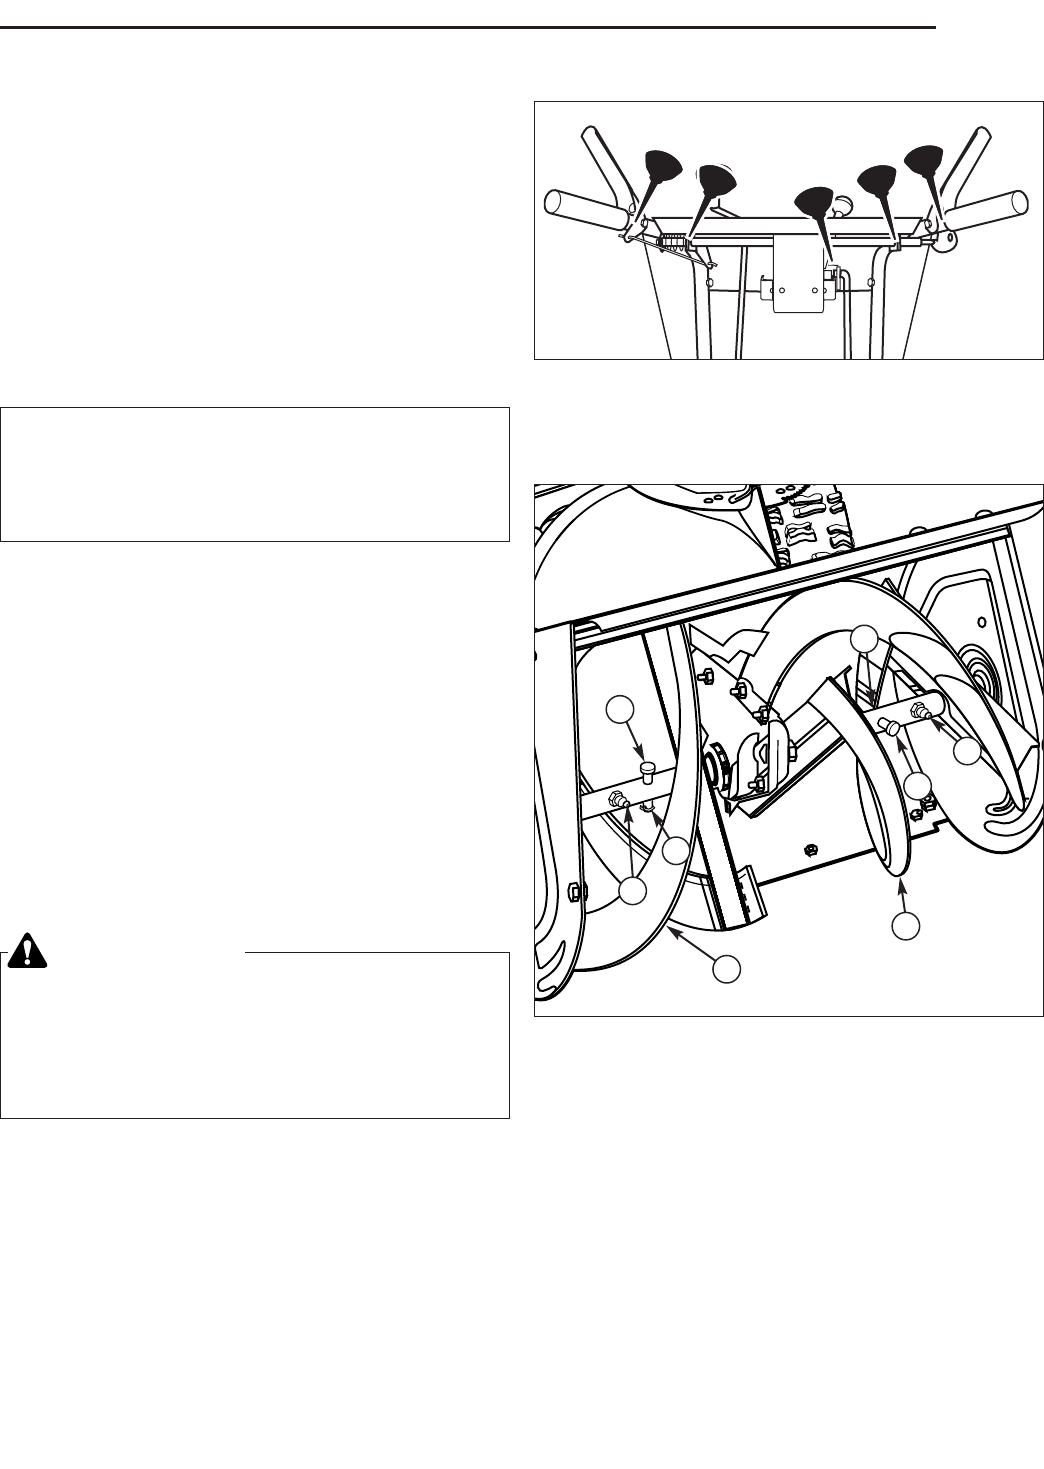
Figure 18. Checking Auger Gear Case Lubrication
A. Grease Fittings C. Cotter Pins
B. Shear Pins D. Auger Assembly
A
B
D
C
LUBRICATING THE AUGER SHAFT &
ASSEMBLY
1. Remove cotter pin (C, Figure 18) and shear pin (B).
2. Use a grease gun and squirt several shots of grease
into grease fitting (A).
3. Rotate auger assembly (D) several times to distribute
the grease evenly. Repeat step 2.
4. Reinstall shear pin (B) and cotter pin (C).
5. Repeat procedure for other side.
A
B
D
C
IMPORTANT NOTE
It is very important that grease fittings on the auger shaft
are lubricated regularly. If auger rusts to shaft, damage to
worm gear may occur if shear pins do not break.
Before starting the unit after it has been stored:
• Check all fluid levels. Check all maintenance items.
• Perform all recommended checks and procedures
found in the engine owner’s manual.
• Allow the engine to warm up for several minutes
before use.


