20
Operating the Tractor
540 Rear PTO Operation
(Select Models)
Checks Before Starting
Refer to the Maintenance & Adjustments sections of this
manual and perform any needed service.
Connecting a Drive Shaft
1. Disengage the PTO, set the parking brake, stop the
engine, and wait for all moving parts to stop.
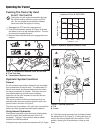
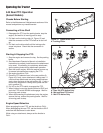
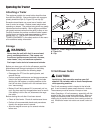
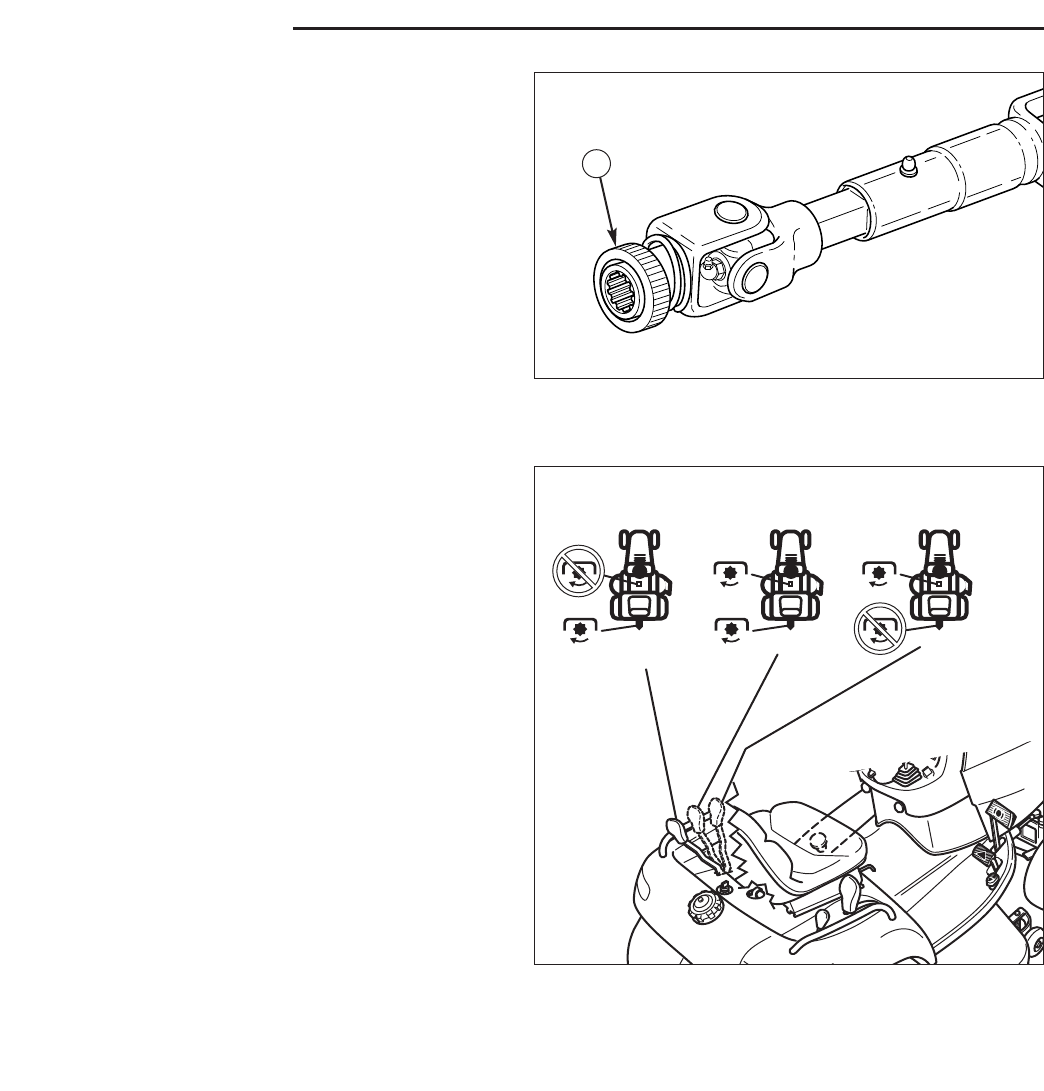
2. Pull back on the locking collar (A, Figure 15) and
slide the connector on the PTO shaft as far as it will
go.
3. Pull back on the drive shaft until the locking collar
snaps into place. Check that the connection is
secure.
Starting & Stopping the PTO
1. Stop the engine and remove the key. Set the parking
brake.
2. See Attachment Operator’s Manual or Installation
Instructions to properly install/connect the attachment
to be used. If connecting to a stationary attachment,
set the parking brake during attachment operation.
3. Start the tractor engine. Allow the engine to warm-up
for several minutes before engaging the PTO.
4. Set engine throttle to FULL
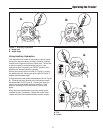
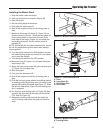
5. Place the PTO selector lever in the rear position (A,
Figure 16) if only a rear attachment is being used. If
a mid and rear attachment are being used simultane-
ously, place the lever in the mid position (B). If only a
mid or front attachment is being used, place the con-
trol in position (C).
6. Pull UP on the PTO switch to engage the PTO.
7. When finished, move the throttle control to IDLE and
push the PTO switch DOWN to disengage. Wait for
all moving parts to stop.
8. When disconnecting the attachment, stop the engine,
remove the key, and set the parking brake. Wait for
all moving parts to stop.
Engine Speed Selection
When engaging the rear PTO, set the throttle to FULL.
When disengaging the rear PTO, set the throttle to IDLE
and allow the attachment to slow down.
While using an attachment, always set the throttle to
FULL.
Figure 15. Typical Drive Shaft
A. Locking Collar
ABC
Figure 16. PTO Selector Lever
A. Rear 540 PTO Active Only
B. Mid and Rear PTO Active
C. Mid PTO Active Only
A


