13
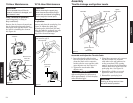
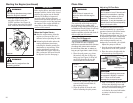
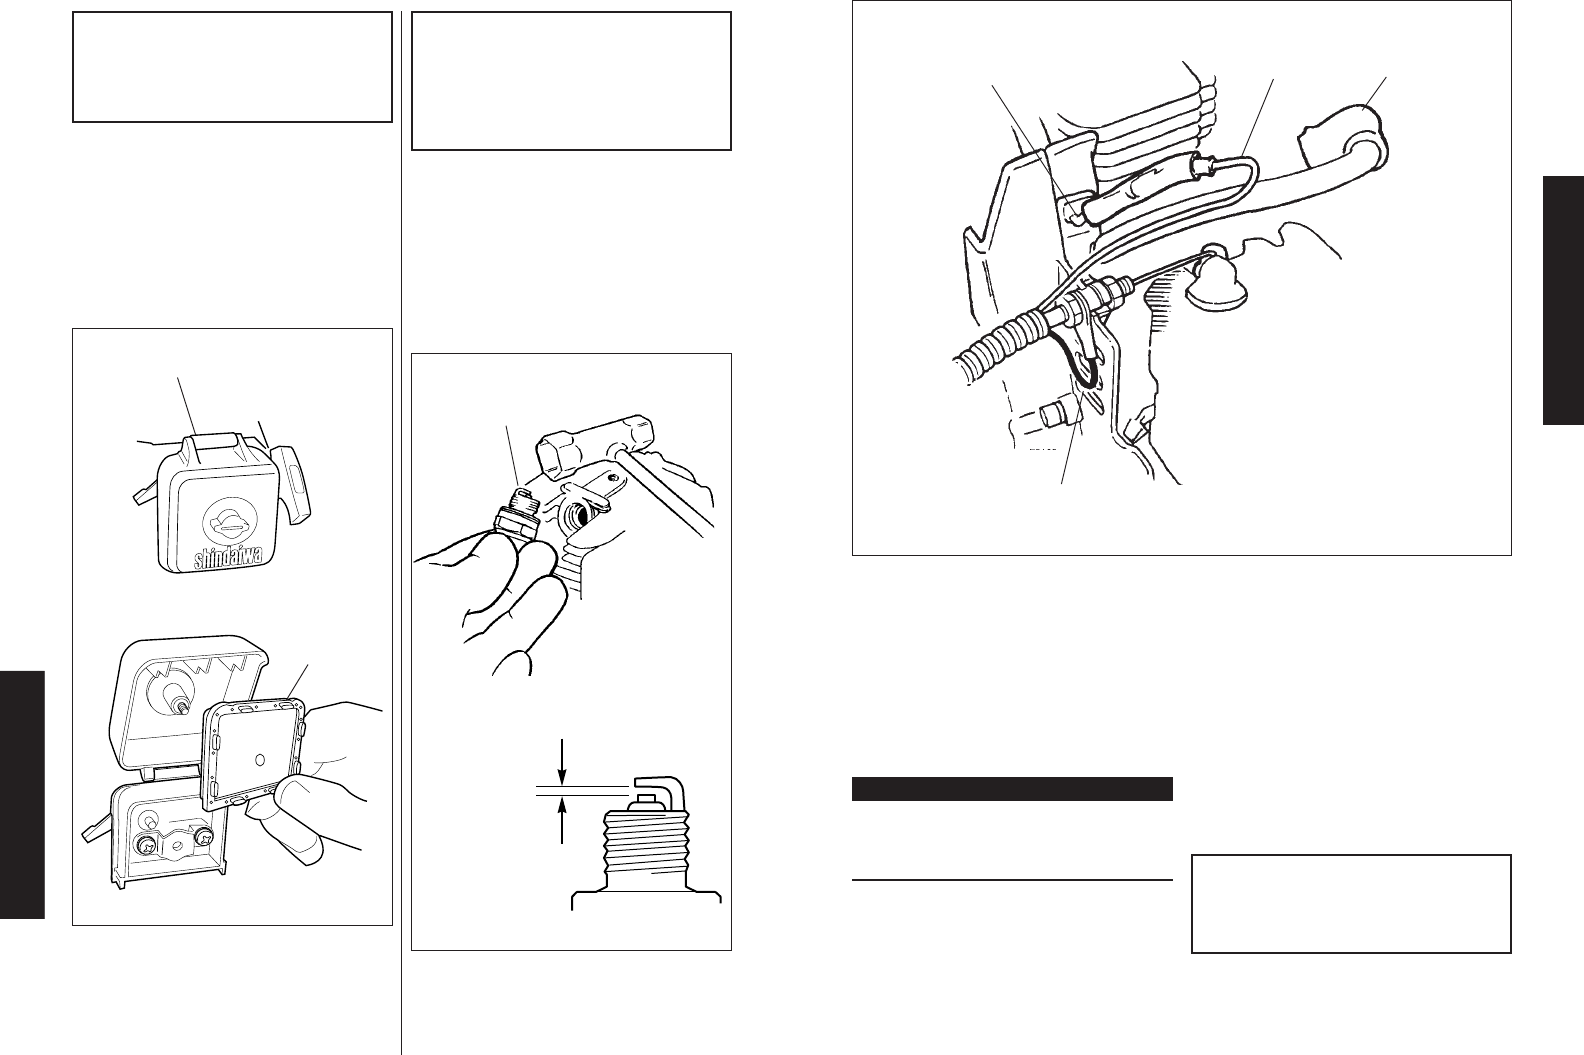
Assemble and Adjust the Throttle Cable.
1. Insert the throttle cable housing
into the notch on the fan cover, and
clamp the black wire’s connector
between the fan cover and the cable
outer adjuster nut. See Figure 10.
2. Tighten the two throttle cable
adjuster nuts.
Spark
Plug Boot
Black Wire
Ignition Ground
Lead
Black Wire
3. Using finger pressure only, connect
the black switch wire from the
cable tube to the red ignition wire
on the powerhead. Wire routing
must be as shown in the illustration
with the black wire located over the
spark plug wire. See Figure 10.
4. Reinstall the cylinder cover and
tighten the three cover screws.
5. Reinstall the spark plug boot.
Figure 10
Throttle Linkage and Ignition Leads
Assembly
Red Wire
IMPORTANT!
Adjust and tighten the cable nuts to
allow approximately 1/4-inch freeplay
at the throttle trigger.
CAUTION!
Routing of wiring must not inter-
fere with throttle operation.
ASSEMBLY
P231_35
10-Hour Maintenance
CAUTION!
Before removing the spark plug,
clean the area around the plug to
prevent dirt and debris from getting
into the engine’s internal parts.
Clean the spark plug
and check the gap at
the electrode.
CAUTION!
Do not operate the unit if the air
cleaner or element is damaged, or if
the element is wet.
10/15-Hour Maintenance
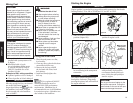
Figure 30
Figure 31
P231_36
0.024 inch
(0.6 mm)
24
Remove and
clean the
element
Unscrew
Fastener
AH231_30
Every 10 hours of operation,
(more frequently in dusty or
dirty conditions):
Remove the air cleaner element from
the air cleaner housing and clean it
thoroughly with soap and water. Let it
dry before reinstalling the element.
See Figure 30.
Every 10 to 15 hours
of operation:
Remove and clean the spark plug. See
Figure 31. Adjust the spark plug
electrode gap to 0.024-inch (0.6 mm).
If the plug must be replaced, use only:
Champion CJ8 or equivalent spark
plug of the correct heat range.
MAINTENANCE


