97-6133 • Rev. 5/07
OPERATOR’S MANUAL
PRESSURE WASHER
14
MAINTENANCE AND SERVICE
Fuel:
Use clean fuel oil that is not contaminated with water
and debris. Replace fuel filter and drain tank every
100 hours of operation. Use Kerosene No. 1 or No.
2 Heating Fuel (ASTM D306) or diesel only. NEVER
use gasoline in your burner tank. Gasoline is more
combustible than fuel oil and could result in a serious
explosion. NEVER use crankcase or waste oil in your
burner. Fuel machine malfunction could result from
contamination.
Ignition Circuit:
Periodically inspect wires, spring contact and elec-
trodes for condition, security and proper spacing.
(CAUTION: 10,000 VOLTS)
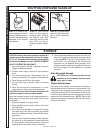
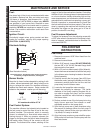
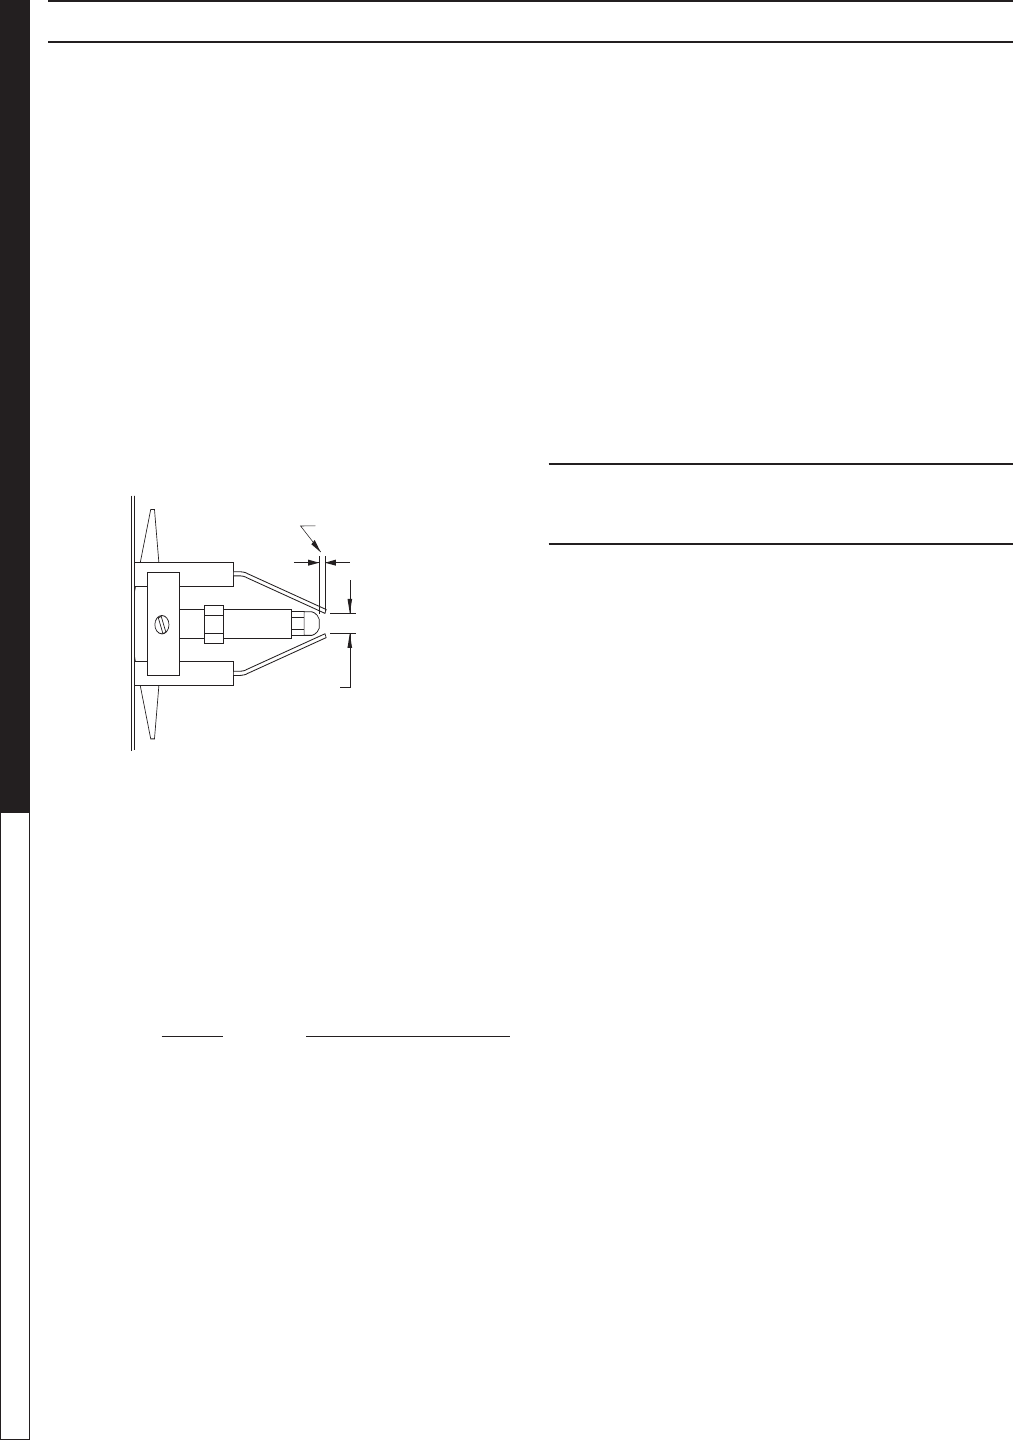
Electrode Setting:
(See illustration below)
Electrodes Check : Periodically check wiring connections.
If necessary to adjust electrodes, use diagram.
Burner Nozzle:
Keep the tip free of surface deposits by wiping it with
a clean, solvent-saturated cloth, being careful not to
plug or enlarge the nozzle. For maximum efficiency,
replace the nozzle each season. Select nozzle size
based on the pressure washer you will be using:
Nozzle Pressure Washer GPM
1.50 2 - 3
1.75 3 - 4
2.00 - 2.25 4 - 5
All nozzles should be 45° W
Fuel Control System:
The machine utilizes a fuel solenoid valve located on
the fuel pump to control the flow of fuel to the com-
bustion chamber. This solenoid, which is normally
closed, is activated by a flow switch when water is
flowing through it. When an operator releases the
trigger on the spray gun, the flow of water through the
flow switch stops, turning off the current to the fuel
solenoid. The solenoid then closes, shutting off the
supply of fuel to the combustion chamber. Controlling
the flow of fuel in this way gives an instantaneous burn
or no burn situation, thereby eliminating high and low
water temperatures, and combustion smoke normally
associated with machines incorporating a spray gun.
Periodic inspection is recommended to insure that
the fuel solenoid valve functions properly. This can be
done by operating the machine and checking to see
that when the trigger on the spray gun is in the off
position, the burner is not firing.
Fuel Pressure Adjustment:
To adjust fuel pressure, turn the adjusting screw with
a 5/32” allen wrench (located on the fuel pump) clock-
wise to increase, counterclockwise to decrease. Do
not exceed 200 PSI.
FIELD REPAIR
INSTRUCTIONS
Fuel Pump:
1. Remove the screws 10/32” Allen Head from the
machine hood.
2. Remove louvered hood.
3. With a 9/16” wrench, loosen (DO NOT REMOVE)
the two 3/8” x 3/4” HH NC serrated flange bolts
that secure the front panel.
4. With a 2.5 mm hex head wrench (Allen Wrench),
loosen the three set screws that hold the fuel pump
in the blower motor housing located on Idromatic
Boiler Assembly.
5. Carefully remove the fuel pump (Item #53) from
the blower motor, leaving the flexible zinc fuel line
connected, carefully bend the fuel line and fuel
pump away from the blower motor.
6. Locate the fuel pump/fan motor coupling.
7. Inspect the coupling for damage. The inside
diameter of fuel pump coupling requires flat on
one side to engage fuel pump, and the outside
diameter requires two male notches to engage
the blower motor.
8. Perform a check to see if the fuel pump is turning
freely. Use an open end 7mm wrench or small
adjustable wrench on fuel pump shaft.
9. Spin the fuel pump over in both directions using
the wrench for leverage. When the fuel pump is
turning freely (almost to the point you could turn
it by hand) it is ready to reinstall.
10. Align fuel pump coupler on pump shaft/fan motor.
Slide pump into fan motor. Secure pump with the
three set screws.
Gap
1/8”
3/16”
Side View


