ASSEMBLY
1480/1485/1495 01/11 Assembly Section 3-5
© 2011 Alamo Group Inc.
ASSEMBLY
Dismounting and Mounting Loader
Dismounting Loader
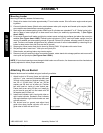
Locate tractor and loader on firm level ground.
1. With bucket raised above ground, tilt bucket
down approximately 30 degrees from level.
2. Lower boom by retracting lift cylinders to lift
tractor front end (tires can be off ground).
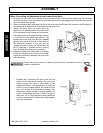
3. Stop Engine. Allow tractor front end to lower by
relaxing ONLY lift cylinders with control lever.
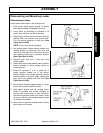
This will remove pressure on hitch pins (See
Figure Asm-L-0002).
NOTE: Do not relax bucket Cylinders.
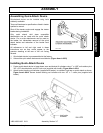
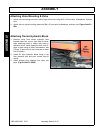
4. Set parking brake. Rotate parking stands from
storage position by removing lynch pins and
clevis pins. Reinstall clevis pins and lynch pins
when parking stands are in operation position
(See Figure Asm-L-0001).
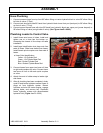
5. Remove lynch pins and 1” hitch pins from
loader upright.
6. Start tractor engine and release brakes. Retract
bucket cylinders to allow parking stands to
contact ground.
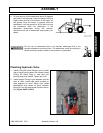
7. Extend lift cylinders 6” to 8” to rotate top of
loader uprights forward out of the mount,
allowing tractor to be pushed rearward. Retract
bucket cylinders until lower loader upright pins
clear mount pin saddles and front tires (See
Figure Asm-L-0003).
8. Move tractor rearward approximately 6”, being
certain not to stretch hydraulic hoses.
9. Stop tractor engine and set parking brake.
Relax lift cylinders and bucket cylinders by
moving each control lever in both directions.
Disconnect hydraulic hoses from tractor. Install
dirt plug in female quick couplers and dirt caps
on male quick couplers.
10. Start tractor engine and release brakes. Slowly
back tractor out of loader.


