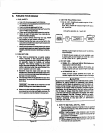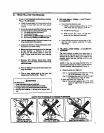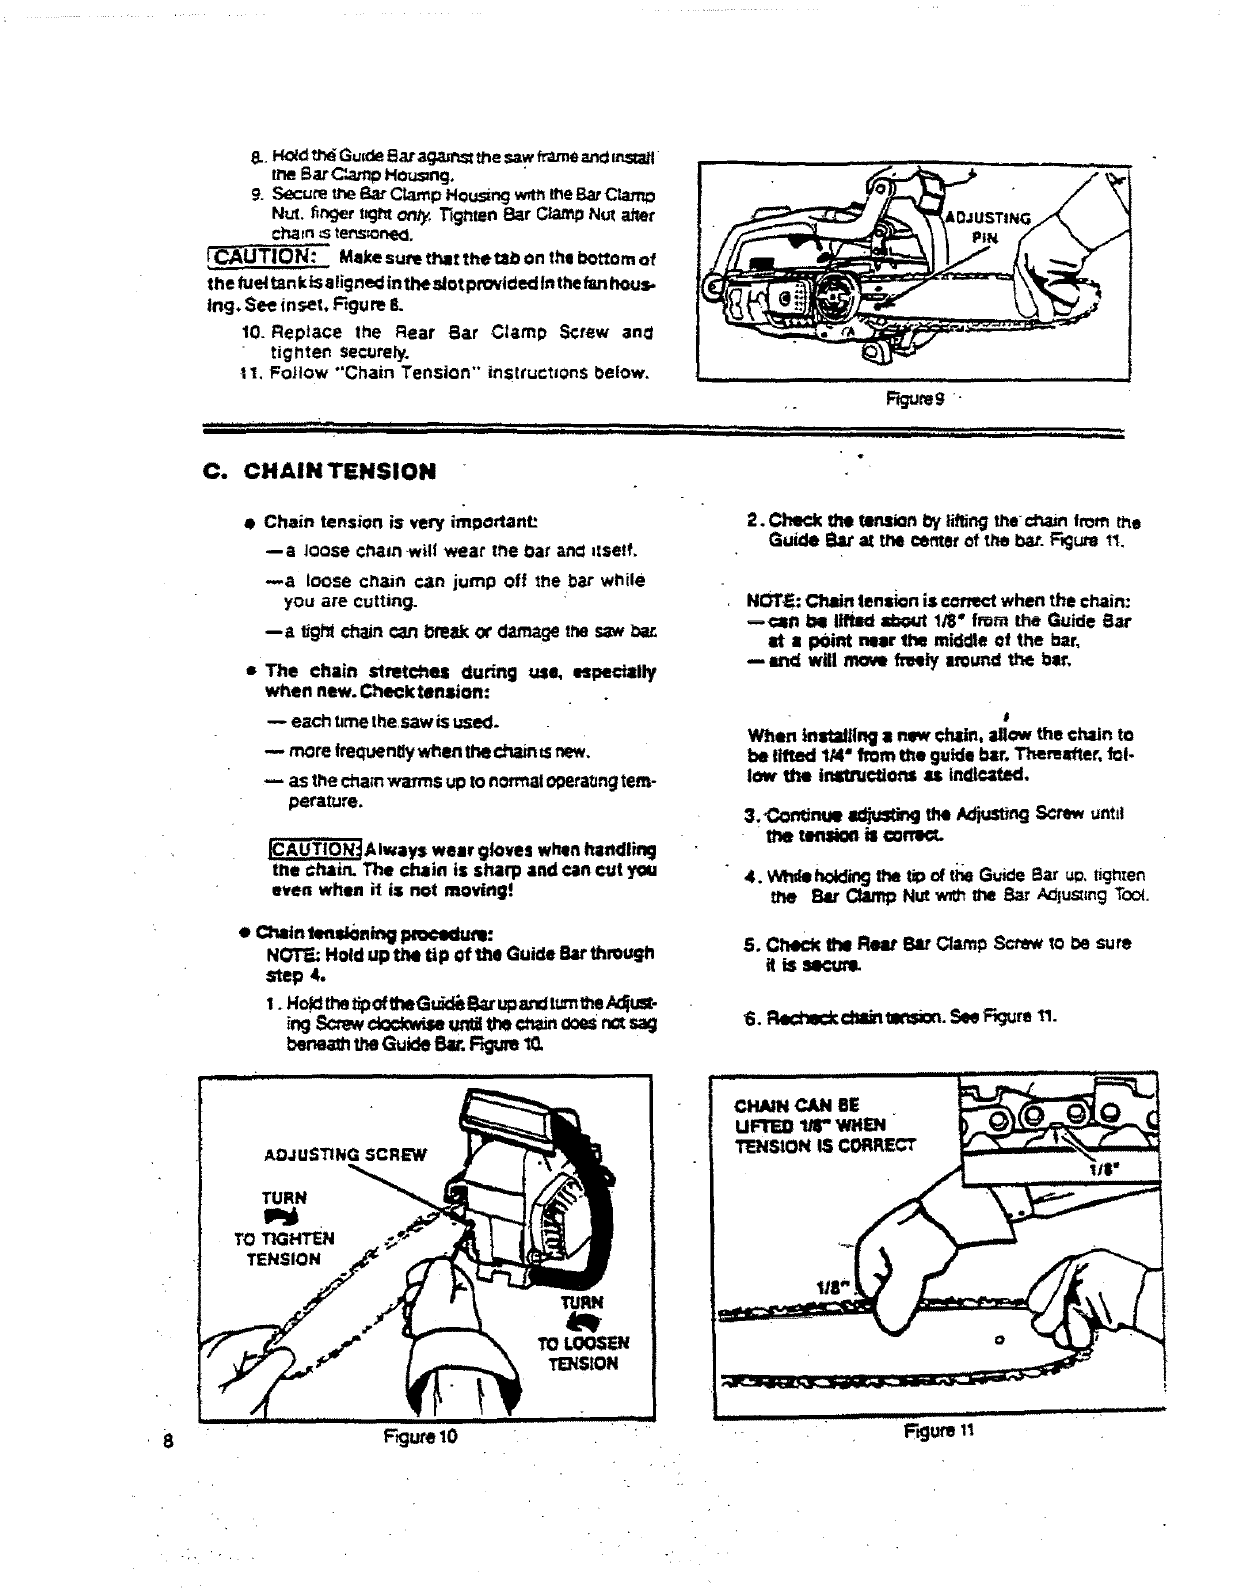
8.. H_d U'_;GurdeBar again._ _e sawfrar_eand =r',s=_l
the Bar Ca,'l_ Hou_ng.
9. Secure the _ Clamp Housing wrm meBarClan_
Nut. finger t_l'tt _, "r]g_ten_:_=rClamp Nut after
cha=n_ste_orte_.
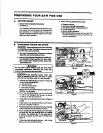
_N: Make sum tt'4l_the tab on the bottom of
the tuel tank_ aligned inthesJot pro_tded Inthefanhous.
tng. See inset, Figure 6.
10. Reptace the Rear Bar Clamp Screw an=
tighten securely.
1I. FoJtow "'Chain Tension" instructmns below.
i ,HH H"""_H " I_II • II I "i I I I i,,,i
Fk_,Jmg '
i
_ i iii iiii i i, ii ..... ._
C. CHAIN TENSION
• Chain tension is very ironer=ant:
a Joose chain will wear trle Da_an= ==self.
_a loose cl_ain can jump off the bar willie
you are cutting.
--a _gl_tdnaincan i=makor damage the _
• The chain stretches during use, especially
when new. Check tension:
each tJmethe saw isused-
more fre_en_y when the chain tsnew.
m as the chain warms up tonormal op_aung tem-
perature.
_Always wear gloves when handling
the chain. The chain is sharp and can cut y_a
even when it is not moving!
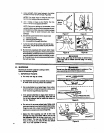
• C:_in _sioning pmee_am:
NOT'=:Holdupthe tip of the GuideBarthrough
step 4.
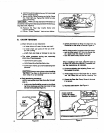
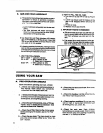
1. Hok_thetipoftheGuidizB_rupandturnme._just-
_ngScrew¢_se untothe¢n=n eoe=rz:tsaq
_neam tl_ Guide Bar.Rgum 1_
F_jum 10
- 'L
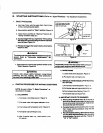
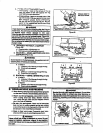
2. Check the tension 0y lilting the d%lin from _he
Guide Bat at the center of the bar. F_jum tl.
NOTE:Chain lensionis correctwhen the ct'.ain:
--€an be ltft_ _ 1,'8"from me GUideBar
at a point near tl_ middleo1the bar,
•--md will mow freely aroundthe bar,
I
When installing s new chain, allow the chain to
be lifted 1/4" from _e guide bar. Them=fret, fol-
low the tnltnlctlons as indicated.
3. Continue adjusti_ the/_ust_ng S_'tew until
r _ t_ _ _
" 4. _ =raidingthe t_ of t_ Guide Ear ua,dg_nmn
the Bar Clamp Nut _ the Bar ,_lu==ng T_oL
5. Check me Re_ Bar Clamp Screwto i=esure
_1is slews.
6. t=kx:t-_ _n re'is=re.Se_F,;ure _.
CHAIN CAN BE . __
UFTE91.,it" WHEN
TENSION IS CORRECT
t/8"
ii
F_uro t_
, ,, !,,,_,


