ADJUSTING THE SHOULDER HARNESS
(Vacuum Kit)
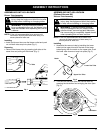
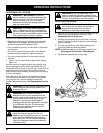
WARNING - Hot Surface:
To prevent
serious personal injury when operating the
unit as a vacuum, hold the unit to the left
side of the body (Fig. 7). The muffler
becomes extremely hot during operation
and can cause burns.
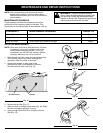
NOTE: Have the vacuum bag harness adjusted prior to
starting the unit.
1. Extend the harness opening fully.
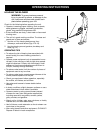
2. Place the harness over your head and onto your right
shoulder. Hold the unit in the operating position to
get a proper adjustment (Fig. 7).
3. Make sure the vacuum bag harness is adjusted to
allow free flow of air into the vacuum bag elbow. If
the bag is kinked, the unit will not perform correctly.
The bottom of the bag should be parallel to the
ground (Fig. 7).
4. Lengthen the harness by pulling down on the strap
and moving the buckle up. Shorten the harness by
pulling the strap back through the buckle while
moving the buckle down (Fig. 8)
ASSEMBLY INSTRUCTIONS
10
Fig. 5
Fig. 6
Fig. 7
Fig. 8
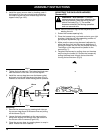
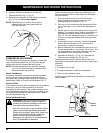
3. Install the upper vacuum tube by hooking under it
the hinge pin of the vacuum door and positioning
the tube to where the knob threads align with the
tapped hole (Figs 4 & 5).
4. Tighten the knob securely. The tube should set even
with the bottom of the unit. Do not over tighten.
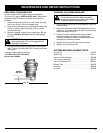
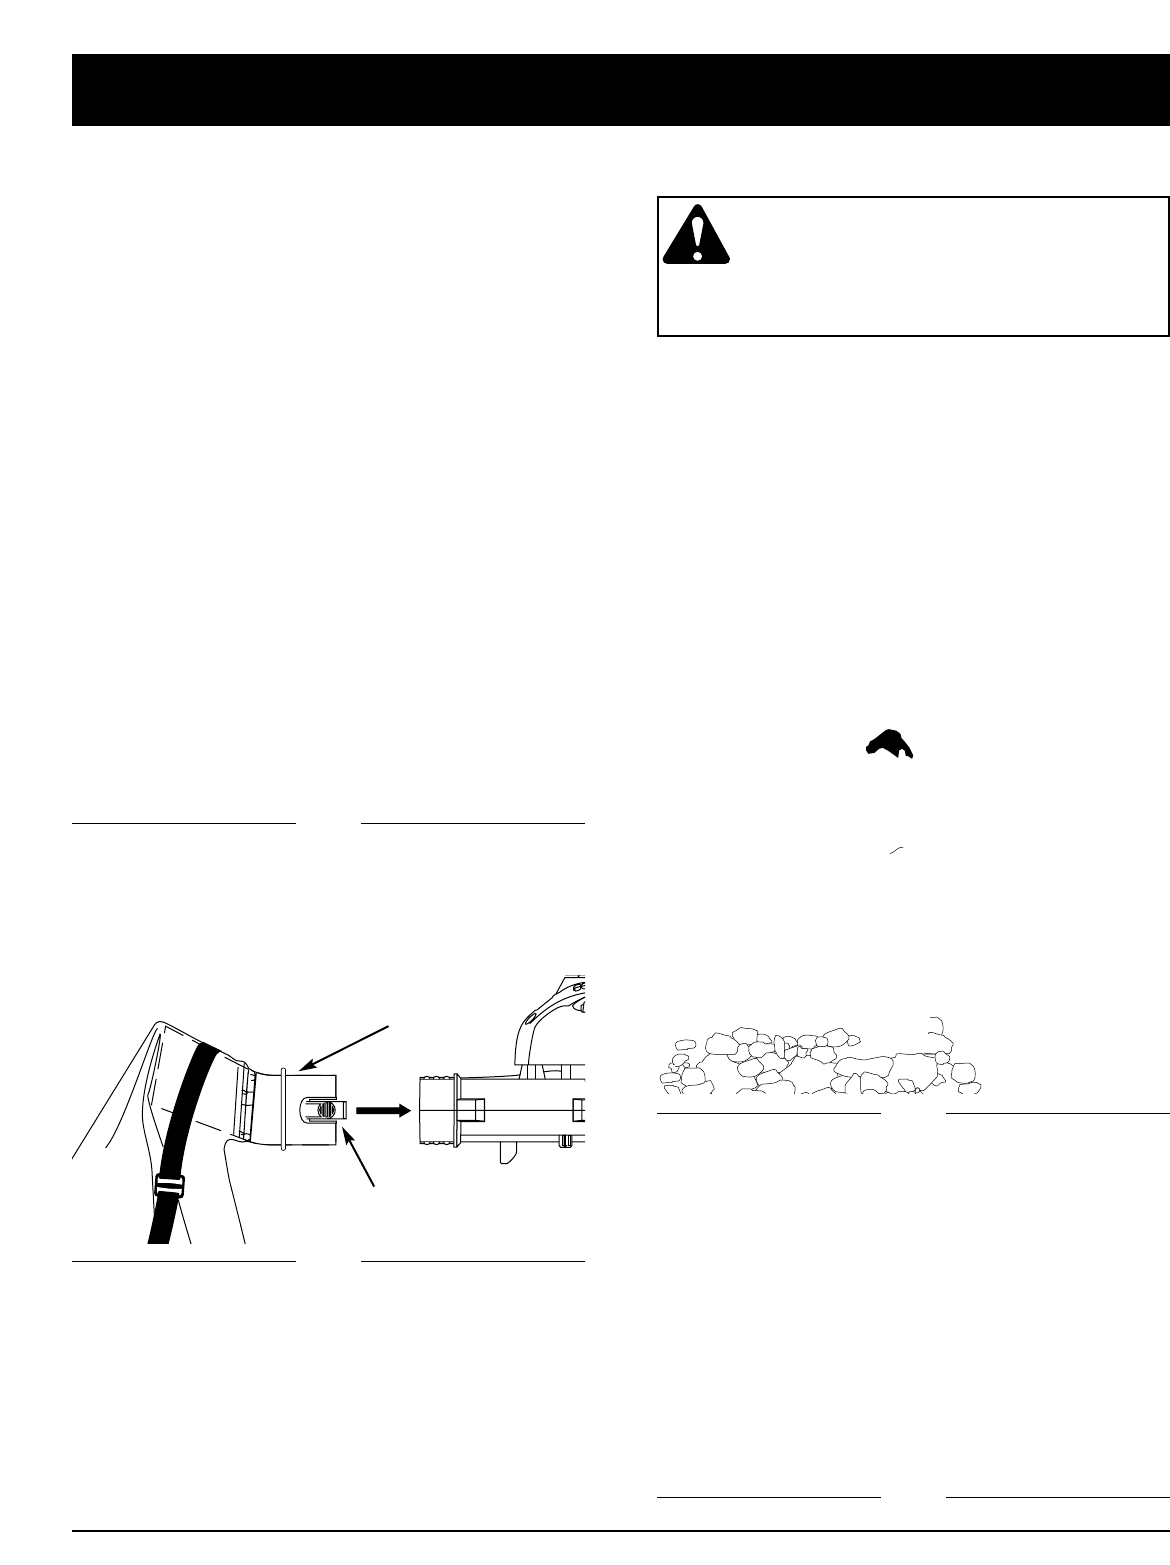
5. Install the vacuum bag tube over the blower outlet
and push on until both tabs snap into place (Fig. 6).
Position so the elbow inside the bag slants upwards.
Removing
1. Remove the vacuum bag by pressing both tabs on
the vacuum bag elbow at the same time and pulling
off the blower (Fig. 6).
2. Loosen the knob completely on the vacuum tube,
swing back slightly and unhook from the bottom of
the vacuum door to remove (Figs 4 & 5).
3. Close the vacuum door by pressing down to snap in
place. Ensure the door is secure.
Elbow
Tabs


