10 — ENG
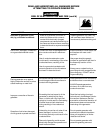
Extension Cord Wire Gauge Chart
Amperage
*Up to 20 amp draw
Up to 30 amp draw
Cord
Length
0 to 100 ft.
0 to 100 ft.
Wire Gauge
Size
12 ga.
10 ga.
*NOTE: When amperage exceeds 20 amps; a 12 gauge
extension cord should not be used for long distances.
Extension Cords
When using an appliance or tool at a considerable
distance from the generator, a 3-wire extension cord
that has a 3-blade grounding plug and a 3-slot recep-
tacle that accepts the tool's plug MUST be used in
order to reduce the risk of electrical shock. A cord of
adequate size must be used. Using the following chart
to determine the minimum wire size required.
An extension cord that is hot to the touch is
overloaded. Repair or replace damaged exten-
sion cords immediately.
Double Throw Transfer Switch
Potential hazards exist when a portable electric
generator is connected to the main electrical
supply coming into the house. It is at that point
that the electrical generator could feed back into
the utility company's system causing possible
electrocution of workers who are repairing the
electrical lines.
To avoid back feeding of electricity into utility
systems, a double-throw transfer switch must
be installed between the generator and utility
power. The Double-Throw Transfer Switch
should be installed by a licensed electrician and
in compliance with all state and local electrical
codes. (When installing a Double-Throw Transfer
Switch, a minimum of 10 gauge wiring must be
used.)
The electrician should also install a sub-panel to
isolate the circuits you would want to use during
an emergency or electrical power outage. Your
generator will not be large enough to handle the
load of all the lights, appliances, TV, etc. at one
time. To select which items to run during the
electrical power outage, see Wattage Calculation
section in this manual.
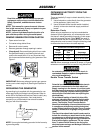
ASSEMBLY
Read this manual. Do not attempt to operate
equipment until you have read this Manual for
Safety, Operation, and Maintenance Instruc-
tions.
NOTE: This manual is a general manual. Informa-
tion in this manual may or may not pertain to your
model. Please read carefully.
NOTE: Left and right describes the location of a
part with the operator facing the outlet panel.
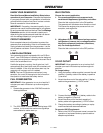
REMOVE GENERATOR FROM CARTON
• Open carton from top.
• Cut carton along dotted lines.
• Remove all carton inserts.
• Remove generator through opening in carton.
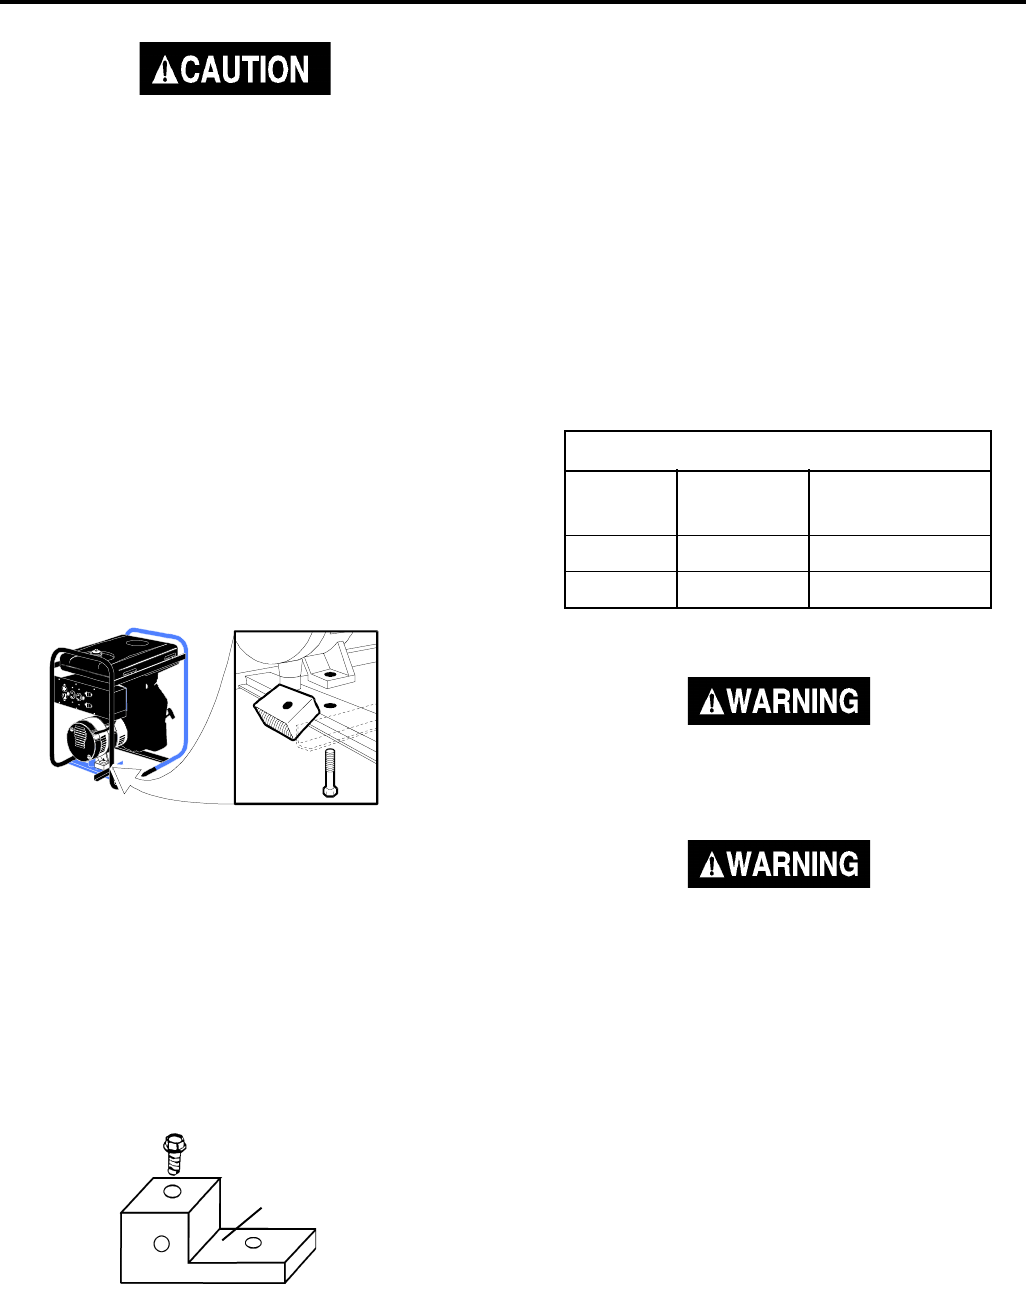
• (if equipped) Remove shipping block from under
the generator head by unscrewing the bolt and
remove the wood block. It is very important that
this is removed before starting your generator. See
Figure 1.
IMPORTANT: Before any attempt to start your genera-
tor be sure to check engine oil (See Engine Operator's
manual).
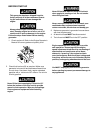
GROUNDING THE GENERATOR
A grounding lug is supplied with the generator for use
when required by local electrical ordinances. Refer to
article 250 of the National Electrical Code to clarify any
needed grounding information. Your local electric
company or a certified electrician should be able to
help you with this information.
Figure 1
Grounding Lug
Figure 2
NOTE: Your engine is already grounded to the frame by
a grounding strap.
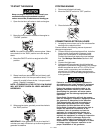
OBTAINING ELECTRICITY FROM THE
GENERATOR
There are basically 2 ways to obtain electricity from a
generator:
1. Use of extension cords directly from the generator
to the appliance, lights, tools, etc.
2. Use of a double-throw transfer switch installed
directly to the main electrical supply outside of
house.


