


9
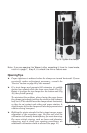
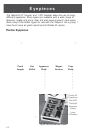
5. Continuing to lift firmly with your left
hand,
almost
enough to lift the scope from
the ground, tighten both left strut clamps
with your right (Fig 16).
6. Grasp the right strut upper section firmly
with your right hand, and again hold
upward enough to
almost
lift the scope.
7. Continuing to lift firmly with your right
hand, tighten both right strut clamps with
your left.
8. Rotate the scope 180
o
, and repeat steps 4,
5, & 6, again holding up firmly on the top
strut section so it is fully extended to its
stop while you tighten the clamps.
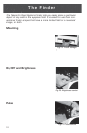
9. Move the finder from its storage position
to the secondary cage (see “Mounting” on
page 12)
10. Open the eyepiece drawer, place an
eyepiece fully into the focuser, and
close
the drawer
.
The first time may take some doing, but with
practice it will become and quick and easy.
Note: If you are opening the Teleport after unpacking it from its travel mode,
return to page 7, step 2, to unlock the mirror before use.
OpeningTips
➤ Proper tightness is achieved when the clamps are turned horizontal. If wear
eventually makes adjustment necessary, consult the
“Service” section on page 22 of this manual.
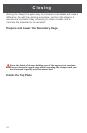
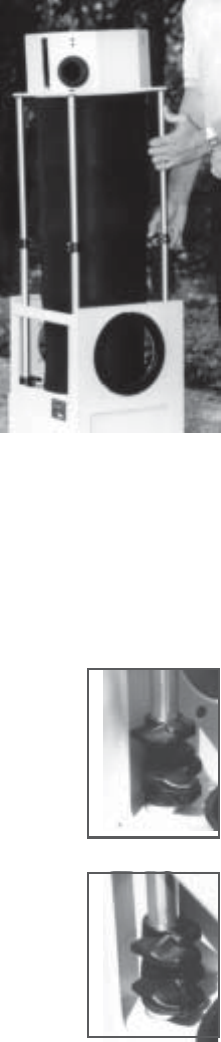
➤ If a strut hangs and prevents full extension, its middle
section has rotated while the scope was closed (Fig 17).
Rotate it to align the top clamp over the bottom one (Fig
18), then finish opening.
To minimize this problem, when closing the scope loosen
the clamps just enough to allow the struts to slide (about a
half turn.) This should leave the clamps about horizontal,
so they do not contact each other and cause rotation. A
slight tension left in the clamps will also help prevent strut
rotation during transport.
➤ Holding the struts extended to their stops insures proper
alignment of the secondary cage. Do this well and the
collimation will usually be satisfactory for most observing.
For more critical viewing, such as lunar and planetary
observing, and to check your opening procedures, an
additional collimation check is advised (see page 11.)
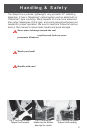
Fig 16: Tighten the clamps
Fig 17: Rotated
Fig 18: Aligned