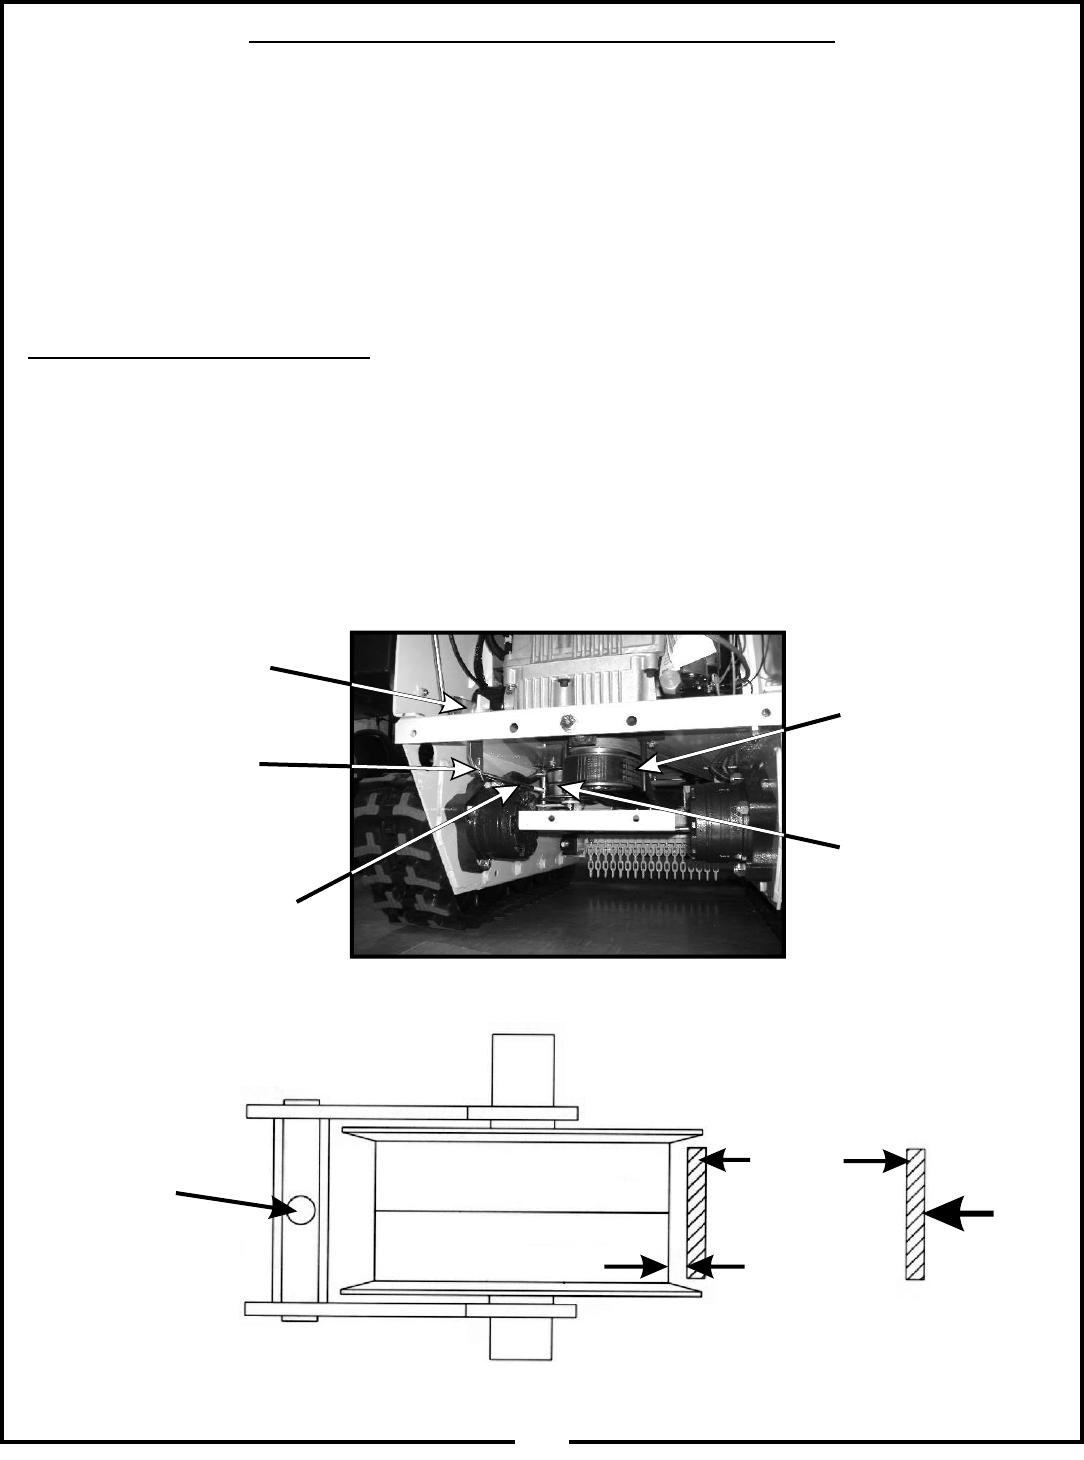
DRIVE BELT IDLER ADJUSTMENT
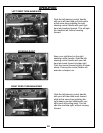
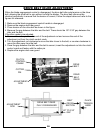
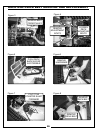
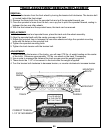
When the blade engagement control is disengaged, the drive belt idler puts tension on the drive
belt, allowing the drive belt to spin without turning the blades. The drive belt idler must be
checked periodically to ensure that the tension is correct, Follow the steps below and refer to the
figures for reference:
1. Make sure the blade engagement control handle is disengaged.
2. Remove the engine deck rear guard.
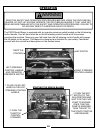
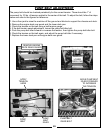
3. Place tension on the drive belt as shown in the figure.
4. Measure the gap between the idler and the belt. There should be 1/8”-3/16” gap between the
idler and the belt.
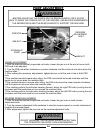
If the idler needs to be adjusted:
1. Remove the cotter pin from the end of the adjustment rod and remove the end of the
adjustment rod from the clutch control crank.
2. Turn the adjustment rod clockwise to move the idler closer to the belt, or counter-clockwise to
move the idler away from the belt.
3. Once the gap between the idler and the belt is correct, insert the adjustment rod into the clutch
control crank and fasten with the cotter pin.
4. Replace the engine deck rear guard.
OFF
RUN
START
ADJUSTMENT
ROD
COTTER
PIN
DRIVE
BELT
IDLER
DRIVE
BELT
CLUTCH
CONTROL
CRANK
ADJUSTMENT
ROD
1/8” TO 3/16”
GAP
BELT
CROSS
SECTION
DRIVE BELT IDLER
FULLY DISENGAGED
16
PLACE
TENSION
HERE


