


2
FIGURE 4
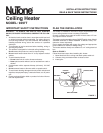
INSTALLATION
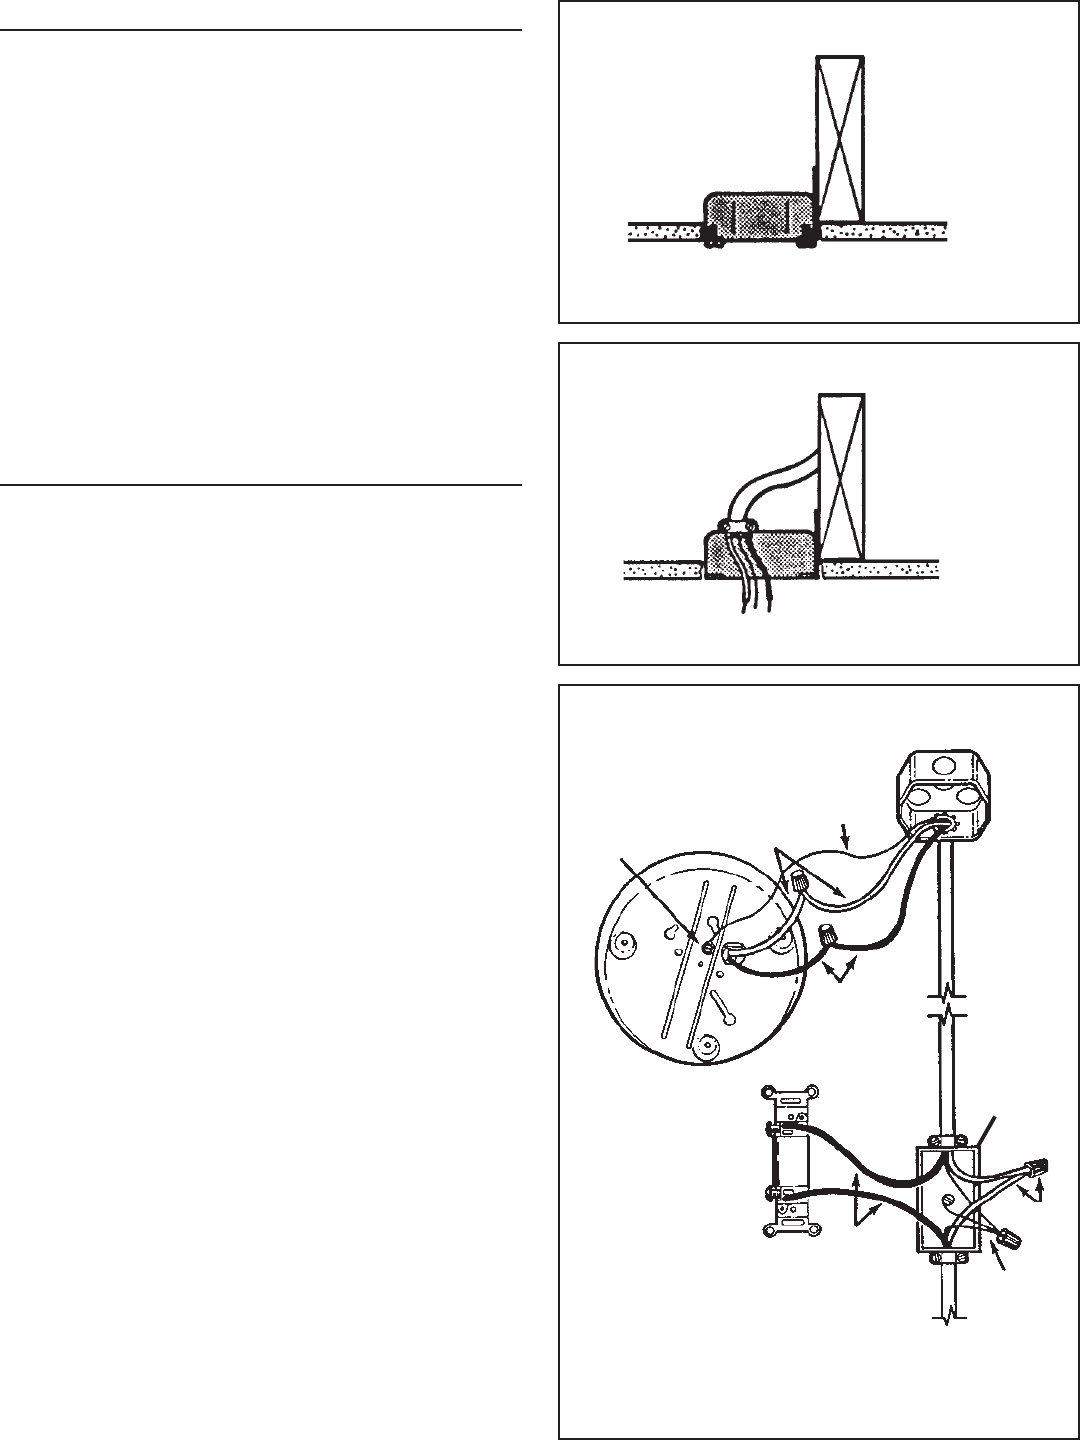
Refer to FIGURE 2
1. Mount electrical box. Position electrical box flush or slightly
recessed in ceiling and mount it securely.
Refer to FIGURE 3
2. Connect wiring. Run electrical cable into box and secure with
appropriate connector. Allow 6" of wire inside box.
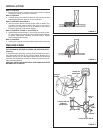
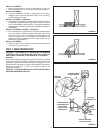
Refer to FIGURE 4 and FIGURE 5
3. Wire the heater. Attach electrical power cable to heater. Con-
nect black to black, white to white, and green or bare wire to
ground screw. Complete the wiring by adding a wall control.
Follow the pictorial or schematic diagram.
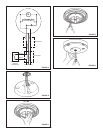
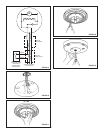
Refer to FIGURE 6, FIGURE 7, and FIGURE 8
4. Attach heater to electrical box. Tuck wires up into electrical box.
Fit screw heads from electrical box into appropriate keyholes,
as shown. Twist heater clockwise to hold it in place. Tighten
two (2) electrical box screws.
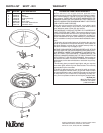
Refer to FIGURE 9
5. Install grille. Use grille screw (provided) to attach grille, as shown.
USE AND CARE
CAUTION – DISCONNECT ELECTRIC POWER SUPPLY AT SER-
VICE ENTRANCE BEFORE CLEANING OR SERVICING UNIT.
Cleaning:
To clean the heater assembly, carefully clean through heater grille,
using the round brush tool on your vacuum cleaner. Remove accu-
mulations of dust, lint, etc., that might impede the flow of air through
the heater. Such blockage will lower its efficiency and create a pos-
sible overheat condition.
CAUTION – METAL AND ELECTRICAL PARTS SHOULD NEVER
BE IMMERSED IN WATER.
BLACK
BLACK
GROUND
WHITE
120 VAC 60 HZ LINE IN
GREEN OR
BARE WIRE
GROUND
SCREW
WHITE
TOGGLE SWITCH
TIMER OR
THERMOSTAT
SWITCH
BOX
FIGURE 3
FIGURE 2