Installation Instructions
5
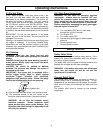
Installing a Battery
Warning: Sulfuric acid is a corrosive poison.
Avoid contact with skin, eyes or clothing. Always
wear safety glasses. Always wear safety glasses
when working on or near the battery.
The engine will not run and the burner will not fire
without first installing a battery.
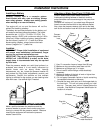
The battery box provides protection for the battery and
will accept a standard automotive battery (The inside
dimensions are 11-1/8"L x 7-3/4"W x 10-1/8"H). The
battery must be 12VDC, with a minimum rating of 18 Ah
(Amp-hour). When installing a battery, always connect
the red colored (“positive” or “+”) cable first. When
disconnecting a battery, always remove the black
colored (“negative” or “-”) cable first
Location
IMPORTANT: Proper initial installation of equipment
will assure more satisfactory performance, longer
service life, and lower maintenance cost.
IMPORTANT: The use of a back flow preventer (Part
#222815 call 1-800-270-0810 to order) on the water
supply hose is recommended and may be required
by local code.
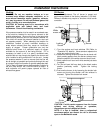
Place the pressure washer on a solid level surface in a
protected area where it is not readily influenced by
outside forces such as strong winds, freezing
temperatures, rain, etc. Locate the pressure washer for
easy access for filling fluids, adjustments, controls, and
maintenance. Position the machine so that ambient
lighting is sufficient for the surface you are cleaning to be
seen with ease. Use artificial light if needed.
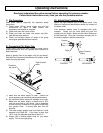
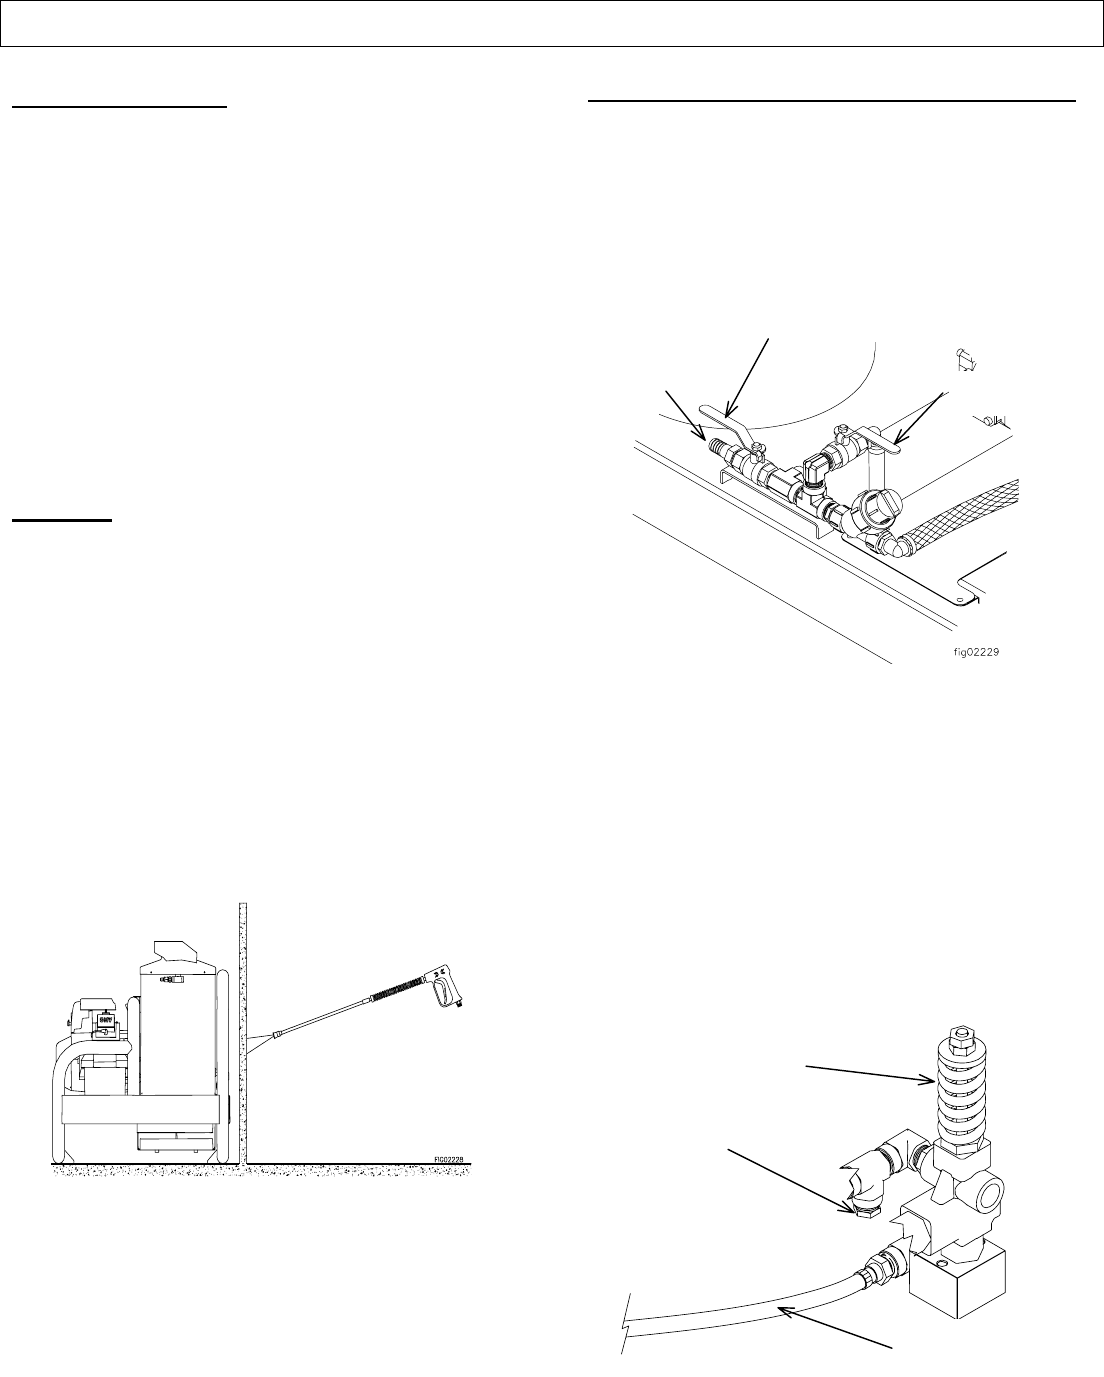
Make a partition between the wash area and the
pressure washer to prevent direct nozzle spray from
coming in contact with the pressure washer. Moisture
reaching the equipment will reduce the pressure
washer’s service life.
Attaching a Water Feed Tank (157594 only)
Caution: Make sure to follow these instructions.
Inadequate plumbing between a feed tank and the
pressure washer can cause damage to the pump from
cavitation.
Cavitation will not occur if you select large fittings and
hose to connect the feed tank to the pressure washer.
Also, place the pressure washer right next to the feed
tank so the connection hose will be as short as possible.
1.) Use ¾” connection hose no longer than 6ft long.
2.) Make sure the connection hose does not kink.
3.) Make sure all fittings are ¾” or larger.
4.) Do not use 90° elbow fittings unless absolutely
necessary.
5.) Make sure bottom of the tank is level or higher than
the bottom of the skid frame.
6.) Do not pump flammable liquids or liquids containing
incompatible chemicals or solvents.
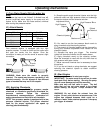
7.) Reroute the easy start valve so it discharges back to
the feed tank. This will aid pump priming on initial
start up. The easy start valve is located below the
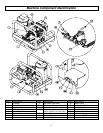
unloader. See Machine Component Identification for
location of unloader.
Unloade
r
Plug this
p
or
t
Reroute hose to
water feed tank
Connec
t
feed line
here
Open
this ball
Close
this ball


