68OM-06/03
24
BED KNIFE REPLACEMENT
Reels and bed knife are sharp. Wear
gloves to avoid cutting fingers on
sharp edges. Wear safety glasses
to protect eyes.
When the bed knife becomes damaged or too worn to
keep sharp, it must be replaced. Follow the procedure
below.
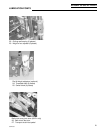
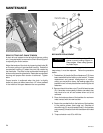
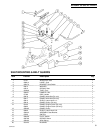
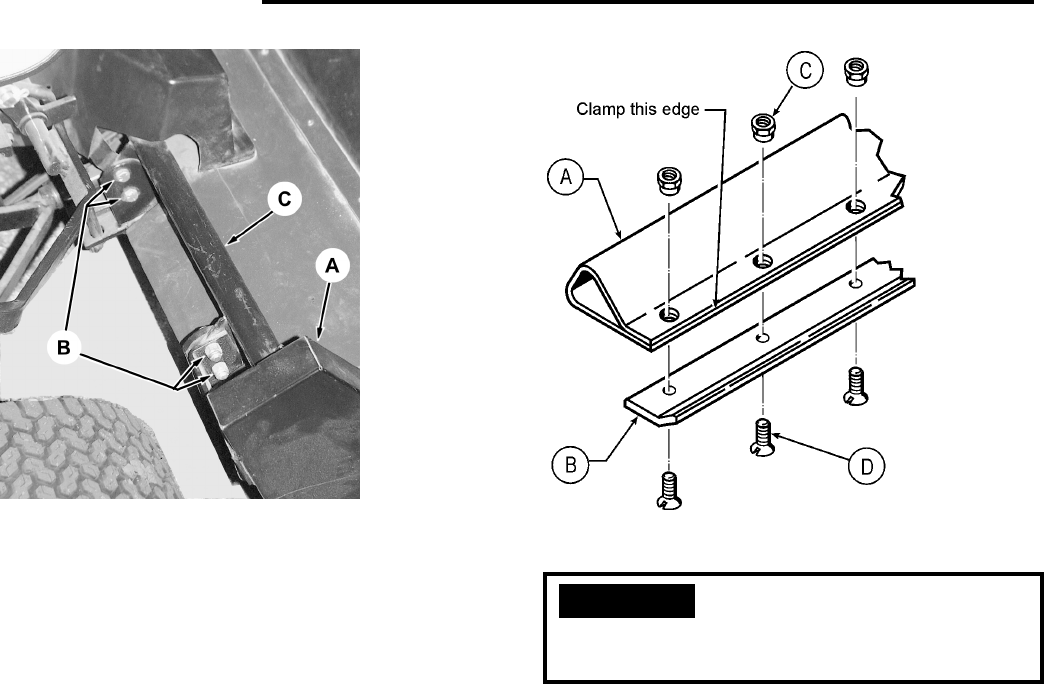
1. The backbar (A), bed knife (B) and fasteners (C,D) have
been assembled at the factory under tension. To ease
replacement and prevent misalignment of compo-
nents, you may wish to clamp the leading edge of the
backbar in two or three places before removing the old
fasteners.
2. Remove the old shoulder nuts (C) and flat head screws
(D). If shoulder nuts are badly rusted or corroded, they
may have to be cut off and screws driven out to be
removed.
3. Clean the bottom surface of the backbar for maximum
metal contact with the new bed bar.
4. Fasten the new bed knife to the bottom of the backbar
in the position shown (bent edge up). Shoulder of
shoulder nuts (C) must be seated firmly in the backbar
and screws (D) must be flush with the bottom of the bed
knife.
5. Torque shoulder nuts 35 to 40 ft-lbs.
MAINTENANCE
DANGER
REAR CUTTING UNIT CHAIN TENSION
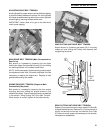
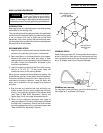
A chain drive is located on the left side of the rear cutting
unit. It maybe helpful to remove the Chain Shield (A) prior
to adjusting the chain tension.
Adjust the tension of the chain by loosening the 4 bolts (B)
on the rear cutting unit countershaft housing. Rotate the
countershaft housing (C) about the pivot line created by
the fixed bolts. The slots on the countershaft housing will
slide over the remaining two bolts. Rotate the countershaft
housing until proper chain tension is achieved. Tighten
bolts.
Proper tension is achieved when the chain is slightly
loose, but does not deflect more than 1/2" when pressed
in the middle of the span between the two sprockets.


