9
STARTING/STOPPING INSTRUCTIONS
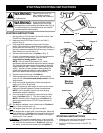
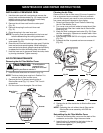
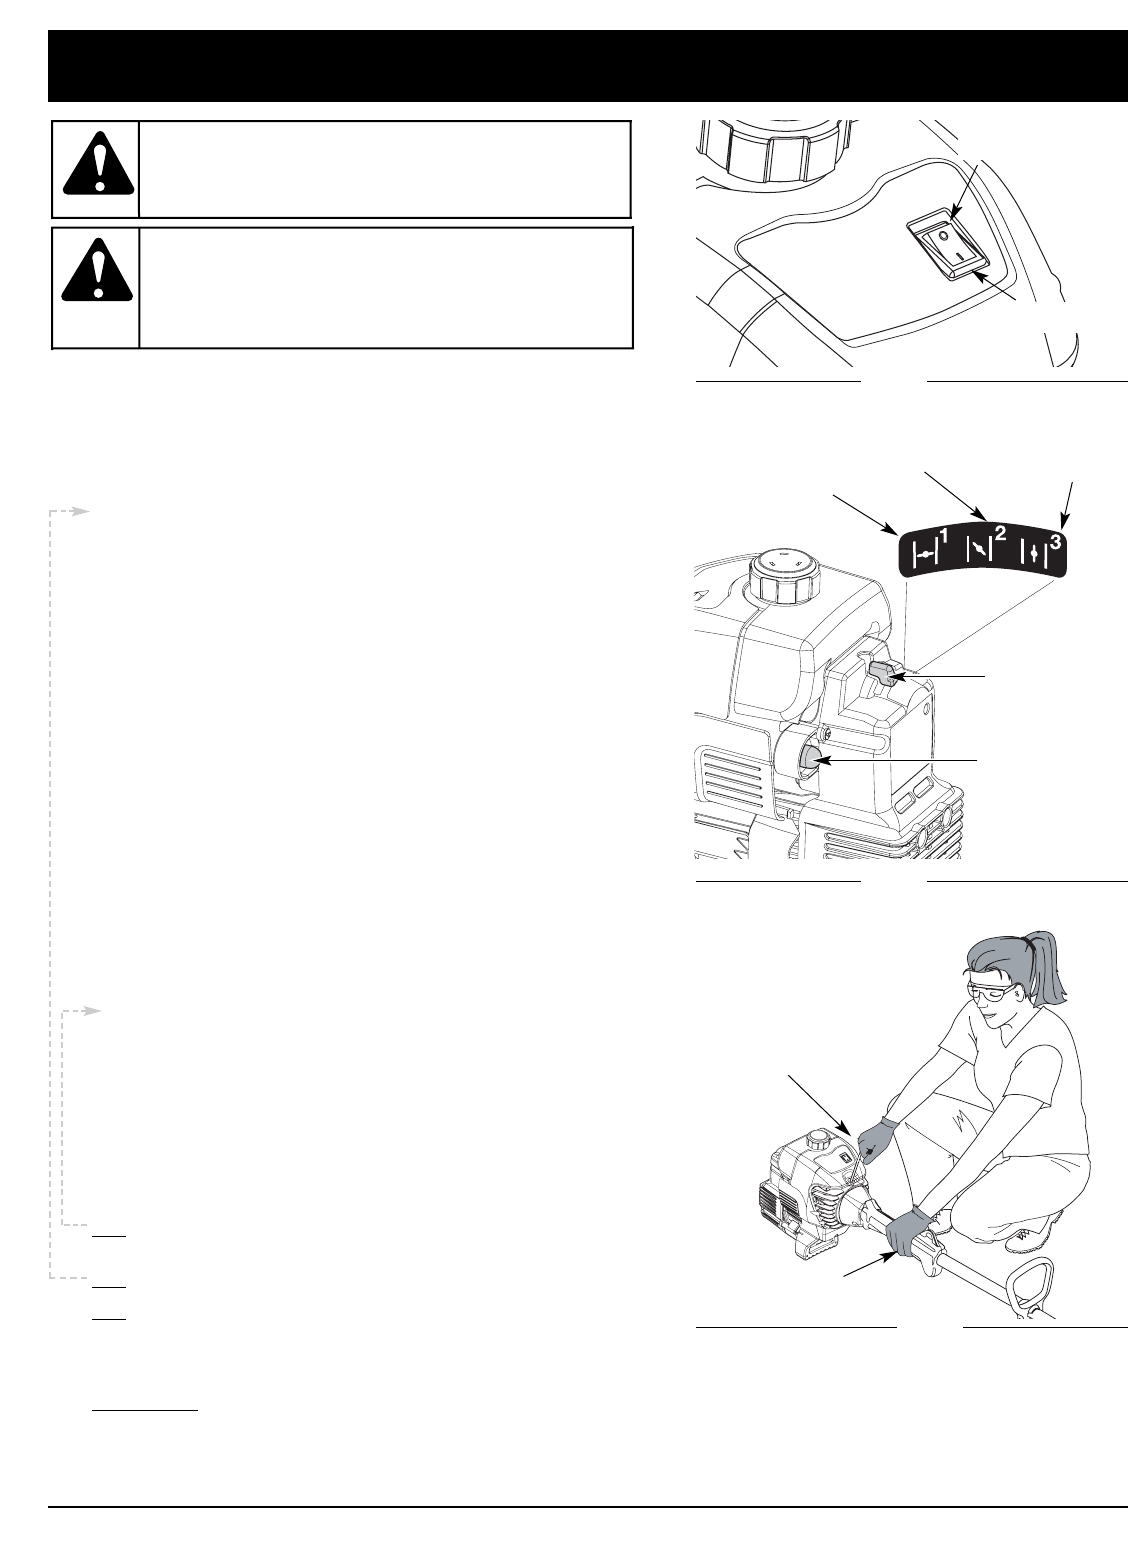
Fig. 6
Starting
Position
Start/On (I)
Stop/Off (O)
Starter Rope
Throttle Control
Fig. 8
Fig. 7
Blue Choke
Lever
Position
1
Position 3
Position 2
Primer Bulb
Operate this unit only in a
well- ventilated outdoor
area. Carbon monoxide exhaust fumes can be lethal in
a confined area.
WARNING:
Avoid accidental starting.
Make sure you are in the
starting position when pulling the starter rope (Fig. 8).
To avoid serious injury, the operator and unit must be
in a stable position while starting.
WARNING:
STARTING INSTRUCTIONS
STOPPING INSTRUCTIONS
1. Release your hand from the throttle control. Allow
the engine to cool down by idling.
2. Put the On/Off Stop Control in the OFF (O)
position.
1. Mix gas with oil. Fill fuel tank with fuel/oil mixture. See
Oil and Fuel Mixing Instructions.
2. Make sure the On/Off Stop Control in the ON ( I )
position (Fig. 6).
3. Fully press and release the primer bulb 10 times,
slowly. Some amount of fuel should be visible in the
primer bulb and fuel lines (Fig. 7). If you can’t see fuel in
the bulb, press and release the bulb as many times as it
takes before you can see fuel in it.
4. Place the blue choke lever in Position 1 (Fig. 7).
5. Crouch in the starting position (Fig. 8) and squeeze the
throttle control. Pull the starter rope out with a
controlled and steady motion 5 times.
NOTE: The unit uses EZ-Pull Version 3™, which
significantly reduces the effort required to start the engine.
You must pull the starter rope out far enough to hear the
engine attempt to start. There is no need to pull the rope
briskly-- there is no harsh resistance when pulling. Be
aware that this starting method is vastly different from
(and much easier than) what you may be used to.
6. Place the blue choke lever in Position 2.
7. While squeezing the throttle control, pull the starter
rope out with a controlled and steady motion until the
engine starts.
8. Keep the throttle squeezed and allow the engine to
warm up for 15 to 30 seconds.
NOTE: Engine may take longer to warm up and reach
maximum operating speed at colder temperatures.
NOTE: Unit is properly warmed up when engine
accelerates without hesitation.
9. Once the engine is warmed up, place the blue choke
lever in Position 3 (Fig. 7). The unit is ready for use.
NOTE: Move the blue choke lever to Position 3 for
best engine performance. DO NOT leave the lever in
Position 2.
IF...
The engine hesitates, return choke lever to Position 2
(Fig. 7) and continue warm up.
IF...The engine does not start, go back to step 3.
IF...The engine fails to start after a few attempts, place the
blue choke lever in Position 3 and squeeze the throttle
control. Pull the starter rope 3 to 8 times. The engine
should start. If not, repeat.
IF WARM...
If the engine is already warm, make sure the
On/Off Stop control is in the ON position and start the
unit with the blue choke lever in Position 2. After the
unit starts, move the blue choke lever to Position 3.


