7
WHEEL INSTALL
Step 6
The holes in the deck
provide three cutting
heights. Use the same
hole for all four wheels
when assembling.
CUTTING HEIGHT
Step 7
All wheels must be
placed in the same
relative position. For
rough or uneven lawns,
move the wheels to a
higher position. This
will stop scalping of
grass.
3
Setup and
Adjustment
Step 7
IMPORTANT
This unit is shipped
without gasoline or
oil in the engine. Fill
up gasoline and oil
as instructed in the
accompanying engine
manual BEFORE
operating your mower.
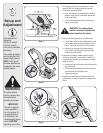
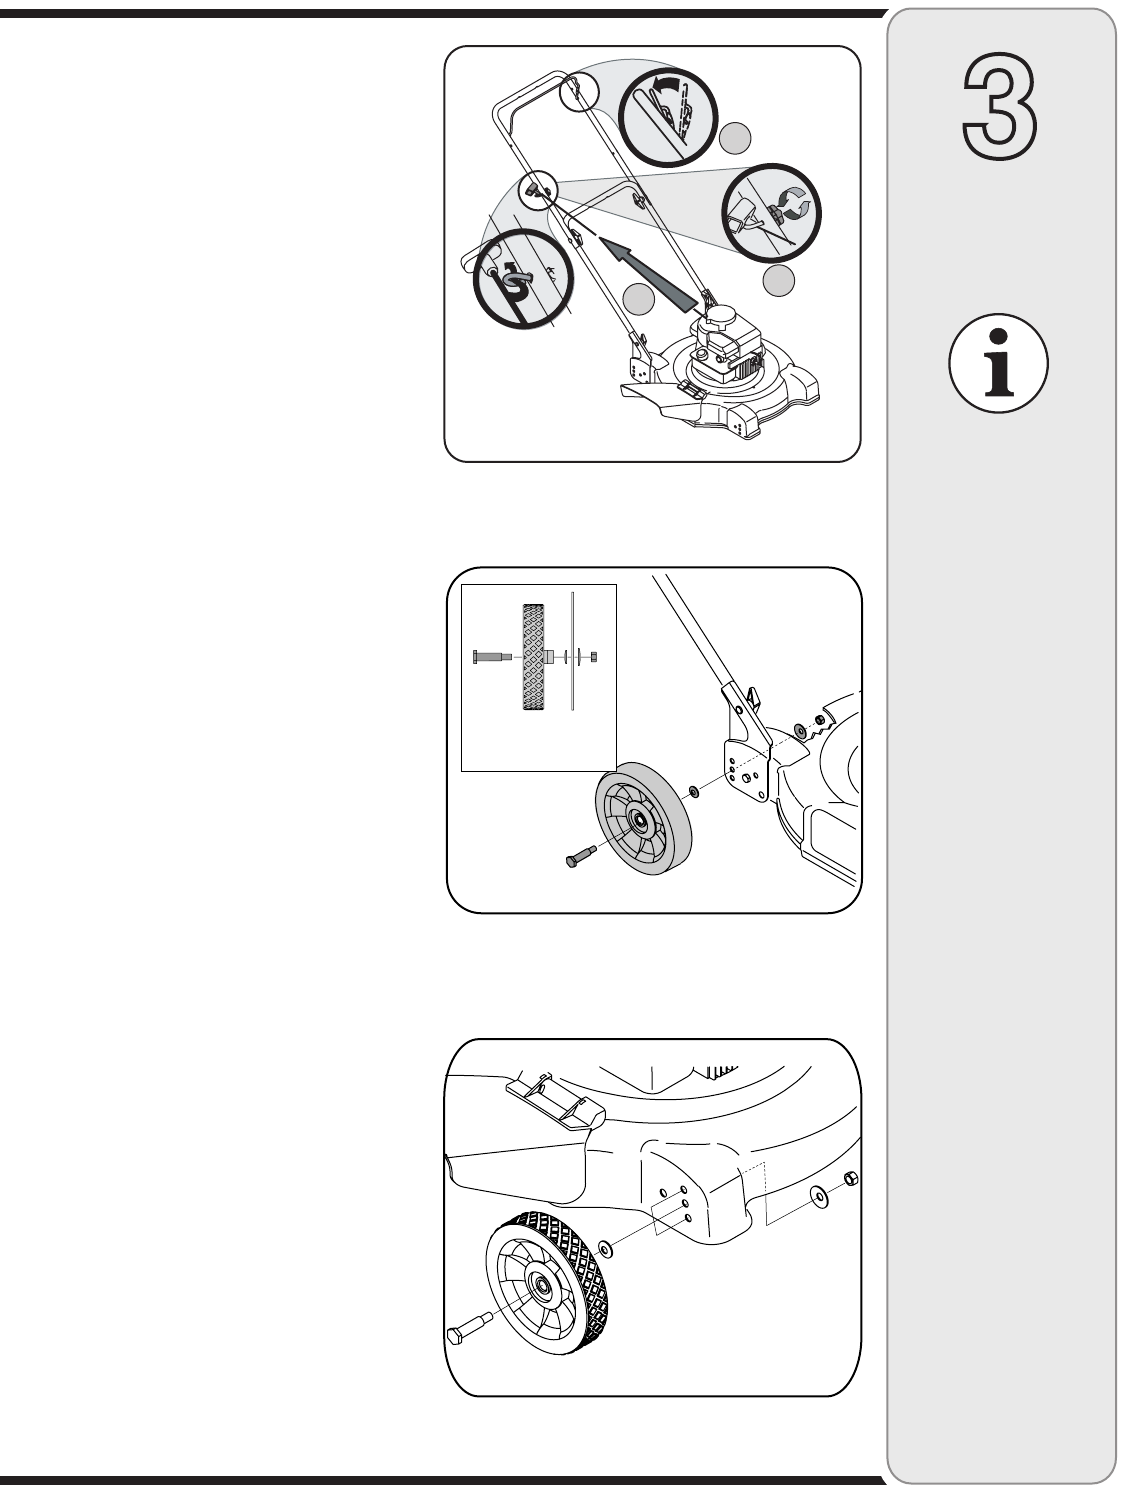
5. Rope guide Setup as follows in Step 5:
a. Hold the blade control against the upper handle.
Position A.
b. Slowly pull starter rope out of engine. Position B.
c. Slip starter rope into the rope guide. Tighten rope
guide wing nut. Position C.
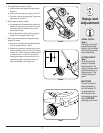
6. Install wheels as follows in Step 6:
a. Using hardware from hardware pack, secure the
wheel to the deck as shown in Step 6. The small
bell washer should be installed with the crown
side facing the wheel.
b. Secure the wheel to the deck with the large bell
washer and nut. Repeat on other sides.
7. Each wheel can be adjusted to change the cutting
height of the mower.
a. Remove the carriage bolts and related hardware
from the wheels as shown in Step 7.
b. Reattach the wheels with carriage bolts in one of
the three available holes on the deck. Remember
to attach ALL wheels at the same relative position
to ensure an even cut. Refer to instructions for
attaching the wheels in the previous step. For a
higher cutting height, use the lower hole; for a
lower cutting height, use the upper hole.
Step 6
Step 5
A
B
C


