8
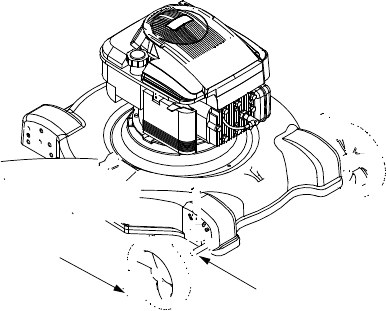
Installing Front Wheels
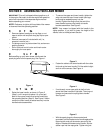
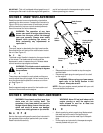
• Place the front of the mower deck on raised blocks.
• Remove lock nut from pivot arm assembly, slide
wheel onto pivot arm assembly and secure with
lock nut. See Figure 6.
• Assemble the other side in the same manner.
• If your mower is equipped with hub caps, place hub
caps in position against the inner hub of wheel.
Press firmly around the center portion of the hub
cap in a circular motion. The hub caps are flexible
and they will snap over the wheel hubs.
Figure 6
Installing Rear Wheels
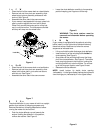
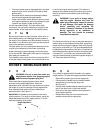
• Place the rear of the mower deck on raised blocks.
• Remove lock nut from pivot arm assembly, slide
wheel, with hollow side in, onto axle and secure
with lock nut. See Figure 7.
• Assemble the other side in the same manner.
Figure 7
Removing Chute Retainer
The chute deflector on your mower is held in an upright
position by a retainer for shipping purposes only.
Remove the retainer, following steps below, before
running the mower for the first time.
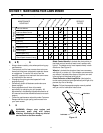
• Push the chute deflector up and towards the
engine. Holding the deflector in this position,
remove the retainer. See Figure 8.
• Lower the chute deflector carefully to its operating
position keeping your fingers out of the way.
Figure 8
WARNING: The chute retainer must be
removed and discarded before operating
the mower.
Installing Mulching Baffle
If your mower is equipped with the optional mulching
baffle, install it on the right side of the deck following
these instructions. Make sure to follow the correct
sequence as indicated here.
• Lift up and hold the side-discharge chute deflector.
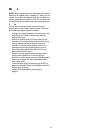
• Insert bottom lip of the mulching baffle inside the
chute opening. See Figure 9.
• Snap hooks of the mulching baffle over the hinge
pin of the chute deflector. See Figure 9. The hooks
must snap into place on the hinge pin, locking the
mulching baffle firmly onto the mower. For a close-
up of the hinge pin location, see Figure 9 inset.
• Release the chute deflector.
NOTE: Install bottom lip inside chute opening
(indicated by 1 in the figure below) before placing hooks
over the hinge pin (indicated by 2 in the figure below).
Figure 9
Lock Nut
Pivot Arm
Assembly


