16
Section 4
SCR 2K TGO
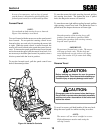
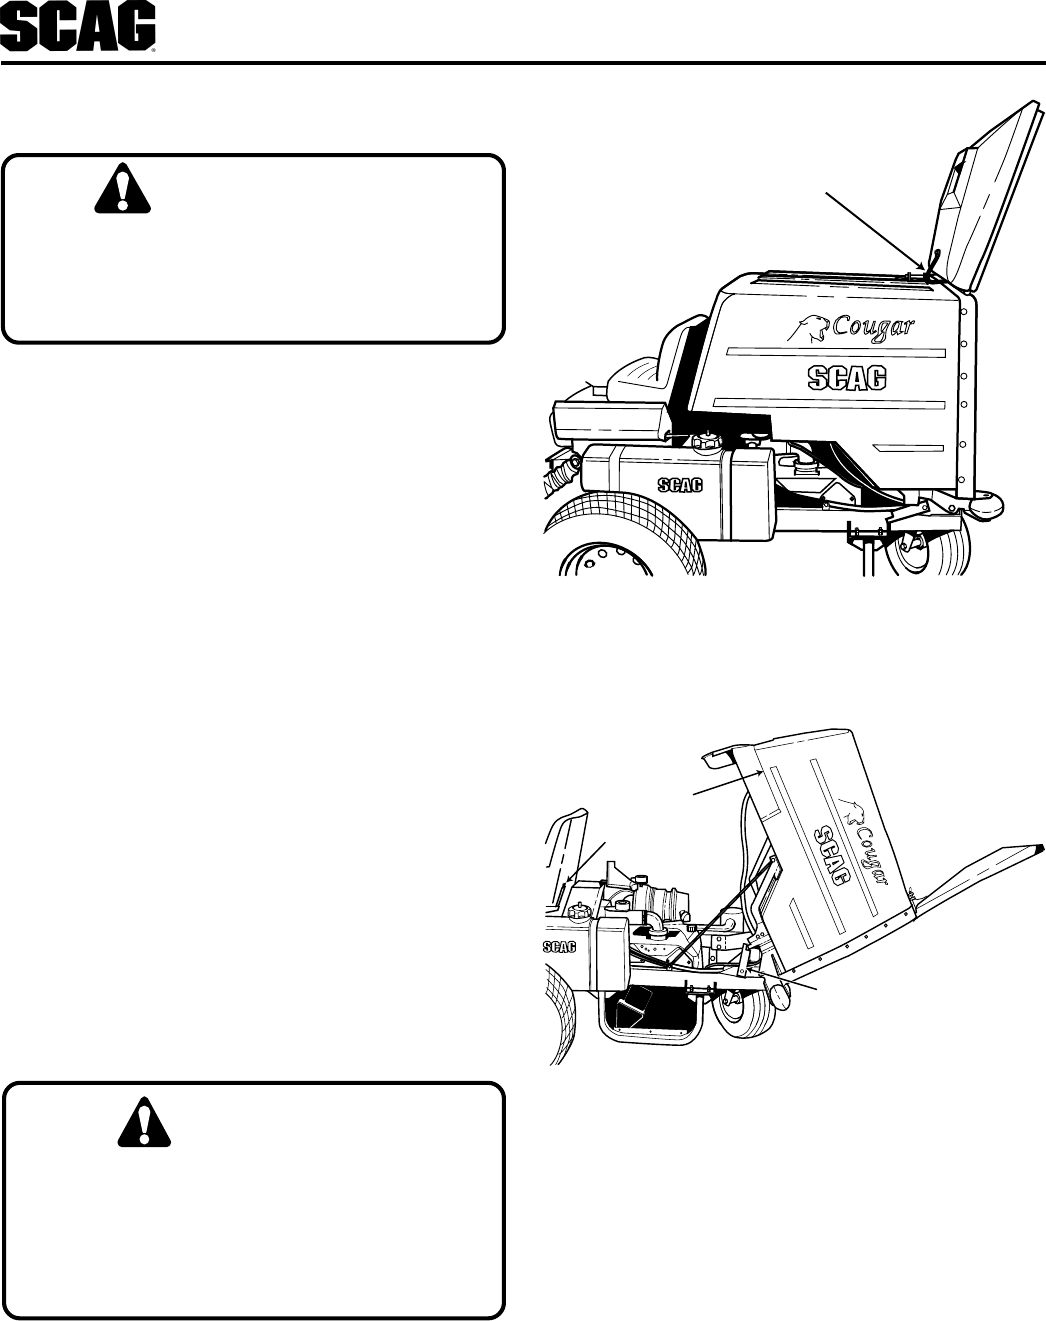
Lock Pin and
Latch Plate
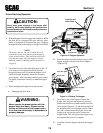
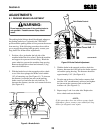
Figure 4-10 Tailgate Operation
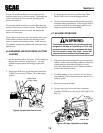
Figure 4-11 Raising The Hopper
Never operate the grass catcher with the
hopper back door open. Objects can be
thrown out the spout of the hopper with a
force that can cause injury to bystanders or
property damage.
B. Raise the tailgate until the lock pin on top of the
hopper engages with the latch on the tailgate
(Figure 4-10).
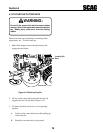
C. Stand off to side of the hopper. Unhook the
hopper latch and raise the hopper by placing a
hand in the hand hole at either bottom front side
of the hopper (Figure 4-11) and then carefully lift
the hopper until it is in its upright position. When
serivice is needed under the hopper, rotate the
hopper prop rod upward until it contacts the
hopper frame. This will prevent the hopper from
moving until the service is complete.
D. Carefully lower the hopper and hook the hopper
latch.
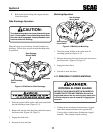
Grass Catching Operation
CAUTION:
Never leave grass clippings in the hopper after
mowing. Wet or damp clippings will generate heat
as they decompose which may cause spontaneous
combustion to occur.
1. With the hopper lowered, engage the deck drive. When
the deck drive is engaged, the grass delivery spout,
which is designed to distribute the grass clippings
through the inside of the hopper, will begin to oscillate.
-NOTE-
The mower has an interlock switch that will
prevent the mower from starting if the hopper is
in the raised position. This interlock switch will
also shut the engine off if the hopper is raised
while the engine is running and the deck drive is
engaged.
2. Proceed to mow the lawn until the hopper is full. If
your mower is not equipped with the optional
hopper fill alarm to tell you when the hopper is full,
check the hopper frequently when first using the
grass catcher. After operating with the grass catcher
for awhile, experience will tell you when the hopper
is full.
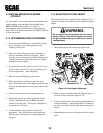
4. When dumping the hopper into a disposal area:
A. Disengage the deck drive.
WARNING:
Grasp Here
SCR 2K RTH
Hopper Latch
Hopper Prop Rod


