


20
CLEANING OF AIR CLEANER
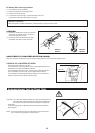
DANGER: INFLAMMABLES STRICTLY PROHIBITED
Interval of Cleaning and Inspection: Daily (every 10 operating hours)
– Turn the choke lever to the full close side, and keep the carburetor off from
dust or dirt.
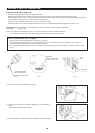
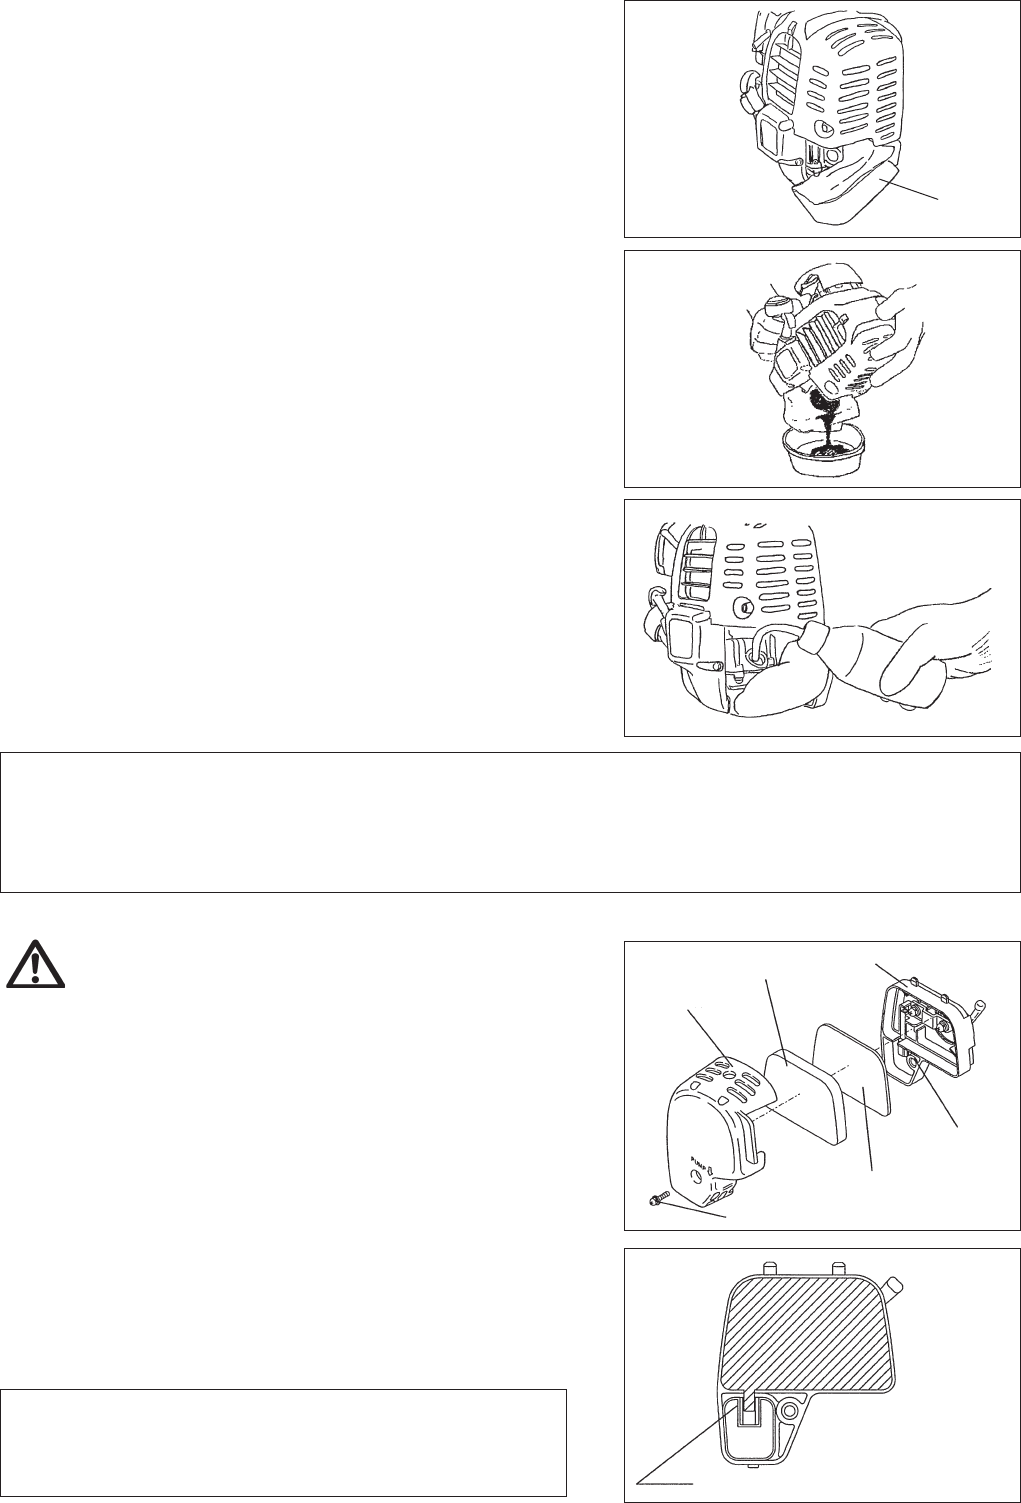
– Remove the air cleaner cover-xing bolts.
– Pull the cover lower side and detach the air cleaner cover.
– If oil adheres to the element (sponge), squeeze it rmly.
– For heavy contamination:
1) Remove the element (sponge), immerse it in warm water or in water-
diluted neutral detergent, and dry it completely.
2) Clean the element (felt) with gasoline, and dry it completely.
– Before attaching the element, be sure to dry it completely. Insufcient drying
of the element may lead to difcult startup.
– Wipe out with waste cloth, oil adhering around the air cleaner cover and plate
breather.
– Immediately after cleaning is nished, attach the cleaner cover and tighten it
with xing bolts. (In remounting, rst place the upper claw, and then the lower
claw.)
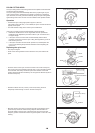
Pick this part and remove the element (felt).
Plate
Element (sponge)
Air cleaner cover
Fixing bolt
Element (felt)
Breather Part
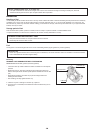
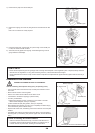
Waste or paper
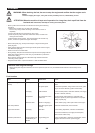
3) Place waste or paper near the oil rell port.
POINTS ON OIL
– Never discard replaced engine oil in garbage, earth or sewage ditch. Disposal of oil is regulated by law. In disposal, always follow the
relevant laws and regulations. For any points remaining unknown, contact Authorized Service Agent.
– Oil will deteriorate even when it is kept unused. Perform inspection and replacement at regular intervals (replace with new oil every 6
months).
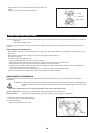
Points in Handling Air Cleaner Element
– Clean the element several times a day, if excessive dust adheres to it.
– If operation continues with the element remaining not cleared of oil, oil
in the air cleaner may fall outside, resulting in oil contamination.
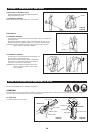
4) Detach the oil gauge, and drain oil, tilting the main unit toward the oil rell
port.
Drain oil in a container for orderly disposal.
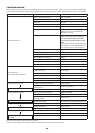
5) Keep the engine level, and feed new oil up to the edge of the oil rell port.
In rell, use a lubricant rell container.
6) After rell, securely tighten the oil gauge. Insufcient tightening of the oil
gauge will lead to oil leakage.