14
D. Heavy-Duty Air Cleaner
1. Every 250 hours of operation (more often under
extremely dusty or dirty conditions), replace the main
paper element and check inner element. Follow
these steps.
a) Unhook the two retaining clips and remove the
end cap from the air cleaner housing.
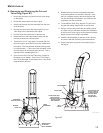
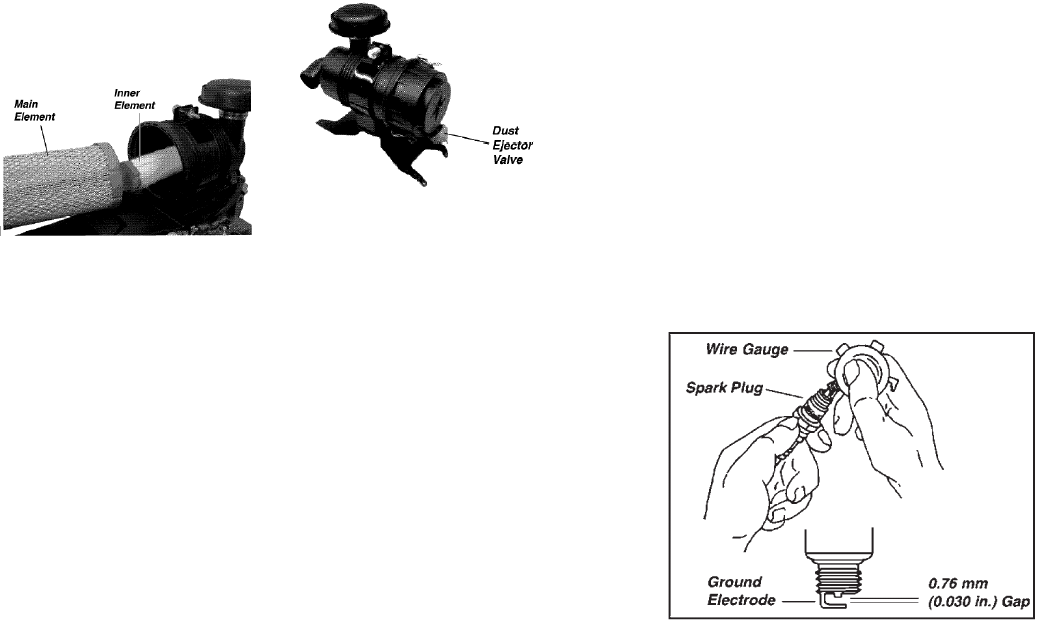
b) Pull the air cleaner element out of the housing.
See Removing Elements Figure.
c) After the main element is removed, check the
condition of the inner element. It should be
replaced whenever it appears dirty, typically
every other time the main element is replaced.
Clean the area around the base of the inner
element before removing it, so dirt does not get
into the engine.
d) Do not wash the paper element and inner
element or use pressurized air, this will damage
the elements. Replace dirty, bent or damaged
elements with new genuine Kohler elements as
required. Handle new elements carefully; do not
use if the sealing surfaces are bent or damaged.
e) Check all parts for wear, cracks or damage.
Replace any damaged components.
f) Install the new inner element, Kohler Part No. 25
083 04-S followed by the outer element, Kohler
Part No. 25 083 01-S. Slide each fully into place
in the air cleaner housing.
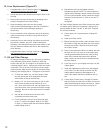
g) Reinstall the end cap so the dust ejector valve
is down and secure with the two retaining clips.
See Heavy-Duty Air Cleaner Assembly Figure.
E. Spark Plug
1. Every 200 hours of operation, remove the spark plugs,
check condition, and reset the gap or replace with new
plugs as necessary. The standard spark
plug is a Champion@ RC12YC (Kohler Part No.
12 132 02-S). A high-performance spark plug,
Champion@ Premium Gold 2071 (used on Pro
Series engines, Kohler Part No. 12 132 06-S) is also
available. Equivalent alternate brand plugs can also
be used.
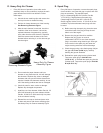
a) Before removing the spark plug, clean the area
around the base of the plug to keep dirt and
debris out of the engine.
b) Remove the plug and check its condition.
Replace the plug if worn or reuse is
questionable. NOTE: Do not clean the spark
plug in a machine using abrasive grit. Some grit
could remain in the spark plug and enter the
engine causing extensive wear and damage.
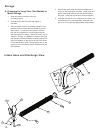
c) Check the gap using a wire feeler gauge. Adjust
the gap to 0,76 mm (0.030 in,) by carefully
bending the ground electrode.
d) Reinstall the spark plug into the cylinder head.
Torque the spark plug to 24.4-29J N-m
(18-22 ft. lb,). 4. Reinstall the spark plug into the
cylinder head. Torque the spark plug to 24.4-29J
N-m(18-22 ft. lb,).
Removing Elements Figure
Heavy-Duty Air Cleaner
Assembly Figure


