


11
7/22/08
RTR10 & RTR15 Series Rotary Tillers 311-431M
Land Pride
Section 1: Assembly and Set-Up
Table of Contents
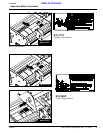
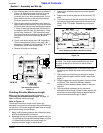
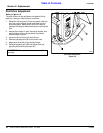
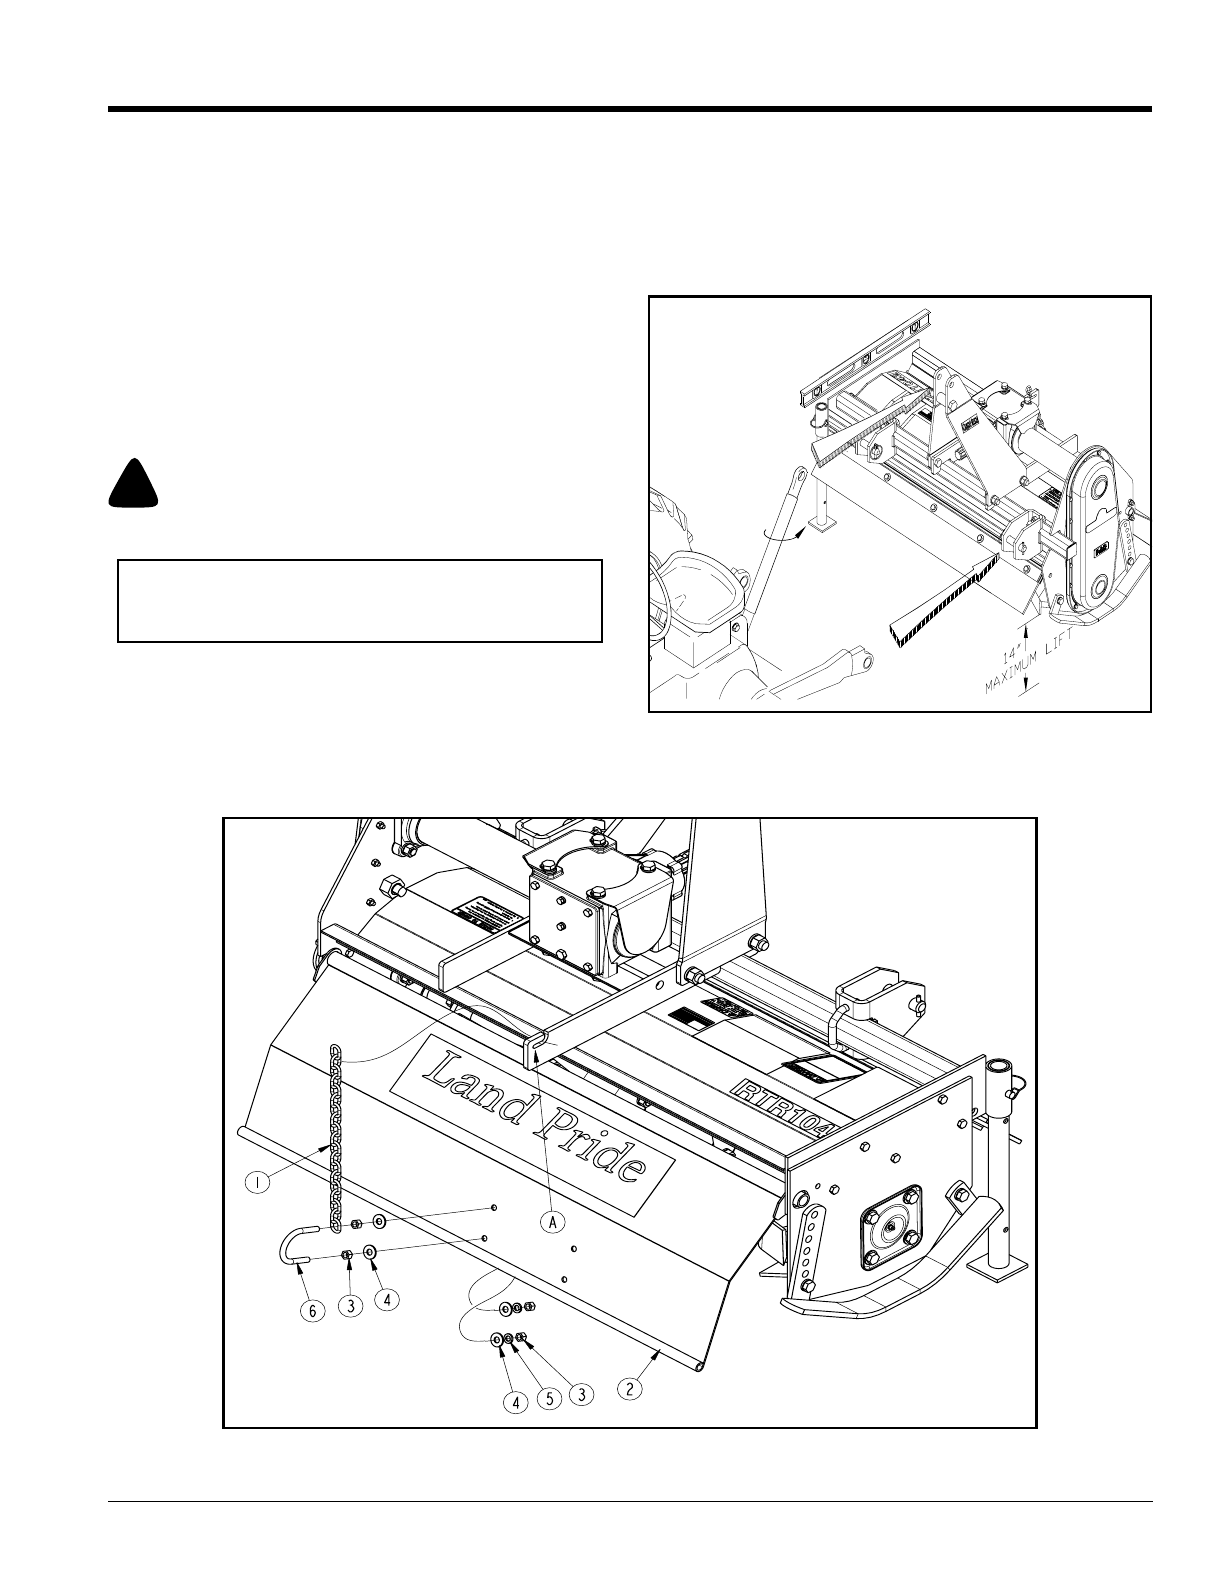
4. Secure the tractor’s top link to the tiller top hitch using
a 3/4" diameter hitch pin (supplied by customer).
Adjust tractor top link in order to level the tiller.
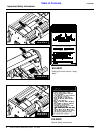
5. Prevent damage to the driveline u-joints by adjusting
the tractor’s 3-Point lift height so that the tiller tines are
not lifted more than 14 inches off the ground.
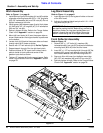
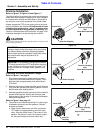
Tractor Hook-Up
Figure 1-4
22248
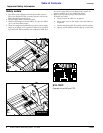
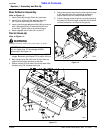
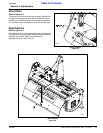
Rear Deflector
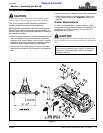
Figure 1-3
2
22250
Rear Deflector Assembly
Refer to Figure 1-3:
1. Insert u-bolt (#6) through Chain (#1) as shown.
2. Install 2-nuts (#3) and 2-flat washers (#4) onto
the u-bolt an equal distance from the end.
3. Insert u-bolt through deflector shield (#2) and secure
with 2-flat washers (#4), 2-lockwashers (#5) and
2-nuts (#3). Tighten nuts to the correct torque.
4. Attach opposite end of chain (#1) to slot “A”.
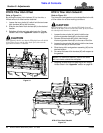
Tractor Hook-Up
Refer to Figure 1-4:
!
WARNING
Damaged drivelines could cause serious injury or death.
1. Some tractors are equipped with multi-speed PTO
ranges. Be certain your tractor PTO is set for 540 rpm.
2. Back tractor up to tiller until lower 3-Point links are
aligned with the hitch clevises on the tiller.
3. Secure tractor’s 3-Point lower links to the lower hitch
clevises using 7/8" diameter hitch pins.
IMPORTANT: PTO operation and/or engagement
with unit higher than 14” will damage driveline
components. See Figure 1-4.