


8
Section 2: Operating Instructions
PS1548 & PS1572 Primary Seeder 313-164M
7/22/05
Land Pride
Table of Contents
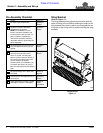
Tractor 3-Point Hookup
1. Back tractor up to seeder until 3-Point links are
aligned with hitch clevises on seeder.
2. Secure tractor’s 3-Point lower links to the lower hitch
clevises using 7/8” diameter hitch pins.
3. Secure tractor’s top center link to the seeder top hitch
using a 3/4” diameter hitch pin.
4. With the seeder resting on level ground, adjust the
tractor’s top link until the seeder is level.
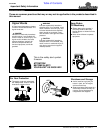
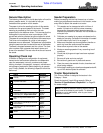
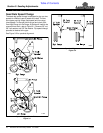
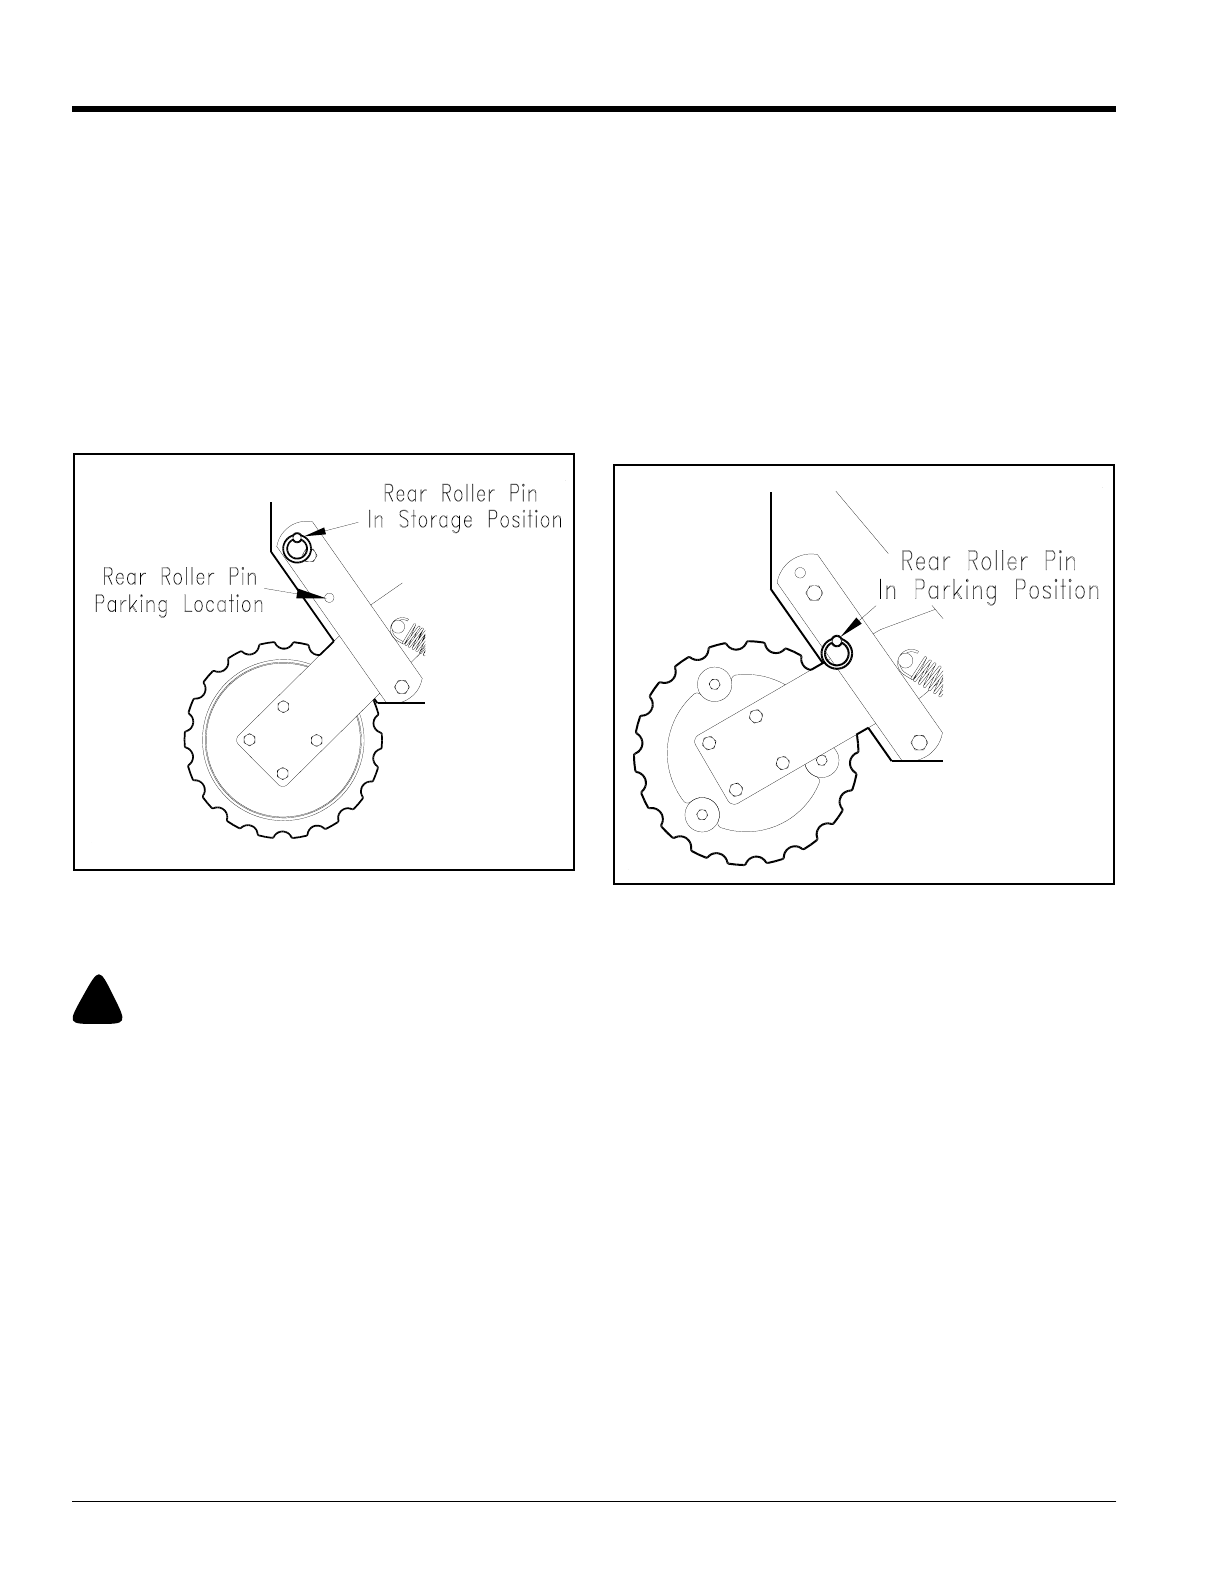
5. Remove rear roller lock pin from parking position and
place in storage position. Figure 2-1.
Rear Roller Pin in Field Position
Figure 2-1
Transporting
!
CAUTION
When traveling on public roads whether at night or during the
day, use accessory light and devices for adequate warning to
operators of other vehicles. Comply with all federal, state and
local laws.
1. Select a safe ground travel speed when transporting
from one area to another. When traveling on
roadways, transport in such a way that faster moving
vehicles may pass you safely.
2. Reduce tractor ground speed when turning. Leave
enough clearance so the seeder does not contact
obstacles such as buildings, trees or fences.
3. When traveling over rough or hilly terrain, shift tractor
to a lower gear.
11640
Parking
The following steps should be done when preparing to
store the seeder or unhitch it from the tractor. See also
“Section 4: Maintenance & Lubrication” on Page 20 for
additional information on long term storage of your seeder.
1. Park the seeder on a level, solid area.
4. Shut off tractor engine and engage parking brake.
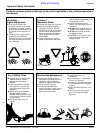
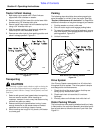
5. To prevent the seeder from tipping backward, remove
rear roller lock pin from storage position and place in
parking position, Figure 2-2.
6. Unhitch from tractor.
Rear Roller Pin in Parking Position
Figure 2-2
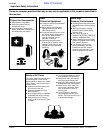
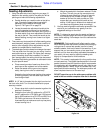
Drive System
Your Primary Seeder uses standard no. 40 roller chain
throughout its drive system. The drive system is simple
and designed for low maintenance.
1. Check the drive idler arms to insure that they are
taking up any excess chain slack.
2. Check each chain to insure that it is not over-
tightened.
3. Annually clean and lubricate chain with chain oil.
Roller Packing Wheels
The front and rear roller packing wheels should turn freely.
In field position, the rear roller assembly should be free to
float up and down to follow the terrain of your field. See
Figure 2-1.
11643