12
Section 2: Optional Assembly & Set-up
SB1051, SB1064, SB1574, & SB2584 with S/N 881640- Snow Blowers 370-027M
10/08/14
Table of Contents
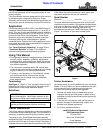
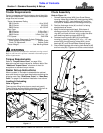
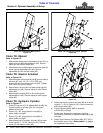
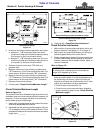
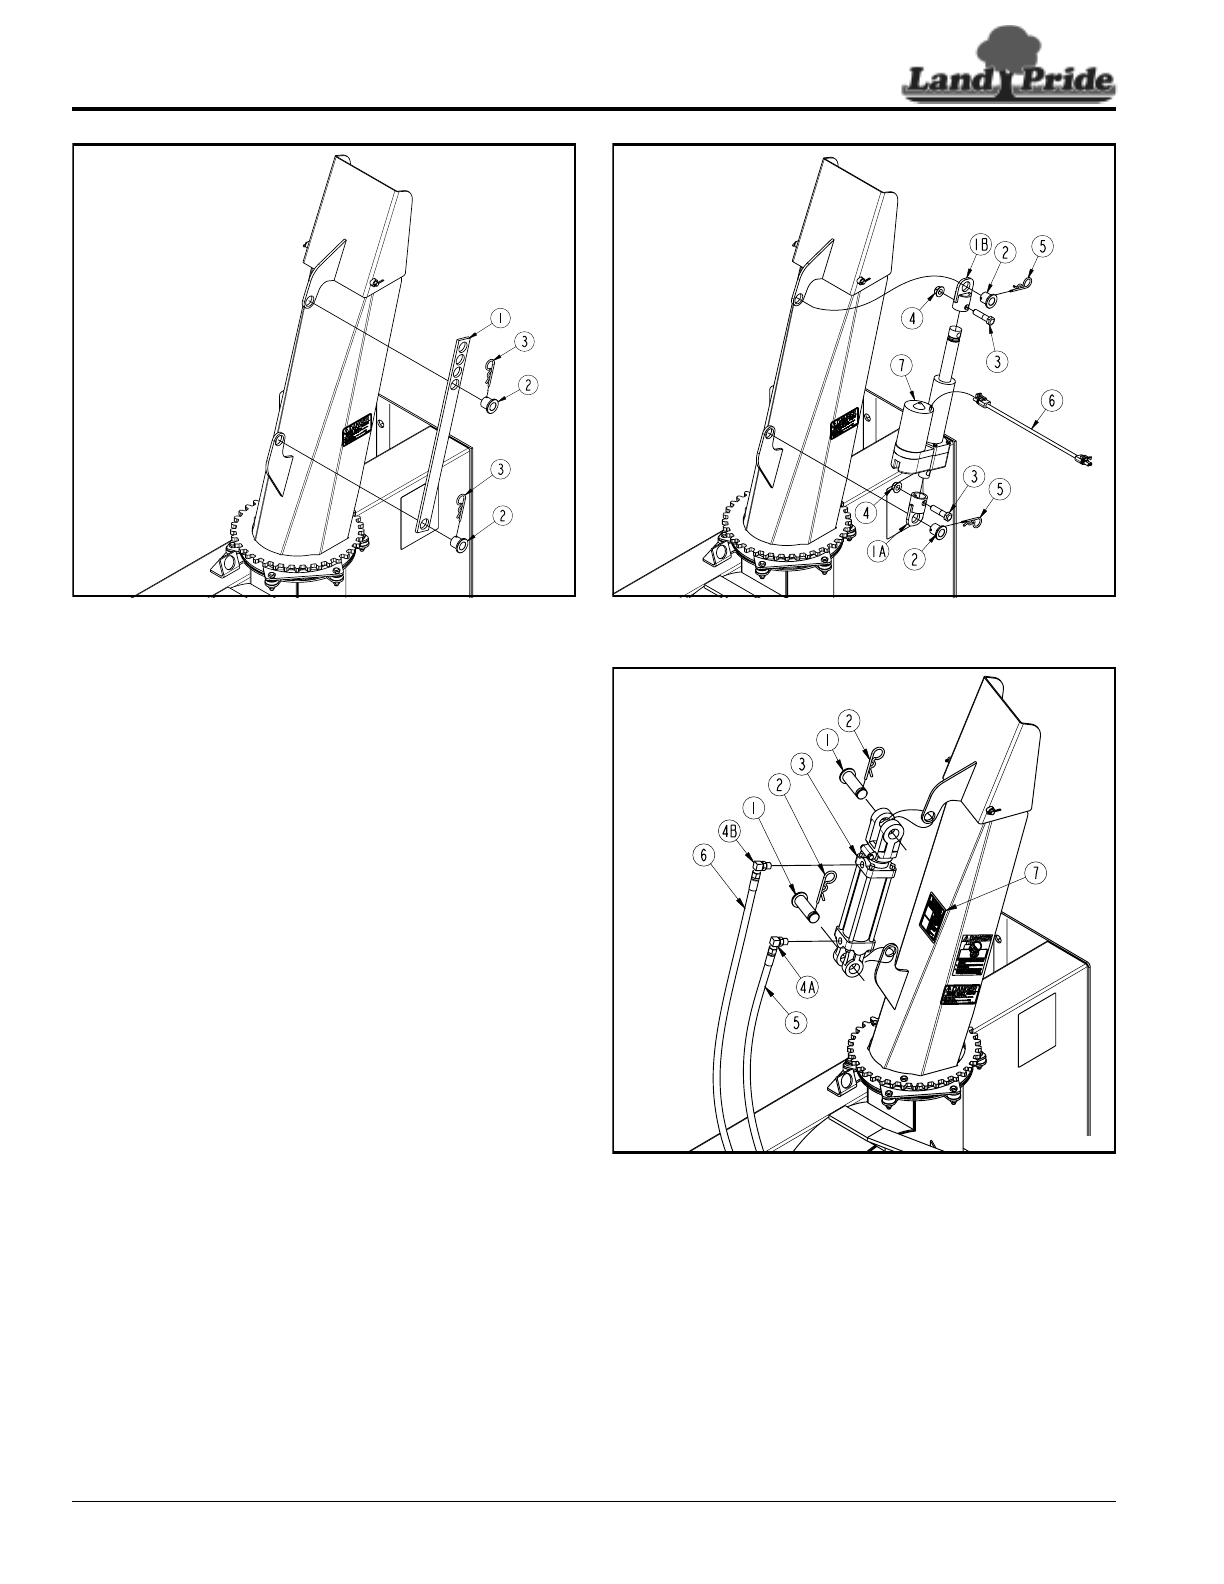
Chute Tilt Powered By Manual Drive
Figure 2-5
Chute Tilt, Manual
Refer to Figure 2-5:
1. Attach lower single hole in adjustment tilt arm (#1) to
lower chute lug with adjustment pin (#2). Secure
adjust pin with hairpin cotter (#3).
2. Attach one ofthe multiple upper holesto the upper tilt
chute lug with adjustment pin (#2). Secure
adjustment pin with hairpin cotter (#3).
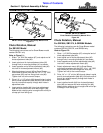
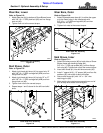
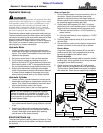
Chute Tilt, Electric Actuated
Refer to Figure 2-6:
1. Attach actuator rod ends (#1A & #1B) to both ends of
actuator (#7) with 1/2"-13 x 1 3/4" GR5 cap
screws (#3) and hex flange lock nuts (#4). Tighten
lock nuts to the correct torque.
2. Attach lower rod end (#1A) to lower chute lug with
adjustment pin (#2). Secure adjust pin with hairpin
cotter (#5).
3. Attach upper rod end (#1B) to tilt chute lug with
adjustment pin (#2). Secure adjust pin with hairpin
cotter (#5).
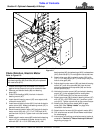
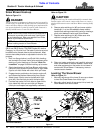
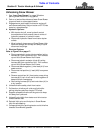
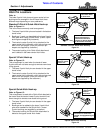
Chute Tilt, Hydraulic Cylinder
Refer to Figure 2-7:
1. Screw O-ring end of 9/16" elbows (#4A & #4B) into
hydraulic ports of cylinder (#3). Do not tighten
elbows at this time.
2. Screw 1/4" x 80" long hydraulic hose (#5) to
elbow (#4A) until tight.
3. Screw 1/4" x 85" long hydraulic hose (#6) to
elbow (#4B) until tight.
4. Attach base end of hydraulic cylinder (#3) to lower
chute lug with 1" x 2 3/4" clevis pin (#1). Secure
clevis pin with hairpin cotter (#2).
33245
Chute Tilt Powered By Electric Actuator
Figure 2-6
Chute Tilt Powered By Hydraulic Cylinder
Figure 2-7
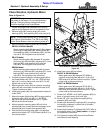
5. Attach rod end of hydraulic cylinder (#3) to tilt chute
lug with 1" x 2 3/4" clevis pin (#1). Secure clevis pin
with hairpin cotter (#2).
6. Tighten elbows (#4A & #4B) to hydraulic
cylinder (#3) until tight.
7. Screw quick disconnect couplings (couplings
furnished by customer) to hydraulic hoses (#5 & #6)
until tight.
8. Attach High Pressure Fluid Decal 848-747C (#7) in
the location shown. See “Safety Labels” on page 4
for installation instructions.
33243
33244


