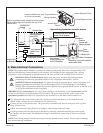
2. Prepare the Site
Wood Construction
NOTICE: Adequate floor support must be provided. Consult the roughing-in sheet packed with your
whirlpool for specific floor loading requirements.
CAUTION: Risk of product damage. Do not support the whirlpool by the rim.
Make sure the flooring offers adequate support for your whirlpool, and verify that the subfloor is
flat and level.
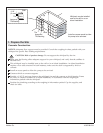
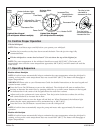
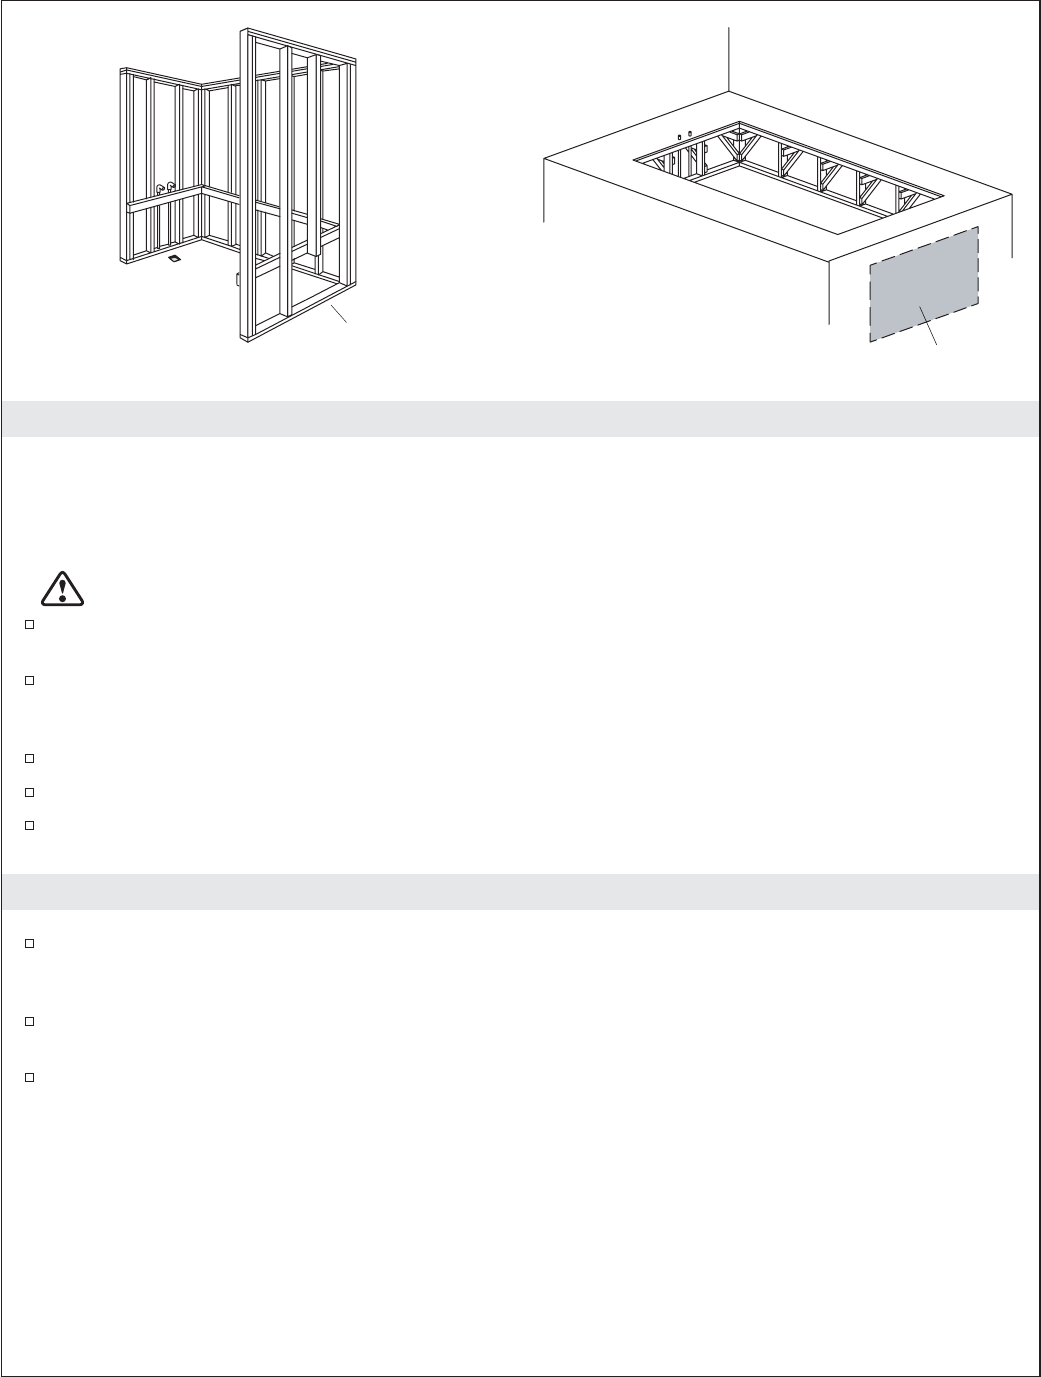
The whirlpool may be used in a drop-in or alcove installation. Construct 2x4 stud framing designed
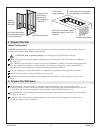
for your particular installation. Frame the floor, or construct a frame for a raised installation in
accordance with the roughing-in information packed with the whirlpool.
Use the roughing-in cut-out information to carefully lay out and cut the rough deck material.
Install an access panel to allow the pump to be serviced.
Position the plumbing according to the roughing-in information. Cap the supplies, and check for
leaks.
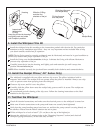
3. Prepare the Whirlpool
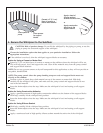
We recommend a tiling-in bead for straight-rimmed whirlpools, if one or more sides of the
whirlpool contact a wall. This bead prevents water from seeping between the whirlpool rim and the
wall. Follow the instructions packed with the tiling-in bead to install the bead now.
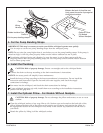
Install the drain to the whirlpool according to the drain manufacturer’s instructions. Do not connect
the trap at this time.
Position a clean drop cloth or similar material in the bottom of the whirlpool. Be careful not to
scratch the surface of the whirlpool.
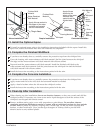
Construct 2x4
stud framing
according to
the roughing-in
information.
Position
the rough
plumbing.
Verify that the subfloor
offers adequate support,
and is flat and level.
Typical access panel
Frame the floor according to
the roughing-in information.
Position the
rough plumbing.
Verify that the subfloor offers
adequate support, and is flat
and level.
Typical access panel
1019749-2-H 6 Kohler Co.


