OPERATION
OM 0369SB1148-A 27
G
ENERAL
P
REPARATION
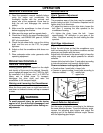
1. Read the operator’s manual carefully before
using the tractor and snowblower. Be
thoroughly familiar with the controls and
proper use of the equipment. Know how to
stop the unit and disengage the controls
quickly.
2. Make sure the snowblower is clear of snow
before engaging the driveline.
3. Make sure the auger and fan operate freely.
4. Check the oil level in the worm Gearbox and if
necessary, add 80W90 SAE gear oil, AGMA
5EP oil or equivalent.
5. Check the two shear bolts, one on the driving
shaft, and the one on the PTO, for proper
tightness.
6. Adjust so that the snowblower skid shoes run
level.
7. Wear adequate winter outer garments while
operating equipment.
O
PERATING
C
ONTROLS
Work and Travel Speed
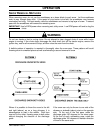
Working ground speed will depend on the depth
and density of the snow to be cleared. Normally,
ground speed will range from 4 to 7 MPH for light,
dry snowfalls 3 to 6 inches, and 1 to 3 MPH for
heavy, wet or drifted snow. To transport,
disengage the drive shaft and raise the
snowblower to full transport height.
Raising and Lowering the Snowblower
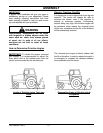
Move the three point lever on right hand side of
seat down or forward to lower, and up or rearward
to raise.
WARNING
To avoid personal injury, be sure the tractor
engine is off, the drive shaft disengaged, and
all movement has stopped before making any
adjustments.
A
DJUSTMENTS
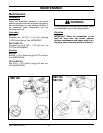
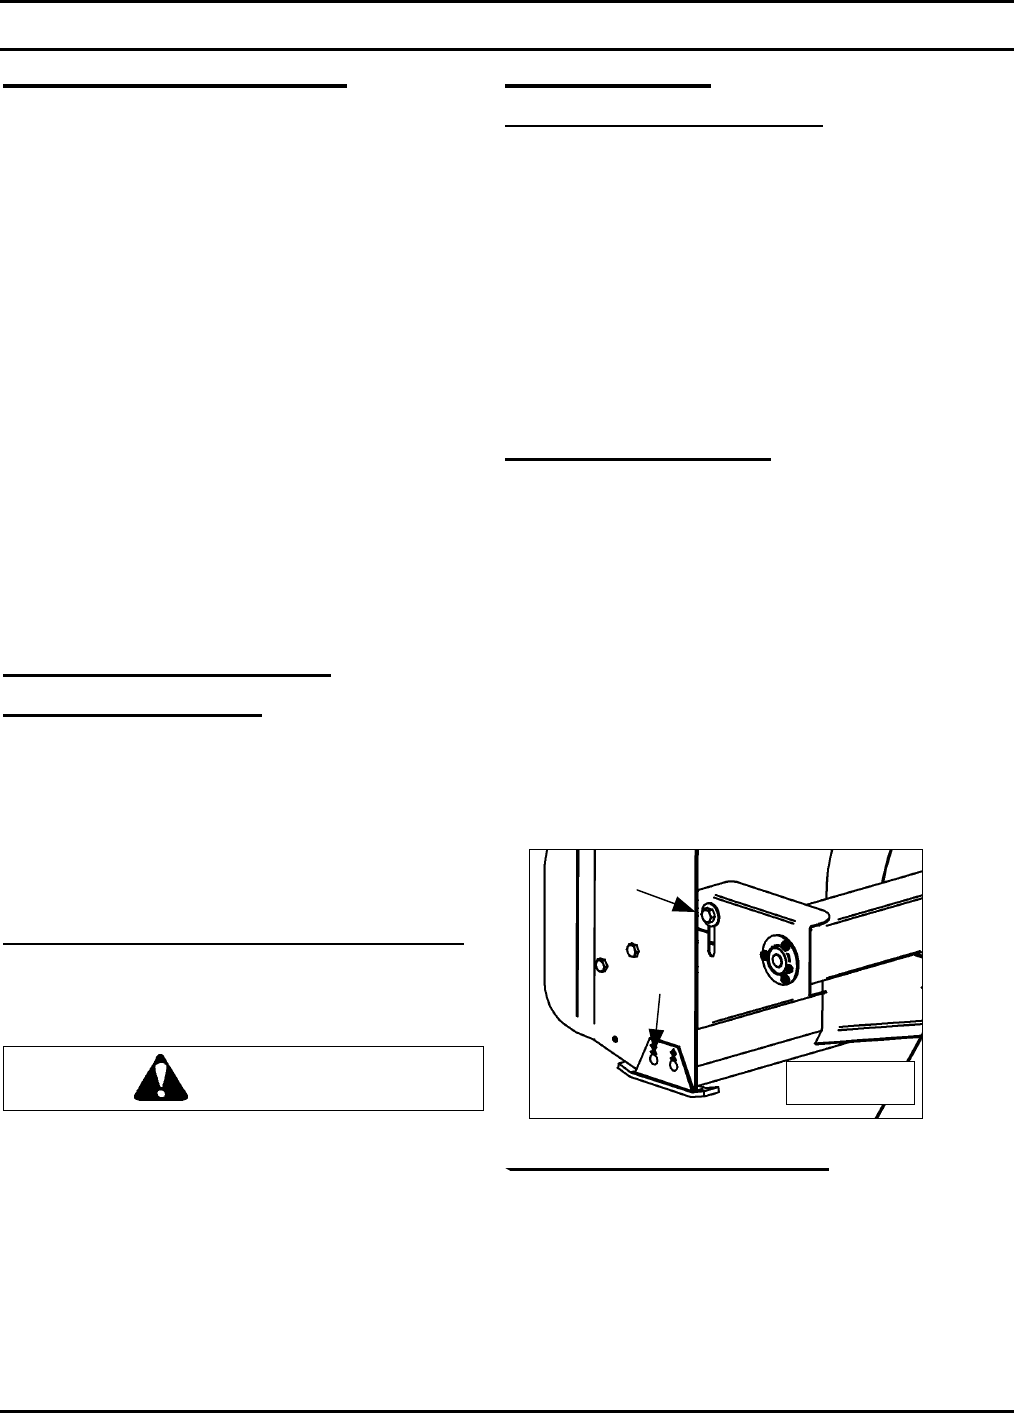
Chain Tension Adjustment
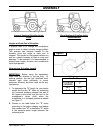
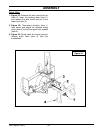
(Figure 25)
The premature wear of the chain may be caused by
tension being too tight. It is therefore important not to
tighten chain to its maximum.
• To adjust the tension on the drive chain, loosen the
bolt (item 1) securing the idler sprocket to the
snowblower housing.
• To tighten the chain, lower the bolt. Leave
approximately 1/8" deflection in one span of the
chain. Retighten securely the bolt holding the idler
sprocket.
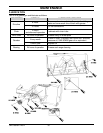
Skid Shoe Adjustment
(Figure 25)
Adjust the skid shoes so that the snowblower runs
level and according to the surface conditions so that
stones are not thrown with the snow.
Adjust both skid shoes to the same height to keep the
cutting edge level and adjust upwards for smooth
surfaces.
Loosen skid shoe bolts (item 2) and adjust according
to instructions below, and securely tighten bolts:
Clearance between cutting edge and surface:
• Paved surface: Insert bolts in lower hole.
• Uneven or gravel surface: Insert bolts according to
distance needed: 1/2" - middle hole
1" - upper hole
Manual Deflector Adjustment
Set the angle of deflection according to the distance
the snow must be thrown. To set the deflector angle,
remove the adjusting pipe hairpin and adjust the
adjusting rod to the desired deflector angle. Secure
with the adjusting pipe hairpin.
2
1
Figure 25


