


Operation 13
5WPMAN0511 (Rev. 7/18/2008)
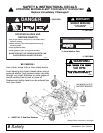
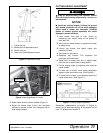
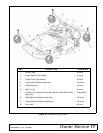
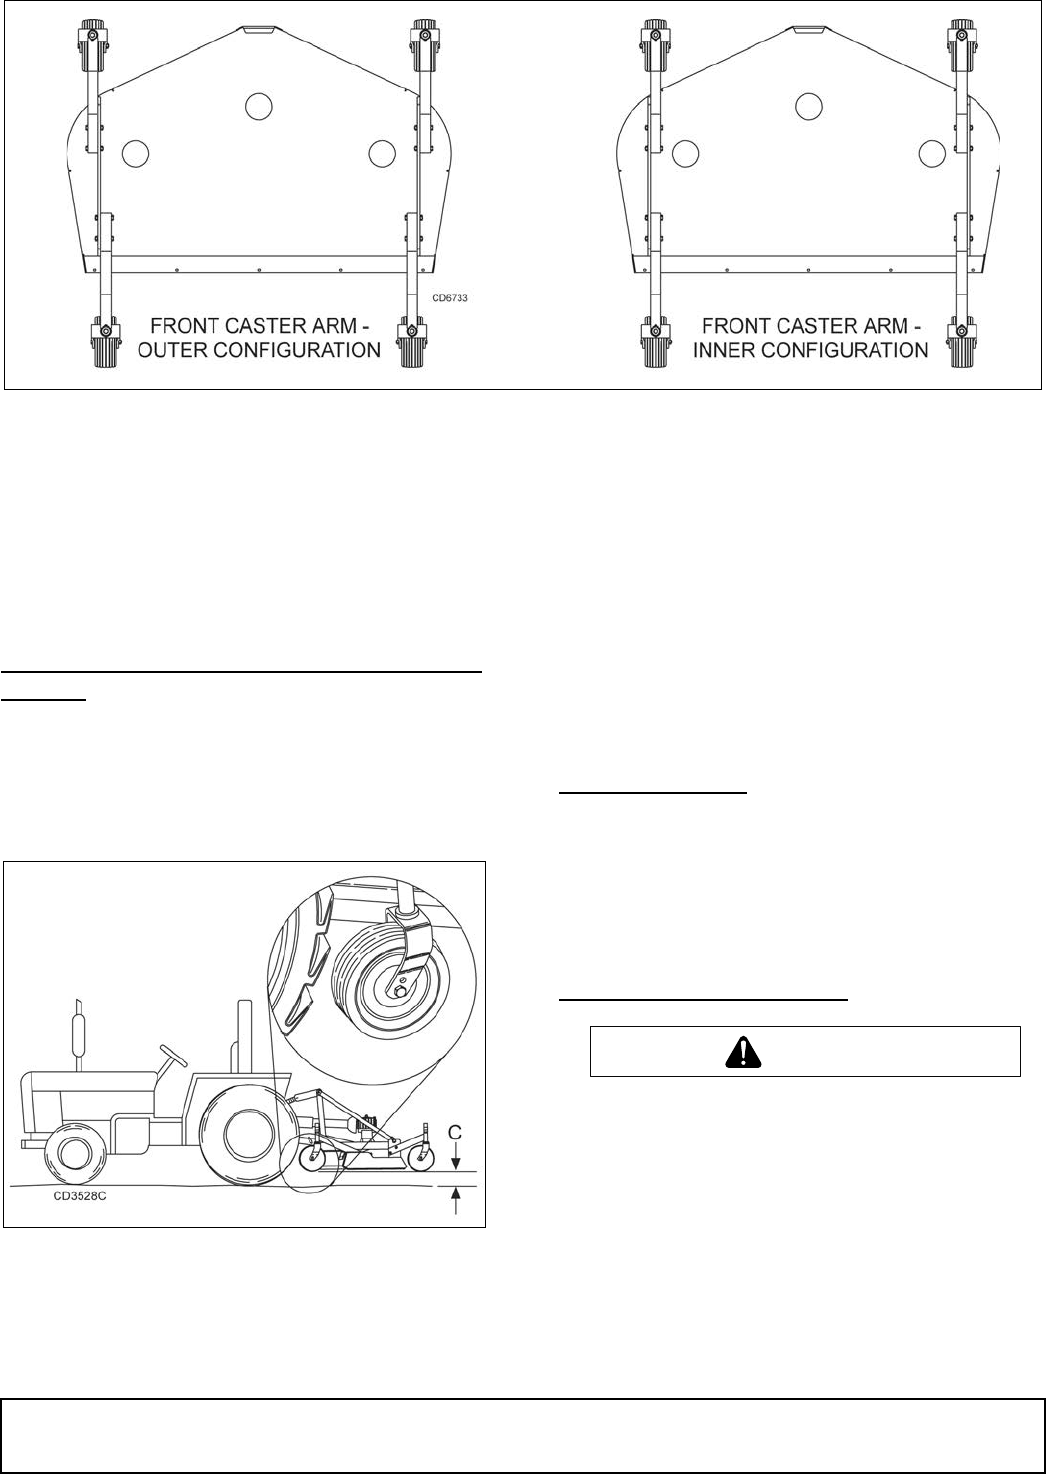
Figure 8. Front Caster Arm Configuration for GM1060 & GM1072 Only
To change configurations, remove the cap screws and
nuts and move the arms from one side of the wheel rail
to the other. Secure with same hardware.
The rear caster arms should be mounted as shown.
NOTE: The GM1084 front caster arms are fixed and
cannot be changed.
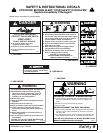
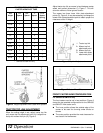
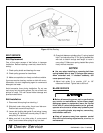
FRONT CASTER WHEEL INTERFERENCE
CHECK
NOTICE
■ Do not operate tractor and mower until this
interference check has been performed. If you
change tractors, you must perform the check for
that mounting.
Figure 9. Front Caster Wheel Interference Check
Perform this check with all of the spacers and springs
above the caster wheel arm. This will place the caster
wheels in their highest position and provide the lowest
cutting height for the mower.
1. Raise mower with tractor hydraulics to 16" at
dimension C or maximum height of tractor lift,
whichever is less.
2. Pivot both front caster wheels forward and check
that there is clearance between caster wheels and
tractor tires.
3. If there is interference on models GM1060 and
GM1072, mount front casters in the outer position.
NOTE: On model GM1084, caster wheel width is not
adjustable; see tractor operator's manual and adjust
tractor wheels to narrower spacing.
FRONT ROLLER (OPTIONAL)
The caster wheels and side skids effectively reduce
scalping in most cases. However, you may encounter
areas where the caster wheels and/or side skids drop
into depressions and allow center of the mower to con-
tact ground and scalp. An optional front roller may be
installed to minimize scalping. See page 31.
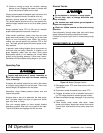
OPERATING TECHNIQUE
Stop power unit and implement immediately
upon striking an obstruction. Dismount power unit,
using proper procedure. Inspect and repair any
damage before resuming operation.
Power for operating mower is supplied by tractor PTO.
Operate PTO at 540 rpm. Know how to stop tractor and
mower quickly in an emergency.
If mower becomes plugged causing belt to slip for over
two seconds, follow these steps:
1. Maneuver equipment into a previously cut area
and allow mower to clear accumulated material.
CAUTION