Riva 6 / Gallery 6 Ring and Leg Installation Instructions
Models: GA95, GA99, GL25, & GL26
BEFORE YOU BEGIN
• Observe all local plumbing and building codes.
• Carefully inspect the new Ring / Legs for damage.
• Determine which tools and materials are necessary by reading the complete mounting instructions and examining the job you have to
do.
© Jacuzzi Luxury Bath • 14525 Monte Vista Ave • Chino • California • 91710 • www.jacuzzi.com
#GV64000 02/09
Freestanding Skirt must be securely fastened to the finished floor
prior to installating decorative components.
INSPECT FOR DAMAGE
• Immediately upon receipt, inspect the Ring / Legs contents before installing. Should inspection reveal any damage or defect in the fin-
ish, do not install on the bath. Damage or defect to the finish claimed after the Ring / Legs are installed is excluded from the warranty.
• Jacuzzi Luxury Bath’s responsibilty for shipping damages ceases upon delivery of the products in good order to the carrier. Refer any
claims for damage to the carrier.
• For definitions of warranty coverage and limitations, refer to the published warranty information packed with the product.
• Jacuzzi Luxury Bath is not responsible for any defects that could have been discovered, repaired, or avoided by following this inspec
-
tion and testing procedure.
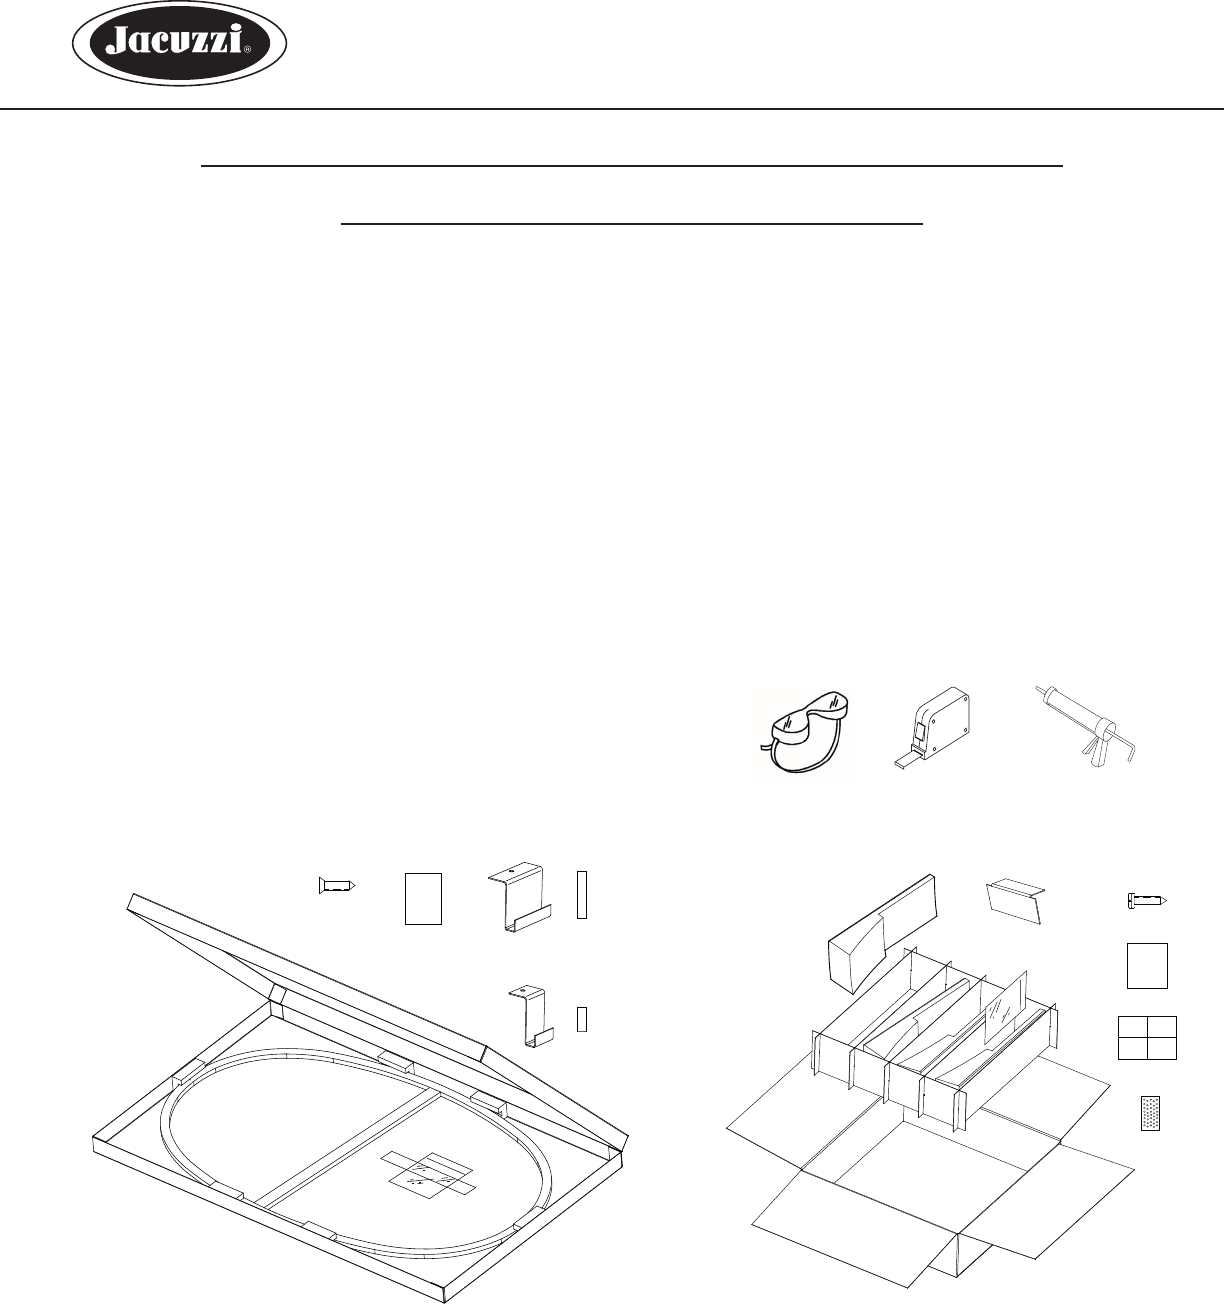
TOOLS AND MATERIALS: The following tools and materials are required but not supplied. Safety glasses, tape measure, clear
silicon, caulking gun, philips screw driver, and flat head screw driver.
GN77 GALLERY 6/ RIVA 6 RING
GN75 GALLERY 6/ RIVA 6 LEGS


