3
iOptron Corp. | 6E Gill Street | Woburn, MA 01801 USA | (781) 935-2800 | Toll Free (866) 399-4587 | www.iOptron.com
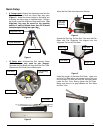
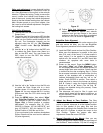
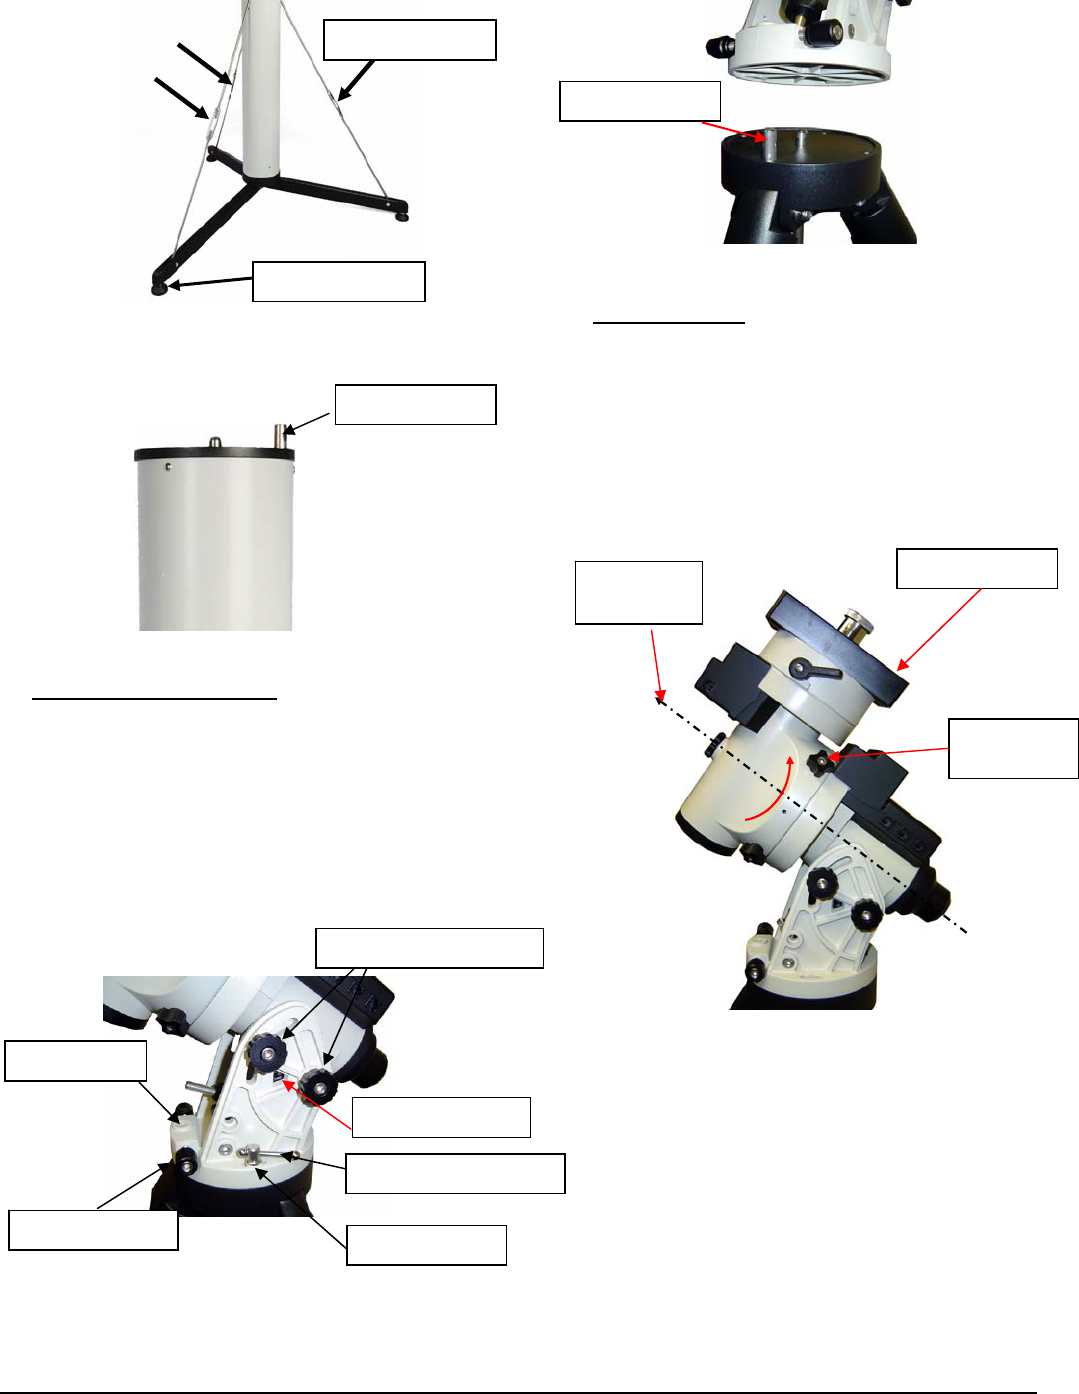
Figure 6
Position
the pier with Alignment Peg face north.
Figure 7
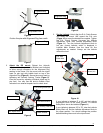
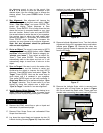
2. Attach the EQ mount
: Retract the Azimuth
Adjustment Knobs (next to the Bubble Level Indicator)
to allow enough clearance for the Alignment Peg
seating in the house. Put the mount onto the tripod
head (or pier top) with bubble level on top of the
Alignment Peg (Figure 9). Secure the mount head by
tightening two Azimuth Locking T-bolts (Figure 8).
Level the mount by adjusting individual tripod leg (or
pier foot). You may use the build-in Bubble Level
Indicator or an external torpedo level to check level.
Figure 8
Figure 9
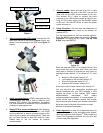
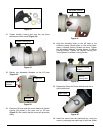
3. Set the Latitude
: Unlock the four R.A. Clutch Screws
and rotate the mount 180º around the R.A. axis
(Figure 10) to move the dovetail face upside. Tighten
the R.A. Clutch Screws. Un-screw the Altitude
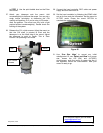
Adjustment Lever from Altitude Adjustment Knob
(Figure 11). Turn the Latitude Adjustment Knob to
set your current Latitude, which is displayed in
Latitude Mark Window. Use the Lever for fine
adjustments as needed. Always set the latitude
without the load.
Figure 10
If your latitude is between 5º to 40º, set the Latitude
Adjustment Knob to the lower position. A Latitude
Safety Block has to be installed (Figure 11)
If your latitude is between 35º to 70º, take the Latitude
Safety Block off. Set the Latitude Adjustment Knob to
the upper position. You should change the position
before attaching the mount to the tripod head.
Tighten evenly
Adjustable Feet
Alignment Peg
Alignment Peg
Bubble Level
Azi. Adjust. Knob
Lat. Mark Window
Azi. Locking T-bolt (x2)
Lat. Locking Screw (X4)
Plastic Washer
Dovetail Saddle
R.A. axis
Polar Axis
R.A. Clutch
Screw (X4)


