5
SAFETY
TRANSPORTATION:
Use a heavy duty trailer to haul mower. Set park brake, turn off fuel valve and strap mower to
trailer. NOTE: Park brake will not hold mower in place when transporting. Be sure to tie down the
mower to the trailer. Always back onto the trailer to prevent possible tipover.
1. Keep all nuts, bolts and screws tight to keep mower in safe operating condition.
2. Engine maintenance should comply with engine manufactures specifications. See the engine
manual for specifications.
3. Never store the mower with gas in the tank inside a building where fumes can reach an open
flame or spark.
4. To reduce the risk of fire, keep the mower free of grass, leaves and excessive grease or oil.
5. Have your mower inspected and serviced each year by an authorized Husqvarna dealer.
6. Use only authentic Husqvarna replacement parts to insure the safety and quality of your
mower is maintained.
7. Safety decals should be replaced if they are missing or illegible. Decals can be purchased
from your Husqvarna dealer.
8. The hydraulic system including all hoses and fittings should be checked frequently for wear or
leaks. Never check for leaks with your hands, use a piece of cardboard or wood. Hydraulic oil
under pressure could be injected into your body and must be surgically removed within a few
hours.
EQUIPMENT SETUP AND ADJUSTMENTS
1. Uncrate mower
2. Mount drive wheels using the four lug nuts installed on the hub.
3. Check tire pressure in all four tires. Pressure for all four tires is 15 psi
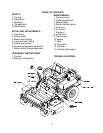
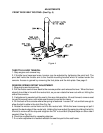
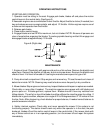
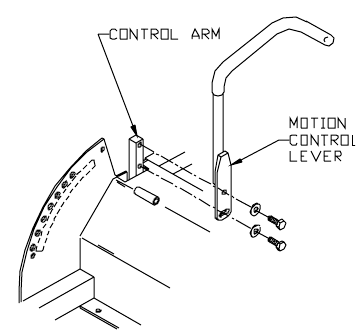
4. Remove the motion control levers and install on the inside of the control arms (See figure 1).
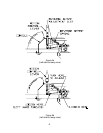
Align the levers so they are even in the neutral position. (See figure 6)
5. Install seat lanyard to the seat frame with 5/16" hardware. Seat lanyard is located under the
seat in the hydraulic pump area. Attach the lanyard to the left front seat stud on the seat frame.
6. Check engine oil with dip stick. Add if needed per engine manufactures specifications. (See
Kawasaki engine manual for engine specifications.)
7. Loosen the discharge chute slightly and lower into position. Chute should be snug but still
pivot freely.
Figure 1


