7
ASSEMBLY
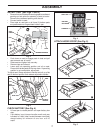
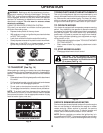
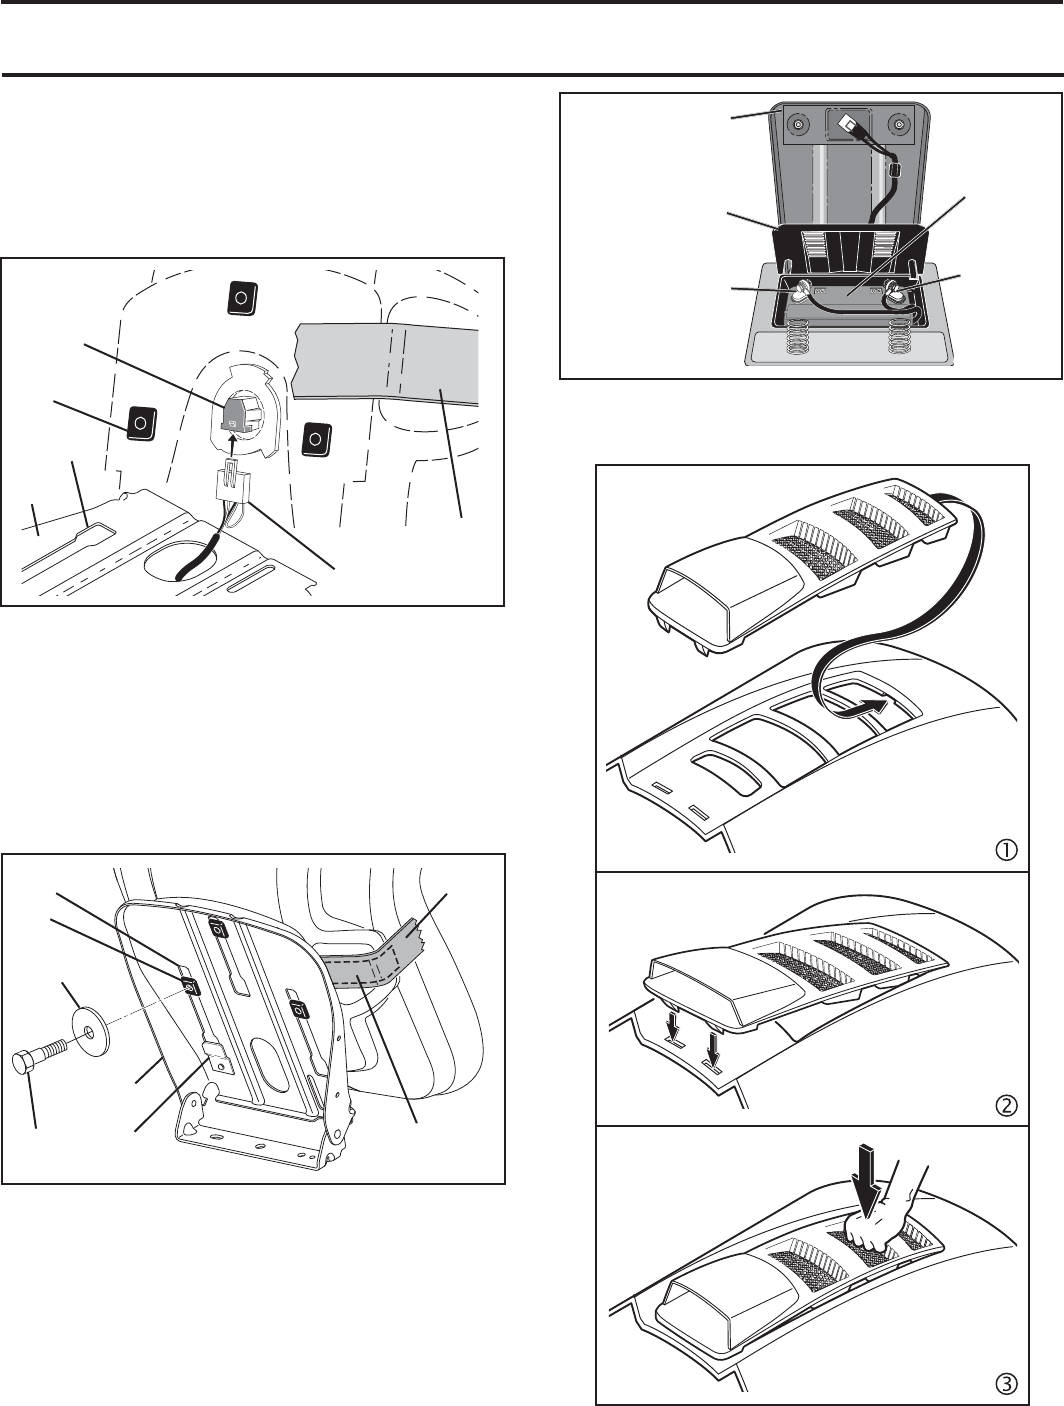
Fig. 3
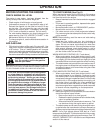
INSTALL SEAT (See Figs. 2 and 3)
• Remove bolt and flat washer se cur ing seat to cardboard
packing and set aside for as sem bly of seat to tractor.
Remove the cardboard packing and discard.
• Connect switch to seat.
• Place seat on seat pan so all three (3) bottom pads
are positioned over large slotted holes in pan.
Fig. 2
WIRING HARNESS
SEAT
SWITCH
PAD
TAPE
SEAT
PAN
SLOT
• Push down on seat to engage pads in slots and pull
seat towards rear of tractor.
• Raise seat and tighten bolt securely.
• Remove tape and discard.
• Lower seat into operating position and sit on seat.
Press clutch/brake pedal all the way down. If operating
position is not comfortable, adjust seat.
To adjust seat: Grasp adjustment handle and pull up, slide
seat to desired po si tion and release adjustment handle.
BOLT
FLAT
WASHER
SEAT PAN
PAD
TAPE
SLOT
TAB
ADJUSTMENT
HANDLE
02021
BATTERY
BOX DOOR
SEAT PAN
LABEL
TERMINAL
TERMINAL
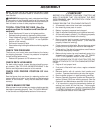
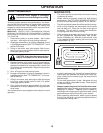
CHECK BATTERY (See Fig. 4)
• Lift seat pan to raised position and open battery box
door.
• If this battery is put into service after month and year
indicated on label (label located between terminals)
charge battery for minimum of one hour at 6-10
amps.
Fig. 4
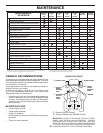
ATTACH HOOD SCOOP (See Fig. 5)
Fig. 5


