6
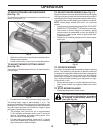
NOTE: You may now roll your tractor off the skid. Follow the
instructions below to remove the tractor from the skid.
WARNING: Before start ing, read, un der stand and fol low
all in struc tions in the Op er a tion section of this man u al. Be
sure tractor is in a well-ventilated area. Be sure the area in
front of tractor is clear of other peo ple and objects.
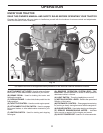
TO ROLL TRACTOR OFF SKID (See Op er a tion
section for location and function of con trols)
• Raise attachment lift lever to its highest po si tion.
• Release parking brake by de press ing clutch/brake ped al.
• Place freewheel control in "trans mis sion dis en gaged"
position (See “TO TRANS PORT” in the Op er a tion
section of this manual).
• Roll tractor forward off skid.
Continue with the instructions that follow.
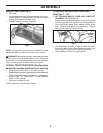
Fig. 2
ASSEMBLY
A
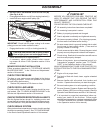
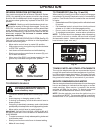
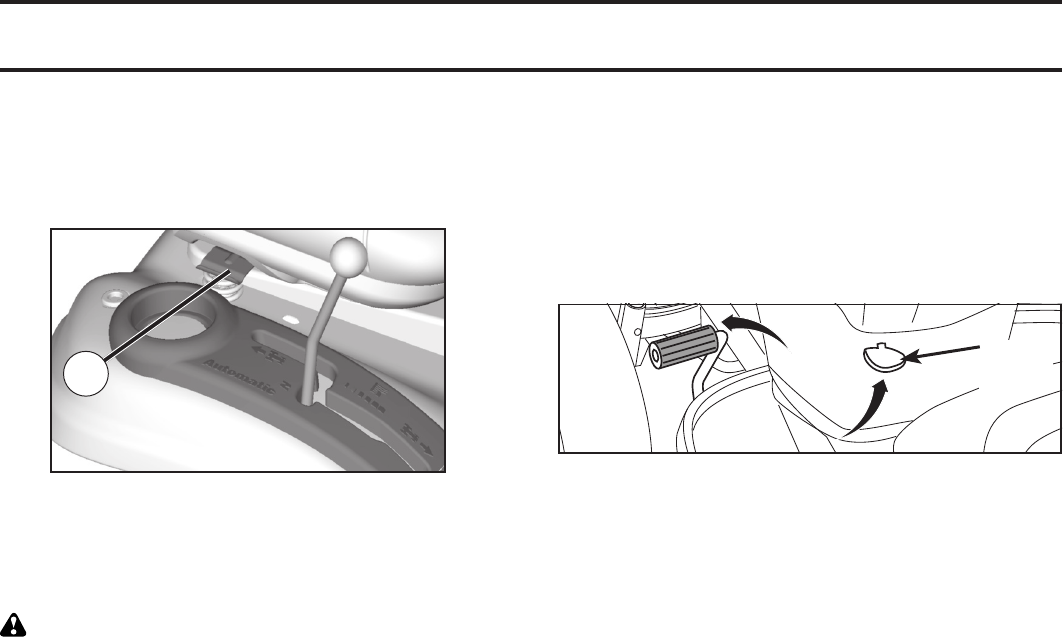
ADJUST SEAT (See Fig. 2)
• Sit in seat.
• Lift up adjustment lever (A) and slide seat until a com-
fortable position is reached which allows you to press
clutch/brake pedal all the way down.
• Release lever to lock seat in position.
TO INSTALL MOWER AND DRIVE BELT
(See Figs. 3 - 14)
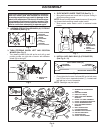
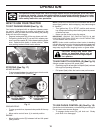
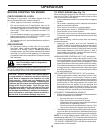
1. SET PARKING BRAKE LEVER AND LOWER AT-
TACHMENT LIFT (See Fig. 3)
• Depress clutch/brake pedal all the way down and hold.
• Pull parking brake lever up and hold, re lease pres sure
from clutch/brake pedal, then release parking brake
lever. Pedal should re main in brake position. Ensure
parking brake will hold tractor secure.
PARKING
BRAKE
LEVER
Fig. 3
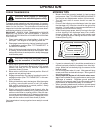
• The attachment lift switch is used to raise and lower
the mower deck or other attachments mounted to your
tractor. Ignition must be on to operate this switch.
• Lower attachment lift to its lowest position.


