


8
–
English
ST
AR
TING AND ST
OPPING
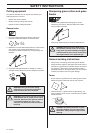
Chec
k before starting
F
or safety reasons follow these recommendations!
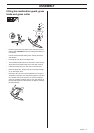
• Check the blade to ensure that no cracks have formed at
the bottom of the teeth or by the centre hole. The most
common reason why cracks are formed is that sharp
corners have been formed at the bottom of the teeth while
sharpening or that the blade has been used with dull
teeth. Discard a blade if cracks are found.
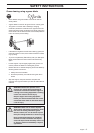
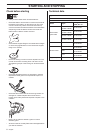
• Check that the support flange is not cracked due to fatigue
or due to being tightened too much. Discard the support
flange if it is cracked.
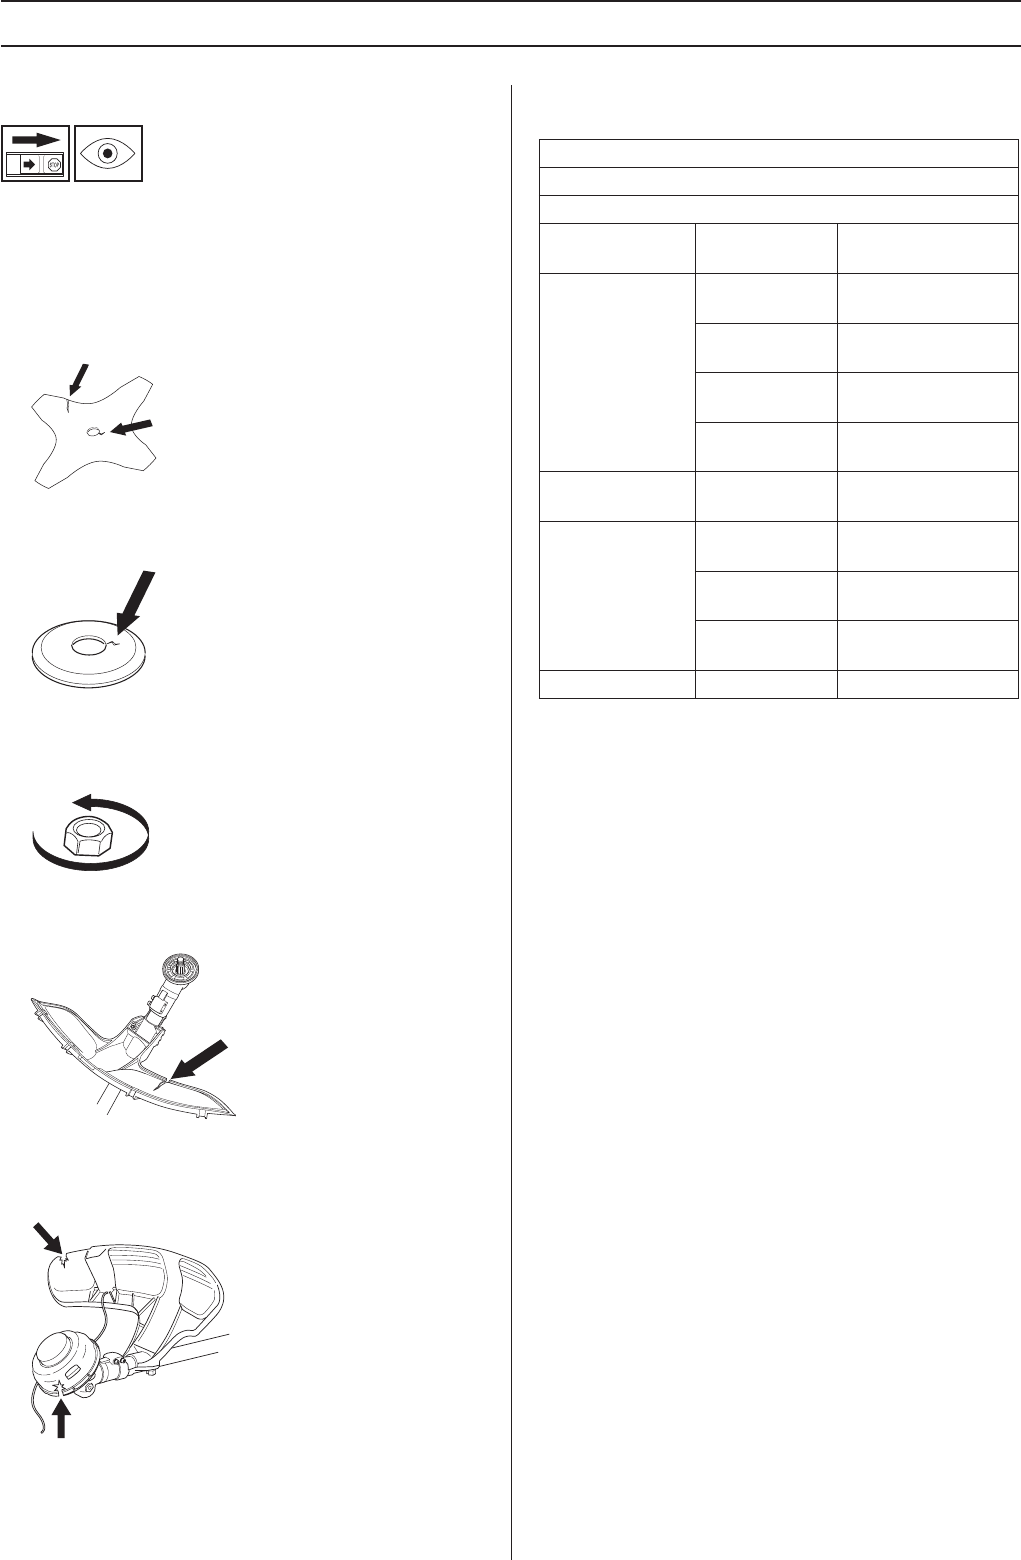
• Ensure the locking nut has not lost its captive force. The
nut lock should have a locking force of at least 1.5 Nm.
The tightening torque of the locking nut should be 35-50
Nm.
• Check that the blade guard is not damaged or cracked.
Replace the blade guard if it is exposed to impact or is
cracked.
• Check that the trimmer head and trimmer guard are not
damaged or cracked. Replace the trimmer head or
trimmer guard if they have been exposed to impact or are
cracked.
• Never use the machine without a guard nor with a
defective guard.
• All covers must be correctly fitted and undamaged before
you start the machine.
T
echnical data
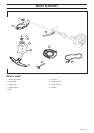
Appr
oved accessories
Blade shaft thread M10
Centre hole in b
lades/cutters, Ø 25,4 mm
Terms Type
Cutting attachment
guard, Art. no.
Grass blade/
grass cutter
Grass 255-4
(Ø 255 4 teeth)
537 33 16-03
Multi 255-3
(Ø 255 3 teeth)
537 33 16-03
Multi 275-4
(Ø 275 4 teeth)
537 33 16-03
Multi 300-3
(Ø 300 3 teeth)
537 33 16-03
Plastic blades Tricut Ø 300 mm
537 33 16-03 /
537 34 94-03
Trimmer head
T35
537 33 16-03 /
537 34 94-03
S35
537 33 16-03 /
537 34 94-03
T45
537 33 16-03 /
537 34 94-03
Support cup Fixed