HOW TO USE YOUR TRIMMER
FUEL MIXTURE
To operate the engine, you will need the
following:-
1.A clean, high quality 2 cycle oil.
Tecumseh specially formulated oil is available
at any Authorised Tecumseh Service Outlet.
Order as part number 730227.
Do not use multi-viscosity oils.
Disregard mix ratio instructions on oil contain-
ers if instructions conflict with fuel mix chart
below.
2. A fresh, clean, unleaded regular
automotive gasoline. (Leaded regular and
unleaded or leaded premium grades of gaso-
line are acceptable substitutes.)
Note:Do not use gasoline containing methanol
(wood alcohol). Gasoline containing up
to 10% ethanol or grain alcohol
(“Gasohol”) may be used but requires
special care when engine is unused for
extended periods.
Do not attempt to mix oil and gasoline in the
engines own fuel tank.
Ensure that the fuelinboththe fuel mixture
container and the engines fuel tank are
thoroughly mixed before use.
Do notfill thefuel tankin an enclosedarea,
when the engine ishotorwhile youare smok-
ing.
Thoroughly clean around the fuel tank filler cap
before filling, this will help to prevent dirt being
introduced into the fuel system.
Do not fill the tank while the engine is running.
Fill the fuel tank through a funnel fitted with a
fine filter.
Never fill fuel tank completely. Fill tank to
1
/ 2
”
below bottom of filler neck to provide for fuel
expansion.
Fuel should be stored in a cool place away
from naked flames.
Your carburettor is pre-set. Normally no further
adjustment is required.
STARTING AND
STOPPING
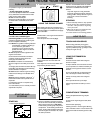
2. Move switch to ‘start’ position.
USING THE ENGINE PRIMER
When starting the trimmer for the first time or
after running the fuel tank dry, press the primer
15-20 times (fig 1), to establish the fuel supply
to the carburettor.
COLD START - if the engine is cold and there
is fuel in the tank.
Press the primer 8 to 10 times (fig 1).
STARTING
1. Connect spark plug lead.
HOW TO CUT
TOUGH AND HIGH GRASS
Before cutting, particularly in long grass,
examine the ground and remove stones etc.
If grass is particularly tough, go slowly in order
to keep the engine revs up.
USING THE TRIMMER ON
SLOPES
Exercise extreme caution while using this
trimmer on slopes.
A slope is defined as uneven terrain on which
you, the operator, are unable to maintain your
feet firmly on level ground in order to use the
trimmer.
Do not use this trimmer on slopes which are
wet or too steep to maintain a firm footing
Always use heavy shoes when using this
trimmer.
Never push the trimmer up the slope.
Always keep the trimmer below you on the
slope.
COMPLETION OF TRIMMING
Having completedthe trimming,stop the
engine.
As soon as the engine begins to fade, tilt the
trimmer.
Disconnect the spark plug.
Cleaning Trimmer:- Remove grass adhering
to the underside of deck. A clean machine will
always work better and last longer than a dirty
one.
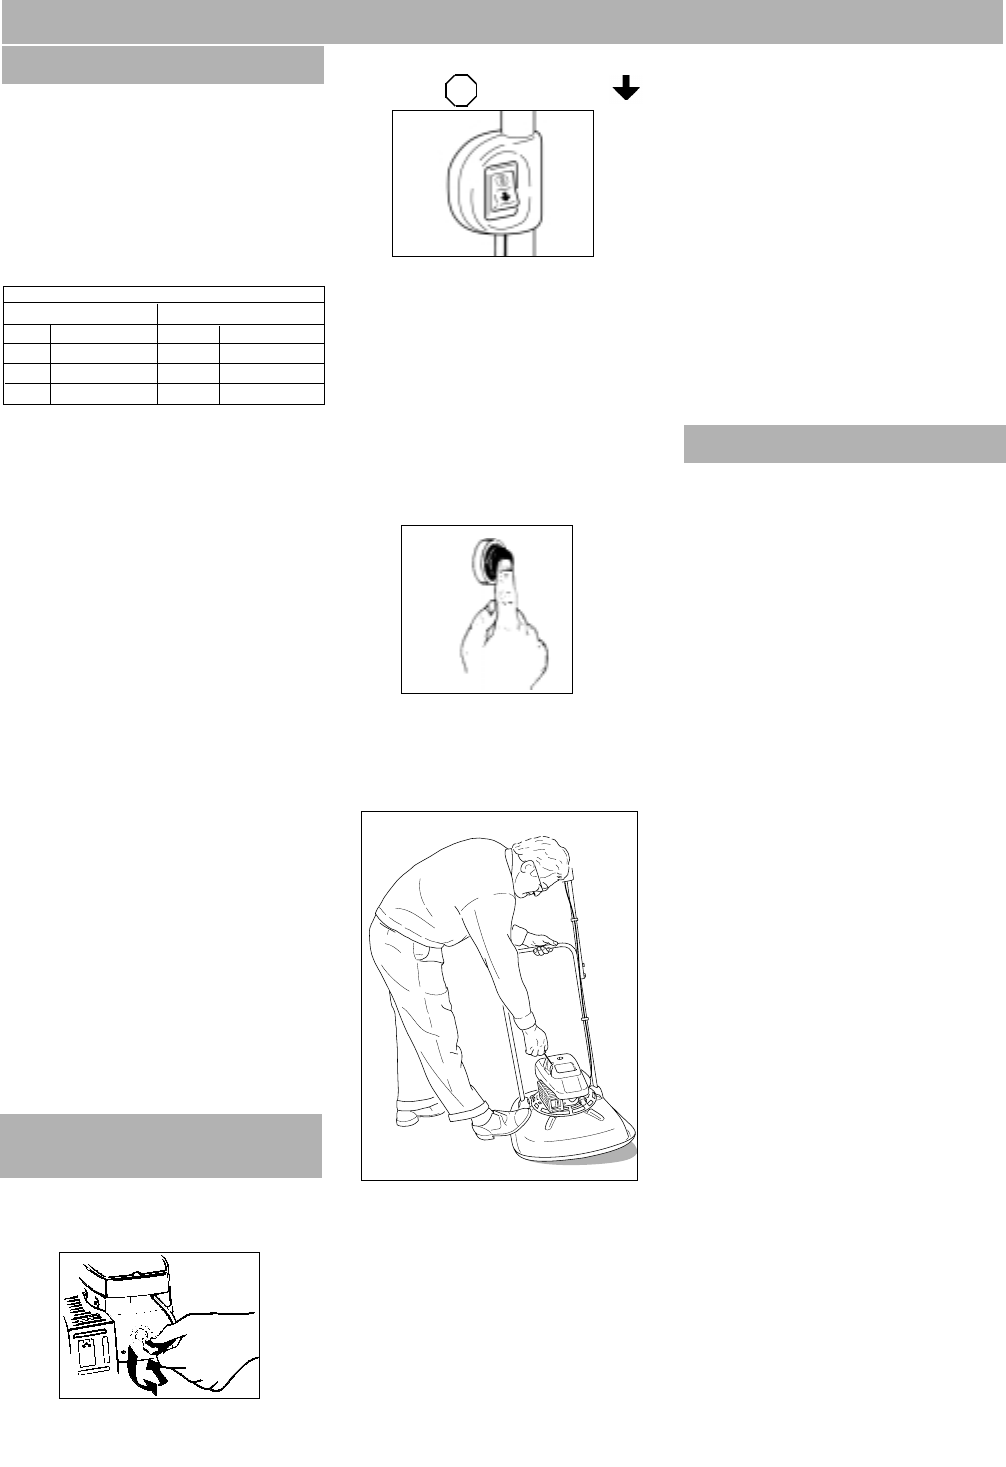
3. Place your left foot on the deck and grasp
the far arm of the handle with your left hand.
Tilt the trimmer towards you. (See Fig 2)
Pull the starting handle gently until you feel
compression. Let the starting handle return
slowly. Firmly pull the handle the full length,
when the engine should start; if not, repeat
the above procedure.
WARM START - if the engine is warm and
there is fuel in tank - DO NOT USE THE
PRIMER.
If the engine has run out of fuel, refill the tank
and press the primer 8-10 times
Fuel Mix Chart Mixture 24:1
U.S.
S.1. (Metric)
Gas
Oil to be added
1 Gal.
5 oz.
Petrol
4 Liters
20 Liters
Oil to be added
2 Gal.
11 oz.
27 oz.
8 Liters
167 ml
333 ml
833 ml
NOTE: IF THE ENGINE FAILS TO START
AFTER 3 PULLS, PRESS THE PRIMER A
FURTHER 3-5 TIMES AND FOLLOW
STEP 3.
Only when engine is running should the
trimmer be gently lowered to the horizontal
floating position. Always allow the engine to
warm up for a minute or two before
trimming.
STOPPING
1.Move start/stop switch to 'stop' position.
2.As the engine dies, tilt the trimmer to
one side. This prevents a ring being
cut in your lawn.
3.When the engine has stopped, lower
the trimmer onto the ground.
4.Put the handle in the Parking position.
5 Gal.
STOP -
STOP
START -
Fig. 1
Fig. 2


