23
SERVICE AND ADJUSTMENTS
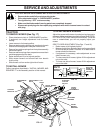
ADJUSTMENT
BOLT
FIG. 25
TRANSMISSION REMOVAL/REPLACEMENT
Should your transmission require removal for service or
replacement, it should be purged after reinstallation before
operating the tractor. See “PURGE TRANSMISSION” in
Operation section of this manual.
TO ADJUST STEERING WHEEL ALIGNMENT
If steering wheel crossbars are not horizontal (left to right)
when wheels are positioned straight forward, remove steer-
ing wheel and reassemble with crossbars horizontal. Tighten
securely.
FRONT WHEEL TOE-IN ADJUSTMENT
Front wheel toe-in is required for proper steering operation.
Toe-in was set at the factory and adjustment should not be
necessary. If parts in the front axle or steering mechanism
have been replaced or damaged, check toe-in and adjust if
necessary.
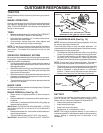
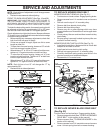
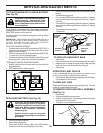
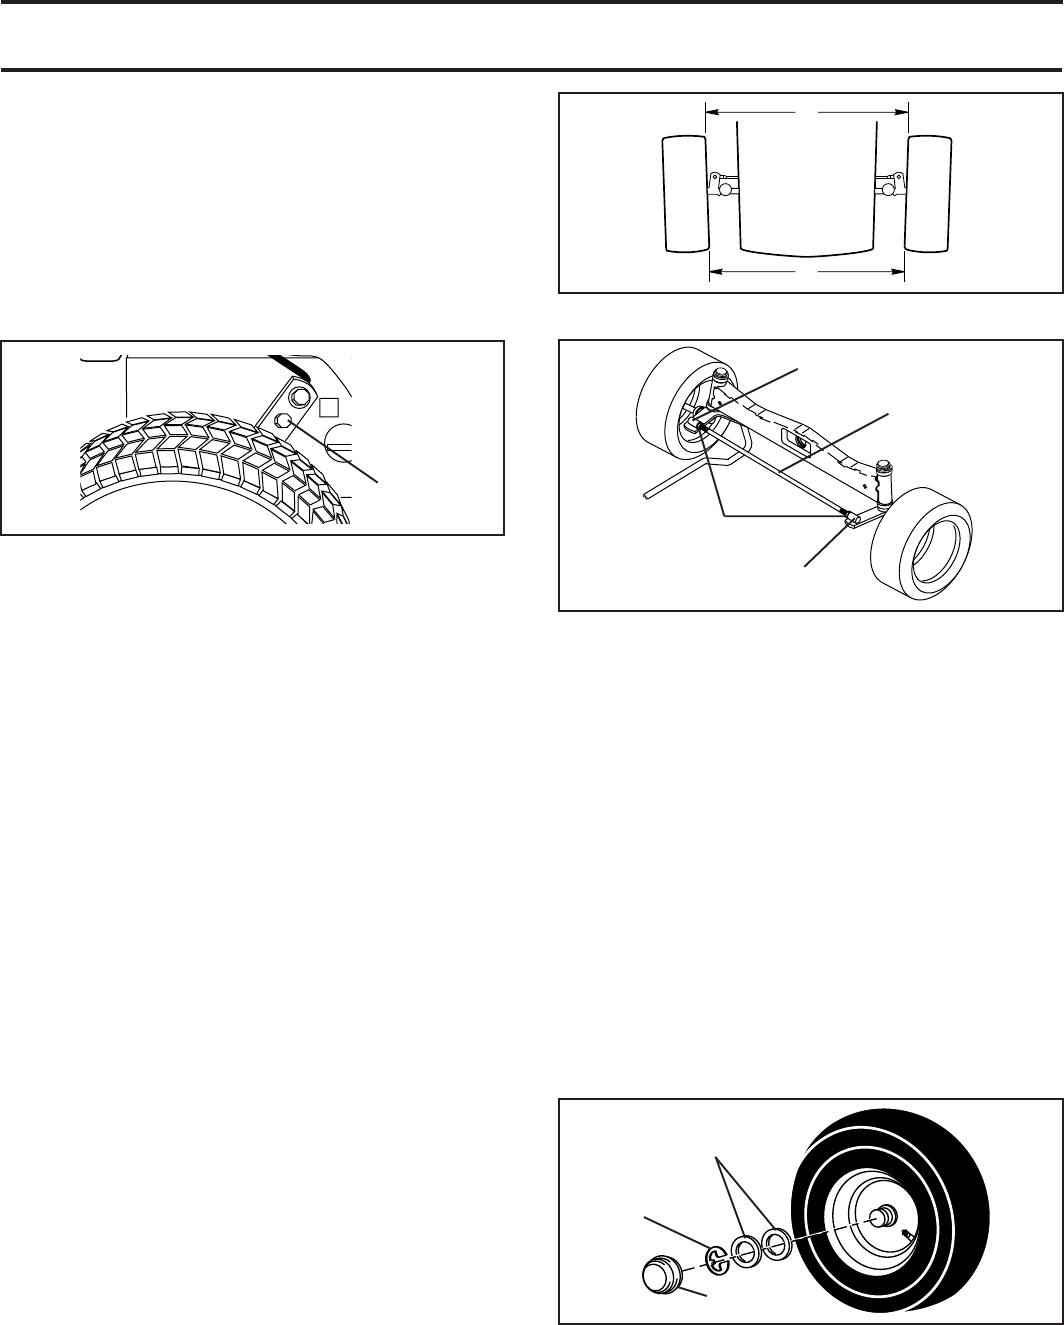
TO CHECK TOE-IN (See Fig. 26) -
• Position front wheels straight ahead.
• Measure distance between wheels at front and rear of
tires (dimensions “A” and “B”).
• Front dimension “A” should be 1/8" to 1/4" less than rear
dimension “B”.
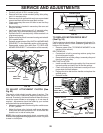
TO ADJUST TOE-IN (See Figs. 26 and 27) -
• Loosen jam nuts at adjustment sleeves on tie rod.
• Adjust tie rod until dimension “A” is 1/8" to 1/4" less than
dimension “B”.
• Tighten jam nuts securely.
FRONT WHEEL CAMBER
The front wheel camber is not adjustable on your tractor. If
damage has occurred to affect the front wheel camber,
contact your nearest authorized service center/department.
TRANSAXLE MOTION CONTROL LEVER
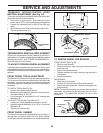
NEUTRAL ADJUSTMENT (See Fig. 25)
The motion control lever has been preset at the factory and
adjustment should not be necessary.
• Park tractor on level surface. Stop tractor by turning
ignition key to “OFF” position and engage parking brake.
• Loosen the adjustment bolt in front of the right rear
wheel.
• Move motion control lever to the neutral position (N).
• Tighten the adjustment bolt.
A
B
FRONT OF TRACTOR
FIG. 26
TIE ROD
JAM NUTS
ADJUSTMENT SLEEVE
ADJUSTMENT SLEEVE
FIG. 27
FIG. 28
RETAINING
RING
WASHERS
AXLE COVER
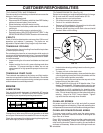
TO REMOVE WHEEL FOR REPAIRS
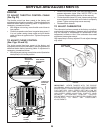
FRONT WHEEL (See Fig. 28)
• Block up axle securely.
• Remove axle cover, retaining ring and washers to allow
wheel removal.
• Repair tire and reassemble.
• Replace washers and snap retaining ring securely in
axle groove.
• Replace axle cover.
REAR WHEEL -
• Block rear axle securely.
• Remove five (5) hub bolts to allow wheel removal.
• Repair tire and reassemble. Replace and tighten hub
bolts securely.
NOTE: To seal tire punctures and prevent flat tires due to
slow leaks, tire sealant may be purchased from your local
parts dealer. Tire sealant also prevents tire dry rot and
corrosion.


