11
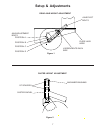
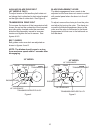
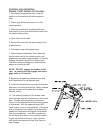
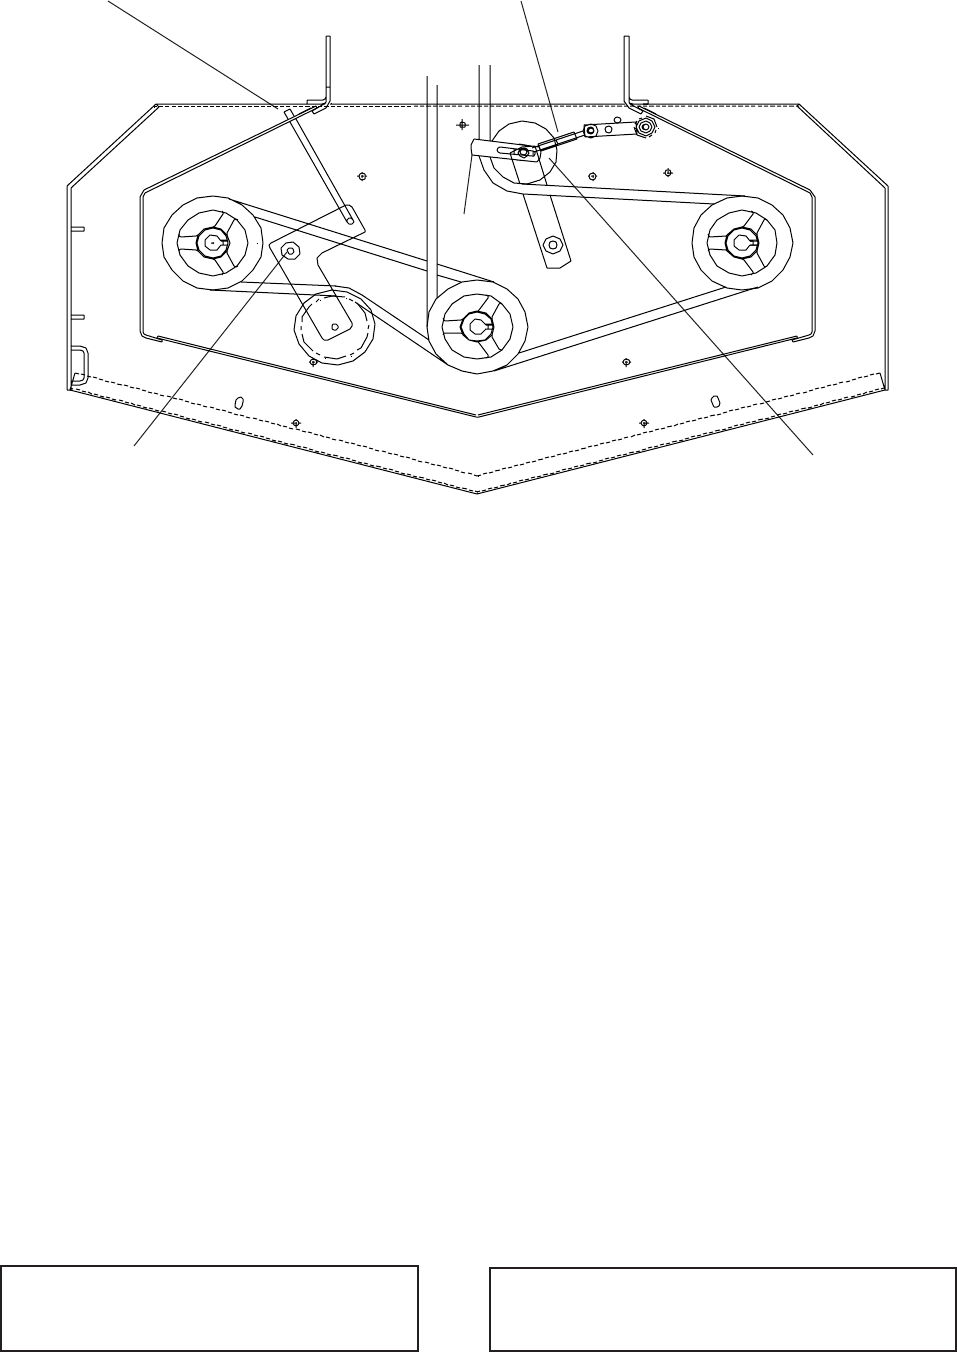
Figure 6
AUXILARY BELT ADJUSTMENT ROD
IDLER PIVOT POINT
TURNBUCKLE
ENGAGEMENT IDLER ASSEMBLY
1/4"
BEFORE OPERATING
Be thoroughly familiar with all controls and how
to use them before operating the mower. Know
beforehand how to stop the engine, drive
wheels, and mower blades in preparation for
possible emergency.
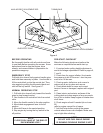
EMERGENCY STOP
Pull both drive levers firmly against handle grips
and hold them securely in place. Use thumbs to
lift the neutral bail up into the neutral slot. Then
stop engine by pulling throttle control back and
shut off the key switch. See figure # 7.
NORMAL OPERATING STOP
1. Pull both drive levers firmly toward the handle
grips to stop forward motion.
2. Use thumbs to lift neutral bail into the neutral
slots.
3. Move the throttle control to the slow position.
4. Move blade engagement lever to the off
position.
5. Move shift lever to the neutral position.
6. Stop engine by turning the key switch to the
off position.
NOTE
CLOSE FUEL VALVE AT THE END OF
EACH MOWING JOB !!
PRE-START CHECKLIST
Make the following checks and perform the
services as required before each start up.
1. If required make cutting height adjustments
and drive linkage adjustments. Refer to pages 6,
7, and 8
2. Check tires for proper inflation (front caster
tire pressure to be 50 lbs max. / rear tire pres-
sure to be 14 lbs max.
3. Check guards, deflectors, and covers to
make sure all are in place and secure.
4. Check blade belts for wear and correct
tension if worn or damaged, replace with original
part.
5. Clean interior and exterior surfaces of the
cutting deck and clean engine of any accumula-
tion of dirt or debris. Keep engine air intake clear
at all times.
6. Check engine oil add if needed (do not over-
fill)
refer to engine manual for oil specs.
7. Add fuel to tank after pushing the mower
outside where fumes can dissipate. Make sure
cap is tight after refueling.
NOTE
DO NOT ADD FUEL WHILE ENGINE
IS RUNNING OR WHILE ENGINE IS HOT.


