9
ASSEMBLY
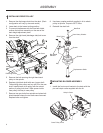
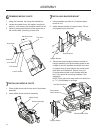
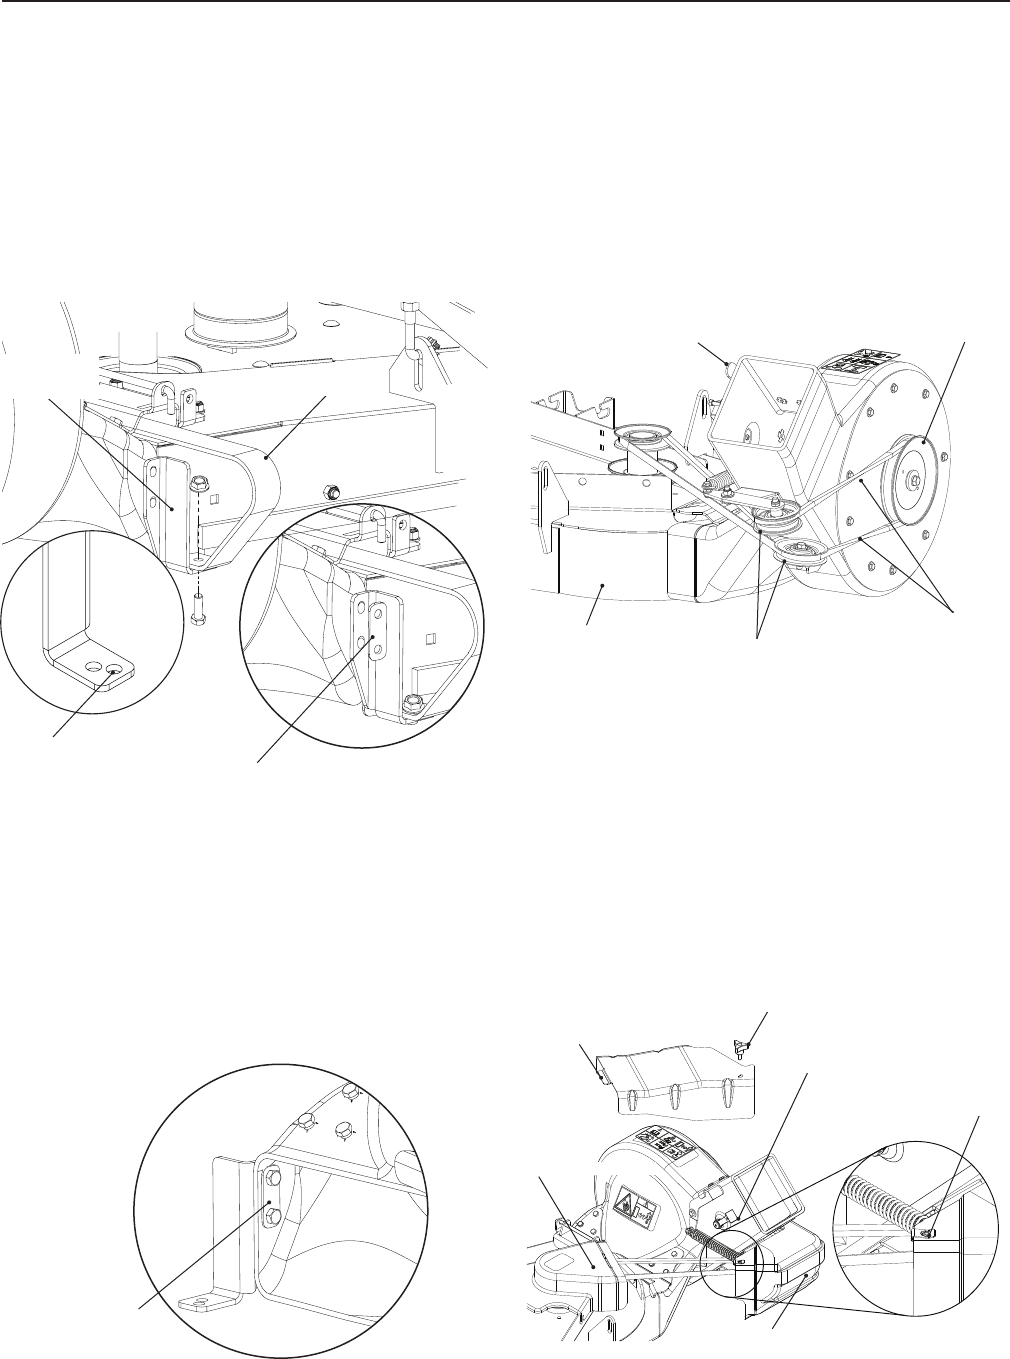
1. Makesurethetensionreleaseleverisforwardor
disengaged.
2. Placethebeltoverthepulleyonthedeck.Referto
illustration for proper routing.
3. Move the tension release arm to the rear and
engage in the latch.
4
INSTALLING DRIVE BELT
RearOfDeck
Idler Pulleys
Outer Pulley
Twist in Belt
Tension Release Arm
5
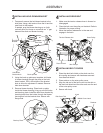
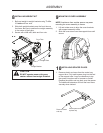
INSTALLING BELT COVERS
1. Placethedeckbeltshieldonthedeckoverthe
drive pulley and secure with hardware removed
from steel belt shield.
2. Place retainer on the outer pulley cover.
3. Align the tab end of the belt cover into the slot on
thedeckbeltshieldandtheotherendovertheend
of the outer pulley cover.
4. Securewithknob.
Retainer
Knob
Outer Pulley Cover
DeckBeltShield
Belt Cover Tab
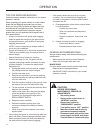
Middle Chute Latch
Temporarilysecuretheholddownbrackettothe1.
skidplate,usingaboltandnutfromthekitandthe
outerholeinthebracket.
If needed, prop the blower housing up so it sits
vertically level, but leave no more than an
1
/8" gap
betweenthedeckandblowerhousing.
SkidPlate
Back-upPlate
Back-upPlate
3
INSTALLING HOLD DOWN BRACKET
Usingtheback-upplateasatemplate,drillholes2.
in blower housing through the slots on the hold
downbracket.Drillinthemiddleofthebracket
slots to allow for adjustment if needed. Remove
holddownbracket.
Removeblowerhousing.Placeback-upplate3.
inside the blower housing, lining up new drill holes
andback-upplate.Installtheholddownbracketby
inserting bolts from the inside, through the blower
housingandintothebracketslots.Securewith
angenuts.
Hold Down
Bracket
Hold Down
BracketHole


