


14 – English
ASSEMBLY
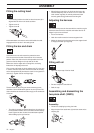
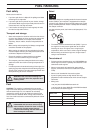
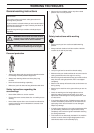
Fitting the cutting head
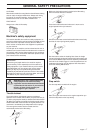
• Fit the cutting head on the shaft so that the screw (A) is
aligned with the hole in the shaft as shown.
• Tighten screw A.
• Tighten screw B.
CAUTION! Make sure that the drive shaft inside the shaft
engages with the cut-out in the cutting head.
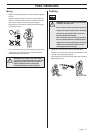
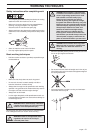
Fitting the bar and chain
Unscrew the bar nut and remove the protective cover.
Fit the bar over the bar bolt. Place the bar in its rearmost
position. Place the chain over the drive sprocket and in the
groove on the bar. Begin on the top side of the bar.
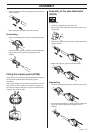
Make sure that the edges of the cutting links are facing
forward on the top edge of the bar.
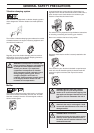
Fit the cover and locate the chain adjuster pin (A) in the hole
in the bar. Check that the drive links of the chain fit correctly
on the drive sprocket (B) and that the chain is in the groove in
the bar (C). Tighten the bar nut finger-tight.
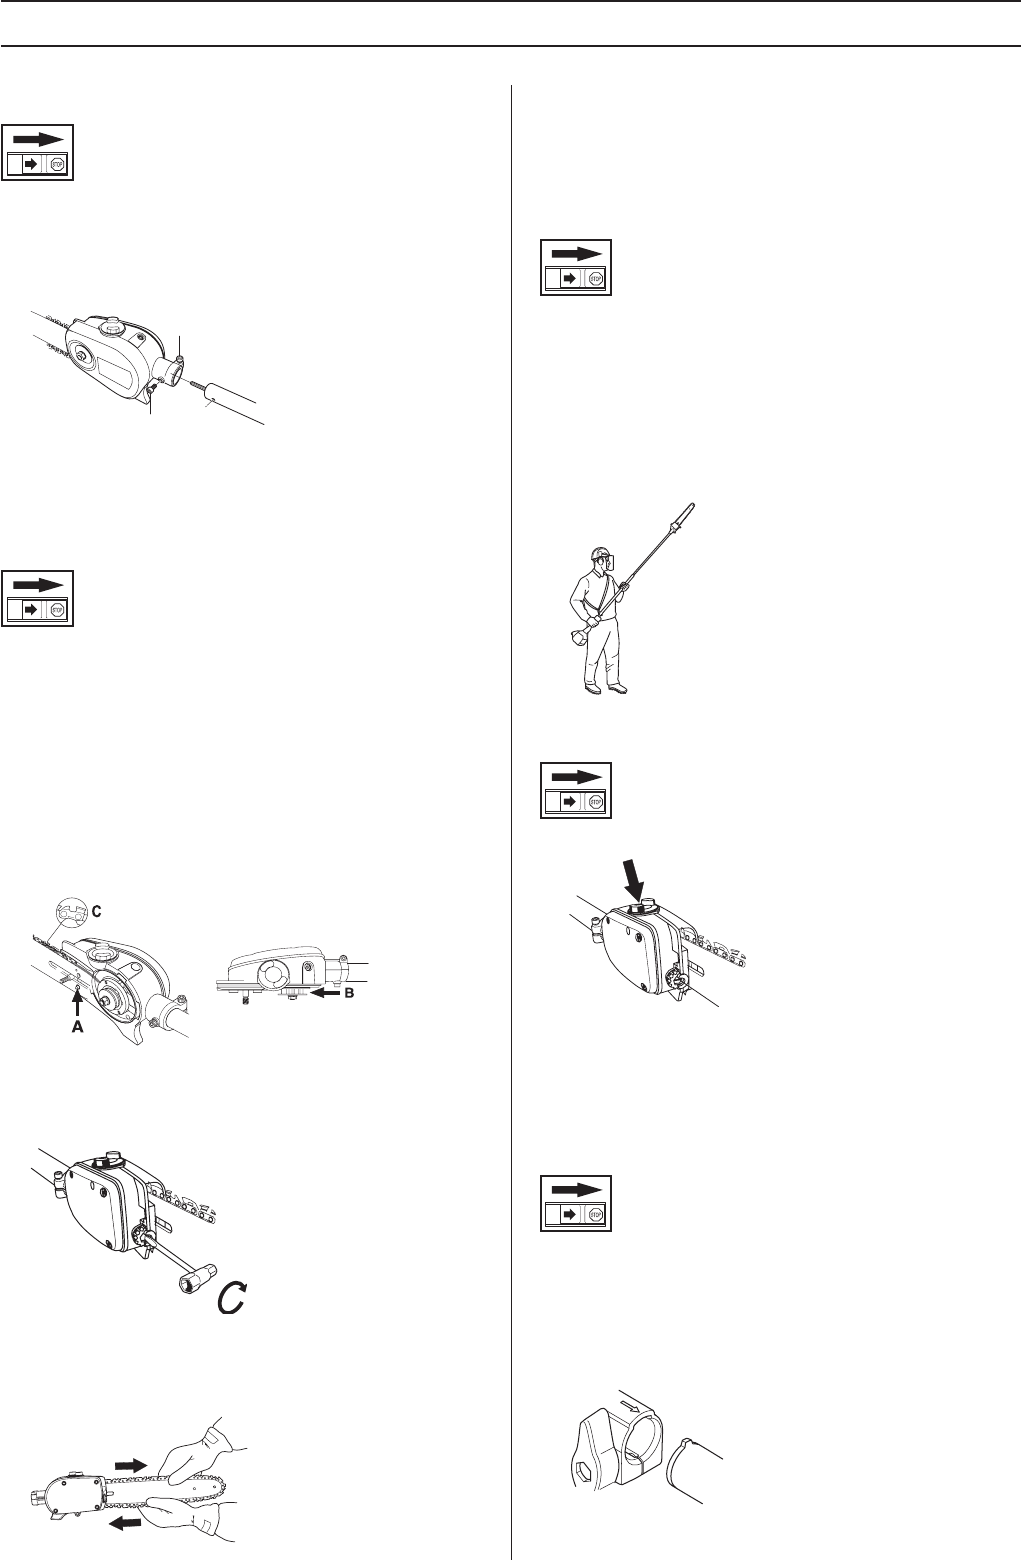
Tension the chain by turning the chain tensioning screw
clockwise. Use a combination spanner or turn by hand. The
chain should be tensioned until it fits snugly on the underside
of the bar.
• The chain is correctly tensioned when there is no slack on
the underside of the bar, and it can still be turned easily by
hand. Tighten the bar nut with the combination spanner
while holding up the tip of the bar.
• When fitting a new chain, the chain tension has to be
checked frequently until the chain is run-in. Check the
chain tension regularly. A correctly tensioned chain
ensures good cutting performance and long life.
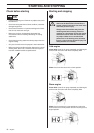
Adjusting the harness
You should always use the harness with the machine to give
maximum control over the machine and reduce the risk of
fatigue in your arms and back.
• Put on the harness.
• Hook the machine onto the harness support hook.
• Adjust the length of the harness so that the support hook
is roughly level with your right hip.
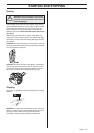
Filling with oil
• Open the cap on top of the bar head
• Fill with Husqvarna saw chain oil.
• Refit the cap.
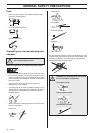
Assembling and dismantling the
two-piece shaft (325P5)
Assembly:
• Loosen the coupling by turning the knob.
• Align the tab of the attachment (A) with the arrow on the
coupling (B).
A
B
A
B