6
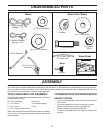
ASSEMBLY
LABEL
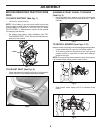
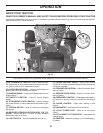
TO CHECK BATTERY (See Fig. 1)
• Lift hood to raised position.
NOTE: If this battery is put into service after month and
year indicated on label (label is located between terminals)
charge battery for minimum of one hour at 6-10 amps.
(See "BATTERY" in Maintenance section of this manual
for charging instructions).
• For battery and battery cable installation see "RE-
PLACING BATTERY" in the "Service and Adjustments"
section in this manual.
Fig. 1
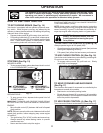
TO ADJUST SEAT (See Fig. 2):
• Grasp adjustment handle(A) and pull up, slide seat to
desired po si tion and release adjustment handle.
A
Fig. 2
Fig. 5
0
2
0
5
1
A
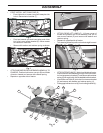
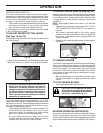
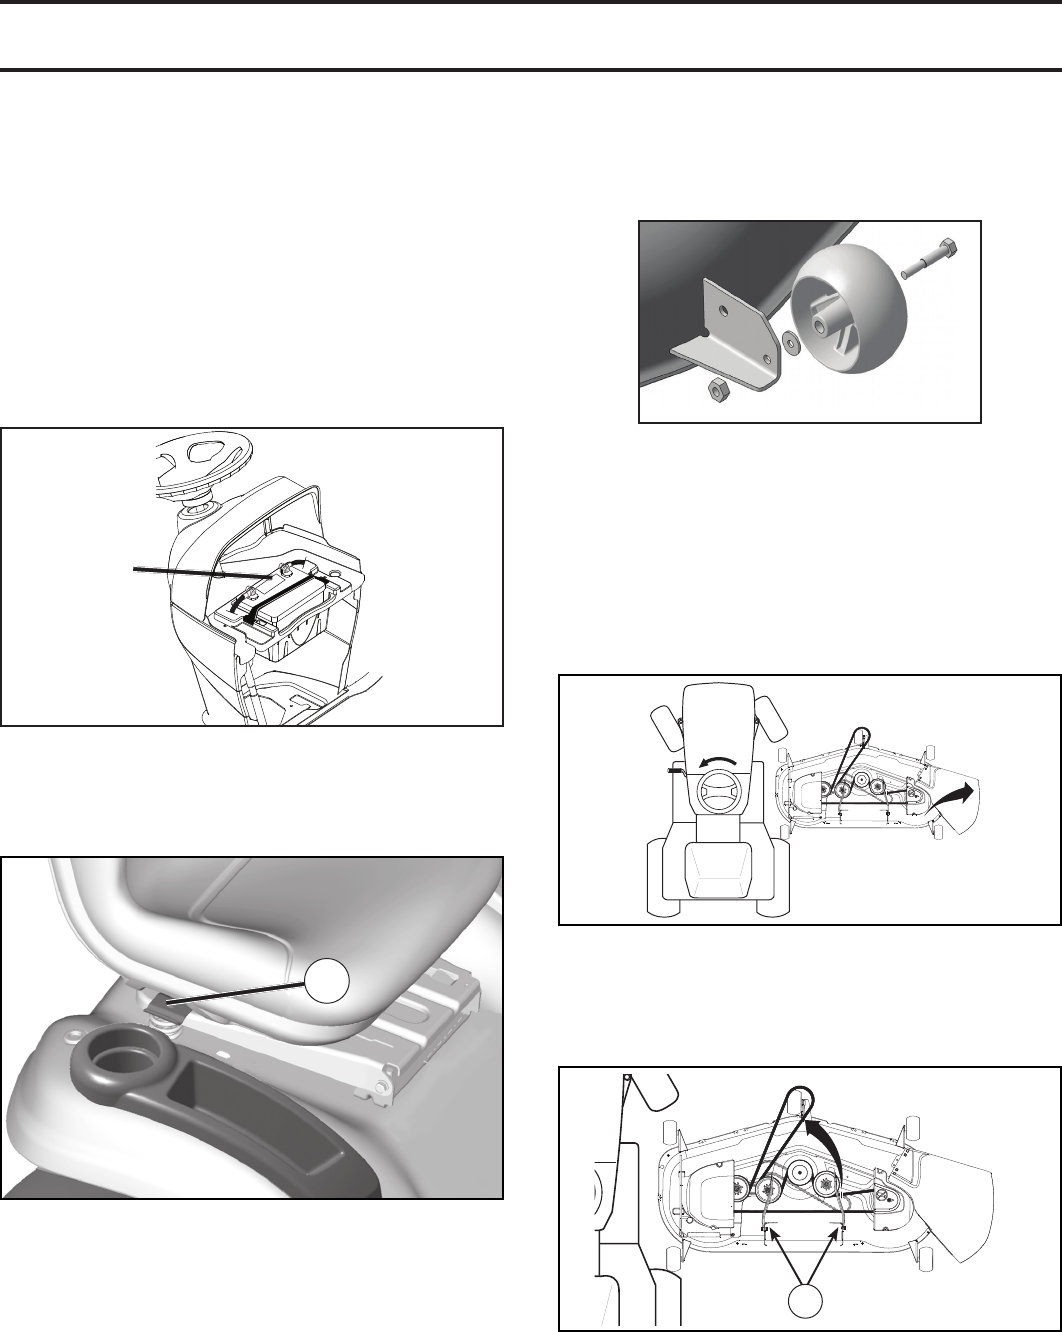
TO INSTALL MOWER (See Figs. 4-12)
Be sure tractor is on level surface and engage park ing brake.
• Lower attachment lift control to its lowest position.
• Turn steering wheel to the left as far as it will go and
position mower on right side of tractor with deflector
shield to the right.
NOTE: Be sure mower side suspension arms (A) are point-
ing forward before sliding mower under tractor.
02965
Fig. 4
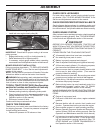
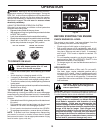
ASSEMBLE FRONT WHEEL TO MOWER
(See Fig. 3)
• Using shoulder bolt, washer and locknut from parts
bag, as sem ble front wheel to mower as shown. Tighten
securely.
Fig. 3
• Slide mower under tractor until it is centered under
tractor.
BEFORE REMOVING TRACTOR FROM
SKID


