10
Install the generator as close as possible to the fuel
supply, to reduce the length of piping.
Install the generator as close as possible to the
transfer switch. REMEMBER THAT LAWS OR
CODES MAY REGULATE THE DISTANCE AND
LOCATION.
The genset must be installed on a level surface.
The base frame must be level within two (2) inches
all around.
The generator is typically placed on pea gravel or
crushed stone. Check local codes if a concrete slab
is required. If a concrete base slab is required, all
federal, state and local codes should be followed.
Special attention should be given to the concrete
base slab which should exceed the length and
width of the generator by a minimum of six (6)
inches (0.152 meters) on all sides.
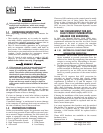
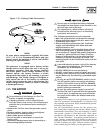
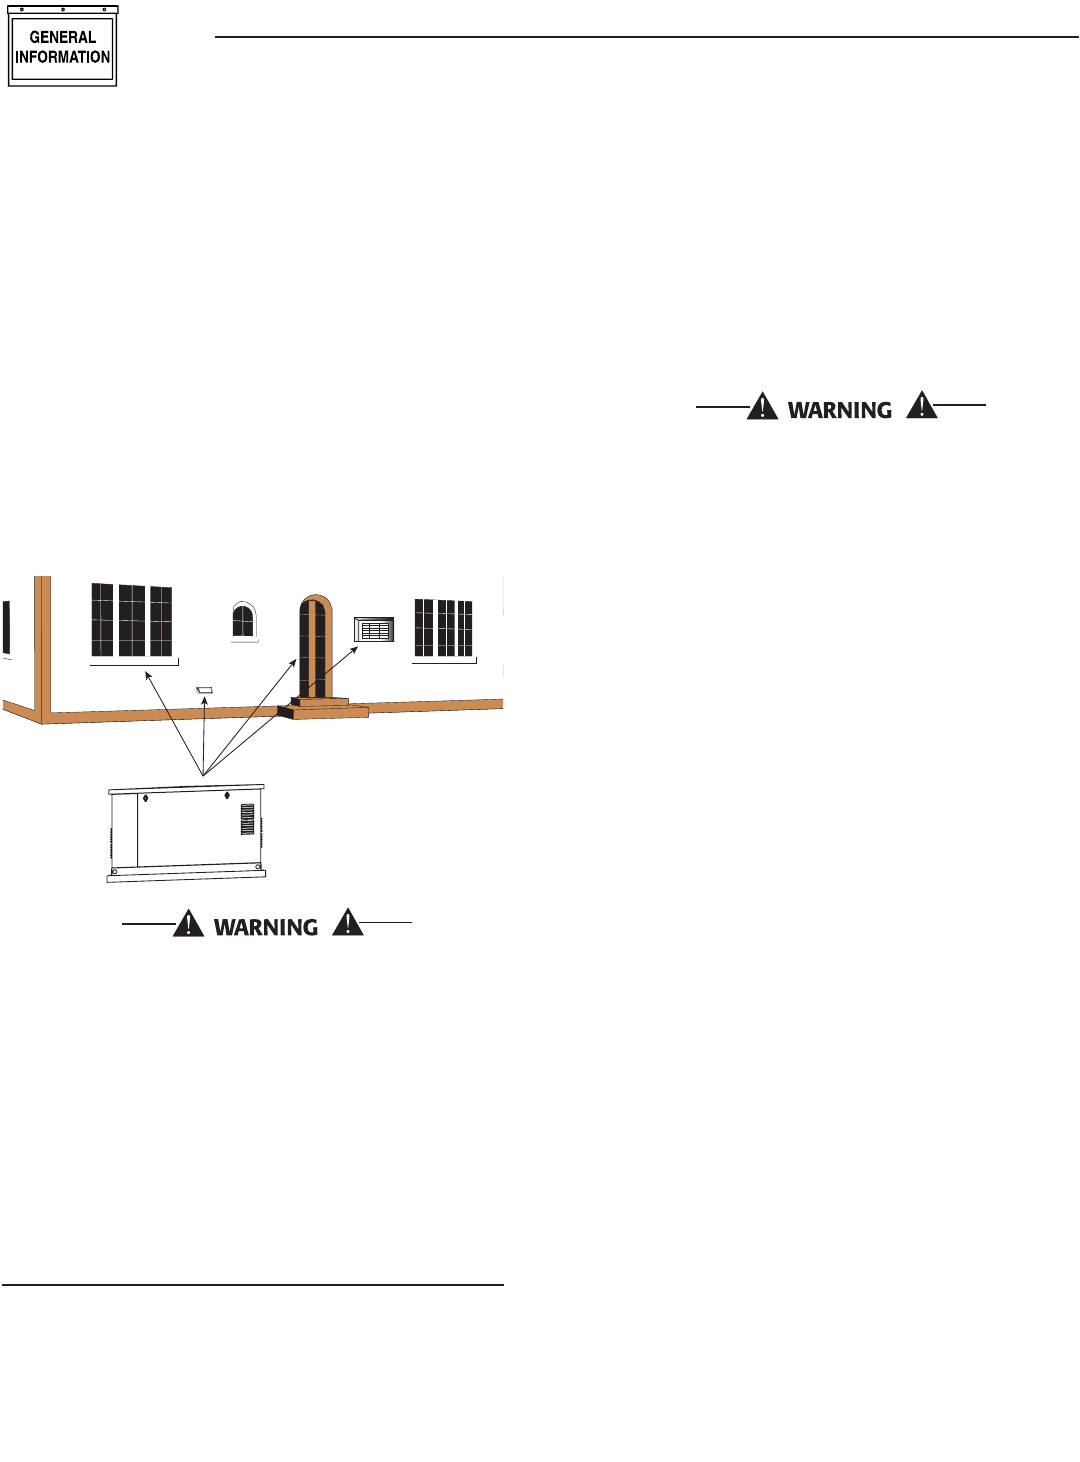
Figure 1.9 – Generator Clearances
The engine exhaust fumes contain carbon mon-
oxide, which can be DEADLY. This dangerous
gas, if breathed in sufficient concentrations,
can cause unconsciousness or even death. This
exhaust system must be installed properly, in
strict compliance with applicable codes and stan-
dards. Following installation, do nothing that
might render the system unsafe or in noncompli-
ance with such codes and standards.
• Operate the generator outdoors ONLY.
• Keep exhaust gases from entering a confined area
through windows, doors, ventilation or other
openings (Figure 1.9).
1.10.2 TRANSFER SWITCH
1.10.2.1 7, 10, 13, and 16 kW Units (if equipped)
The transfer switch shipped with this generator is
enclosed in a NEMA 1 enclosure. This type of enclo-
sure is intended for indoor use only. Follow these
rules:
•
•
•
•
Install the transfer switch indoors on a firm, sturdy
supporting structure.
To prevent switch distortion, level the switch if
necessary. This can be done by placing washers
between the switch enclosure and mounting sur-
face.
Never install the switch where water or any corro-
sive substance might drip onto the enclosure.
Protect the switch at all times against excessive
moisture, dust, dirt, lint, construction grit and
corrosive vapors.
If the AUTO/OFF/MANUAL switch is not set to its
OFF position, the generator can crank and start
as soon as the battery cables are connected. If
the utility power supply is not turned off, spark-
ing can occur at the battery posts and cause an
explosion.
1.11 BATTERY REQUIREMENTS
See the Specifications section for correct battery size
and rating.
1.12 BATTERY INSTALLATION
Fill the battery with the proper electrolyte fluid if
necessary and have the battery fully charged before
installing it.
Before installing and connecting the battery, complete
the following steps:
1. Set the generator's AUTO/OFF/MANUAL switch to
OFF.
2. Turn off utility power supply to the transfer
switch.
3. Remove the 15A fuse from the generator control
panel.
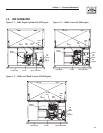
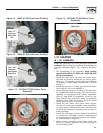
Battery cables were factory connected at the genera-
tor (Figure 1.10). Connect cables to battery posts as
follows:
4. Connect the red battery cable (from starter con-
tactor) to the battery post indicated by a positive,
POS or (+).
5. Connect the black battery cable (from frame
ground) to the battery post indicated by a nega-
tive, NEG or (—).
NOTE:
Dielectric grease should be used on battery posts
to aid in the prevention of corrosion.
NOTE:
Damage will result if battery connections are made
in reverse.
•
•
•
•
Section 1 — General Information
Air-cooled Generators


