-10-
H8170/H8171 Hydraulic/Electric Log Splitter
Inventory
After all the parts have been removed from
the shipping box you should have the following
items:
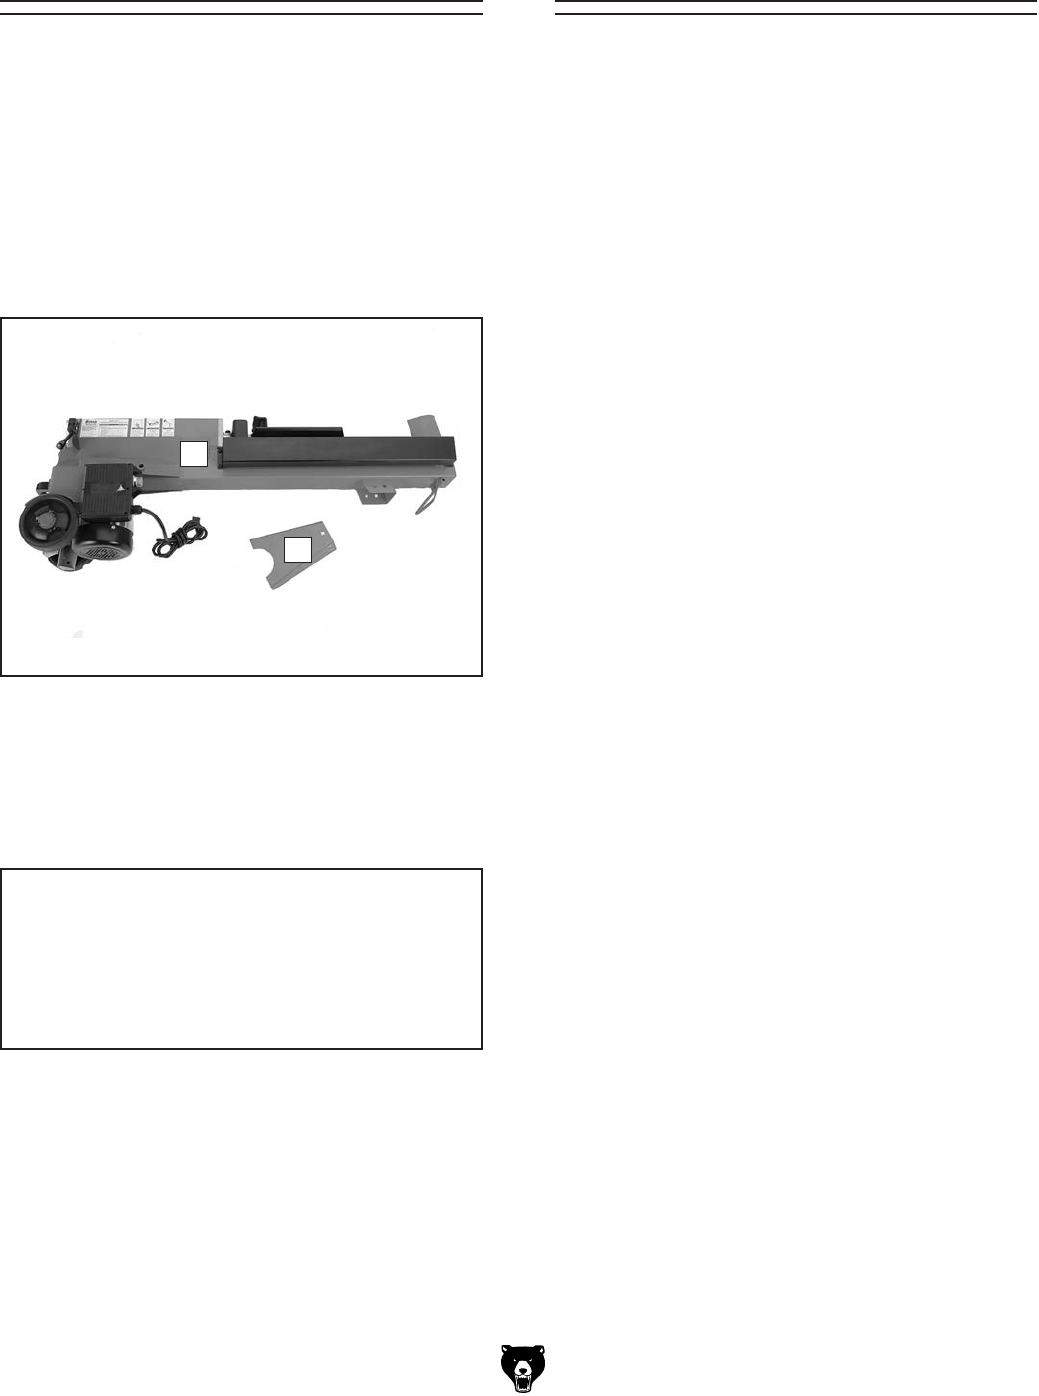
Box Contents (Figure 4): Qty
A. Log Splitter Body ........................................ 1
B. Support Leg ................................................ 1
C. Hardware Bag (Not Shown) ........................ 1
— Carriage Bolts M8-1.25 x 10 ................. 5
— Hex Nuts M8-1.25 .................................. 5
If any nonproprietary parts are missing (e.g. a
nut or a washer), we will gladly replace them; or
for the sake of expediency, replacements can be
obtained at your local hardware store.
NOTICE
Some hardware/fasteners on the inventory
list may arrive pre-installed. Check mount-
ing locations before assuming that any
items from the inventory list are missing.
Figure 4. H8170/H8171 Inventory.
A
B
Site Considerations
Work Surface
Always use the splitter on a flat, stable work sur-
face. Operating your splitter will be easiest when
the controls are waist high. At minimum, your
work surface must safely support the combined
weight of splitter and the heaviest log you intend
to split.
Working Clearances
Allow enough room on all sides to move logs to
and from the splitter. Refer to the Machine Data
Sheet for the dimensions of your splitter.
Moving the Splitter
The wheels on the Model H8170/H8171 make it
possible for one person to move it short distances.
However, the rugged design of your splitter makes
it heavy; we recommend that you get assistance
whenever lifting it.
To move the splitter :
1. DISCONNECT THE LOG SPLITTER FROM
THE POWER SUPPLY!
2. Close the air bleeder screw by turning it
clockwise (viewed from the rear of the split-
ter) until it stops. This will prevent hydraulic
fluid from leaking out during the move.
3. Grab the front handle and lift until the wheels
carry the load of the rear end. You will need
to raise the front end about 15" to shift the
load to the wheels. Roll the splitter to the
desired location and lower the front end.
4. Open the air bleeder screw by turning it
counterclockwise two full turns.
To lift the splitter:
1. Do Steps 1–2, above.
2. Get an assistant to help you to lift the split-
ter and carry it to the new worksite; use the
handles at each end.


