Specifications - 49
SPECIFICATIONS
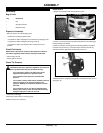
NOTE: Using a tapered drift will aid in the alignment of mounting
holes and ease installation of cap screws.
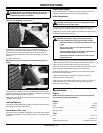
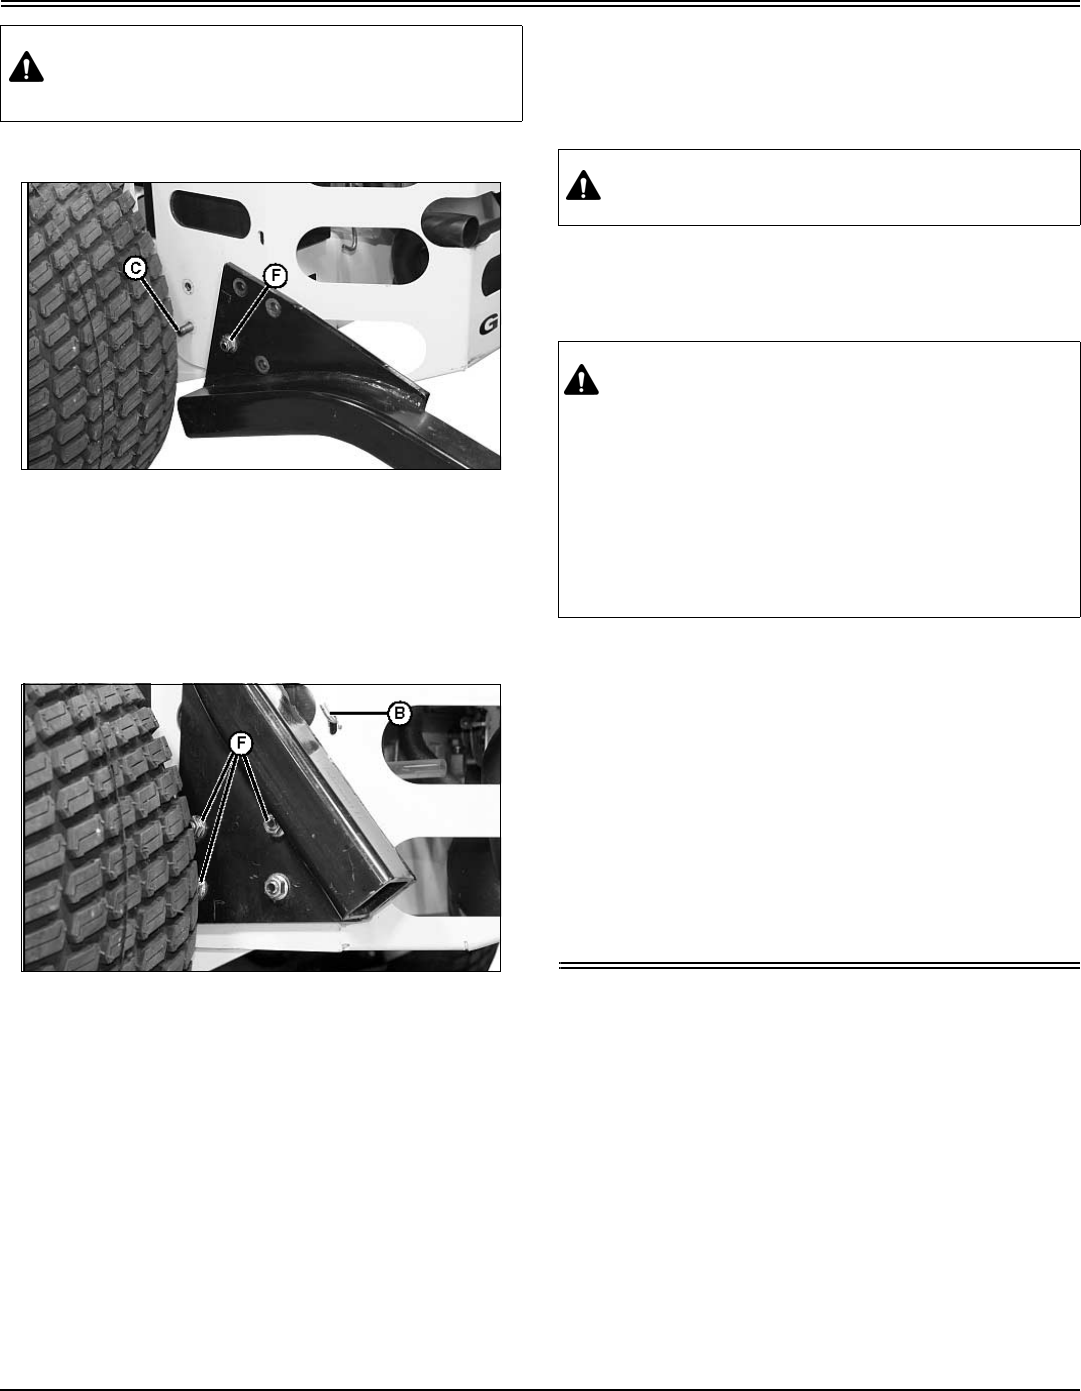
5.Lay ROPS on the ground, slide it up to the bumper and align the
appropriate hole in the ROPS flange with the lower rear mounting holes in
the machine frame and bumper. Install an M10 cap screw, removed
earlier, through the hole from the inside and secure loosely with an M10
locknut (F).
6. Remove cap screw (C).
NOTE: Take care when raising ROPS to avoid damaging paint on
bumper.
7.Using the lower rear bolts as a pivot, raise ROPS to the vertical position,
and install remaining cap screws and locknuts (F) on each side. Tighten all
ROPS mounting hardware to 80 N•m (59 lb-ft).
8.Engage hooked end (B) of rear battery hold-down rod in slot in bumper
and tighten nut to secure.
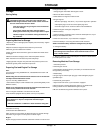
Lubricate Machine
Lubricate all moving parts before operating the machine. See Lubrication
Points in the Service Lubrication section.
Check Mower Deck Level
The mower deck is assembled and adjusted at the factory. After machine
is completely assembled, check the mower front-to-rear and side-to-side
deck level.
Check Safety System
For a complete checkout procedure of the safety interlock system, see
Testing the Safety Interlock System in the Operating section.
Initial Adjustments
1.Check free-wheel valves on both pump assemblies to make sure that
the valves are closed. Tighten valves to 108-163 N•m (80-120 lb-ft).
2.Raise the rear of the machine until the drive wheels are off the ground.
Support the machine with jackstands.
3.Start and run the engine until it reaches normal operating temperature.
4.Move control levers to the forward position and observe drive wheel
rotation; the drive wheels should rotate in the correct direction.
5.Move the control levers to the reverse position and observe drive wheel
rotation; the drive wheels should rotate in the correct direction.
6.Move PTO clutch switch to on position; mower clutch should engage.
Run blades for several minutes.
7.Move PTO clutch switch to off position and shut the engine off.
8.Check all belts for proper tension.
9.Start the engine and test drive the machine in an open area. Drive the
machine forward; if the machine drifts to the right or left, adjust the
transmission control linkage.
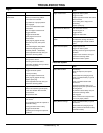
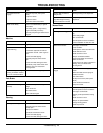
Specifications
Engine
NOTE: See engine manufacturer’s owner’s manual provided with
your machine for engine specifications.
Battery
Voltage. . . . . . . . . . . . . . . . . . . . . . . . . . . . . . . . . . . . . . . . . . . . . . . 12 volt
CCA. . . . . . . . . . . . . . . . . . . . . . . . . . . . . . . . . . . . . . . . . . . . . . . .340 amp
Reserve Capacity . . . . . . . . . . . . . . . . . . . . . . . . . . . . . . . . . . .90 minutes
BCI Group Size . . . . . . . . . . . . . . . . . . . . . . . . . . . . . . . . . . . . . . . . . . . .51
Tires
Front . . . . . . . . . . . . . . . . . . . . . . . . . . . . . . . . . . . . . . . . . . . . . .13 x 5.0-6
Rear. . . . . . . . . . . . . . . . . . . . . . . . . . . . . . . . . . . . . . . . . . . . .23 x 9.50-12
Inflation Front (Maximum) . . . . . . . . . . . . . . . . . . 110-138 kPa (16-20 psi)
CAUTION: Avoid injury! Machine component is heavy. Use a
safe lifting device or get an assistant to help lift and hold
component into place for installation.
CAUTION: Avoid injury! Clear area of all bystanders before
performing this service procedure.
CAUTION: Avoid injury! Engine exhaust fumes contain
carbon monoxide and can cause serious illness or death.
•Move the machine to an outside area before running the
engine.
•Do not run an engine in an enclosed area without
adequate ventilation.
•Connect a pipe extension to the engine exhaust pipe to
direct the exhaust fumes out of the area.
•Allow fresh outside air into the work area to clear the
exhaust fumes out.


