GB - 14
REMOVING AND INSTALLING THE
HOOD (927064)
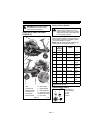
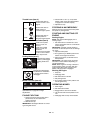
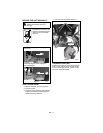
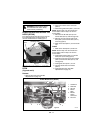
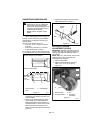
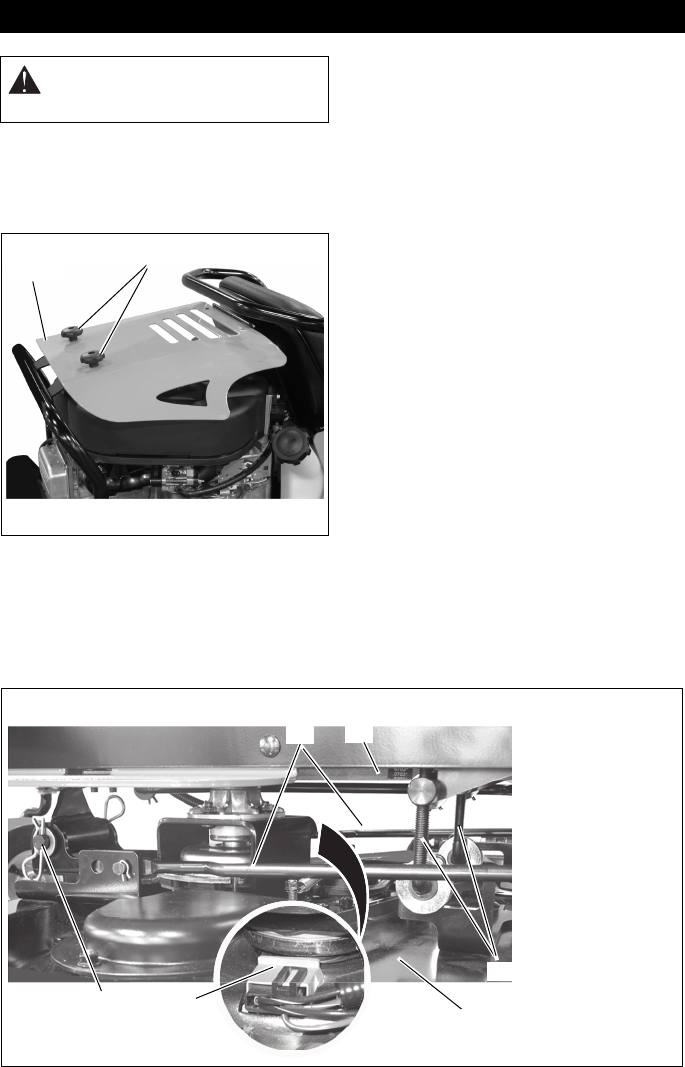
Two clamping knobs hold the hood to the unit.
Turn clamping knobs counterclockwise to
remove and clockwise to install (figure 7).
REMOVE AND INSTALL MOWER
DECK
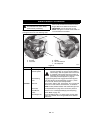
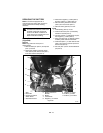
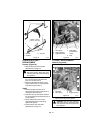
(Figure 8 and 9)
Remove
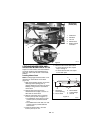
1. Remove PTO belt (see PTO Belt
Replacement on page 21).
2. Disconnect electric clutch connector
(item 5).
3. Disconnect guide arms (item 1) from unit.
NOTE: Perform step 4 for 28- and 32-inch
mower decks. Perform step 5 for 40-inch
mower decks.
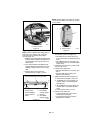
4. Remove three lift links (item 3) from
mower deck (item 4) and unit (figure 9).
5. Remove pivot pin (item 6) and two lift
links (item 3) from mower deck (item 4)
and unit (figure 8).
6. Slide mower deck (item 4) out from under
unit.
Install
1. Slide mower deck (item 4) under unit.
NOTE: Perform step 2 for 28- and 32-inch
mower decks. Perform step 3 for 40-inch
mower decks.
2. Install three lift links (item 3) on mower
deck (item 4) and unit (figure 9).
3. Install pivot pin (item 6) and two lift links
(item 3) from mower deck (item 4) and
unit (figure 8).
4. Install guide arms (item 1) on unit.
5. Connect electric clutch connector
(item 5).
6. Install PTO belt (see PTO Belt
Replacement on page 21).
SERVICE AND ADJUSTMENTS
WARNING: AVOID INJURY. Read
and understand the entire Safety
section before proceeding.
OE0070
Clamping Knob
Hood
Figure 7
OE0120
3
2
6
5
4
Figure 8
1
40-Inch Mower Deck (927064)
1. Guide Arm
2. PTO Belt
3. Lift Link
4. Mower
Deck
5. Electric
Clutch
Connector
6. Pivot Pin


